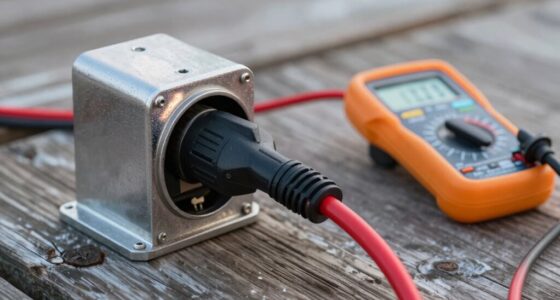

To quickly find voltage drops in your 12V system, start by inspecting main connections and battery terminals for corrosion, looseness, or damage. Use a multimeter to measure voltage at various points, from the battery to accessories, looking for significant drops. Check fuses, relays, and switches for proper function. Tighten or replace faulty parts, and re-test to confirm the fix. Keep going to uncover more tips for pinpointing issues swiftly.
Key Takeaways
- Use a multimeter to measure voltage at the battery and throughout the circuit, noting any significant drops.
- Inspect and clean all terminals, connections, and grounding points to prevent resistance caused by corrosion.
- Check wiring gauge and length; replace thin or long wires with appropriate gauge to reduce voltage drop.
- Ensure all connections are tight, secure, and free of corrosion to maintain consistent voltage levels.
- Test circuit components like fuses and relays for proper function, replacing damaged parts to restore voltage stability.

WINAMOO Automotive Test Light with 3-48V LED Digital Voltage Display, Auto Circuit Tester with Voltmeter & Dual Color Polarity Indicate, Electric Test Pen w/Stainless Probe for Car/Truck/SUV Checker
【PRECISE READOUTS & CLEAR DIGITAL DISPLAY】Bright LED display shows highly clear readings in any lighting condition, 0.1V resolution…
As an affiliate, we earn on qualifying purchases.
As an affiliate, we earn on qualifying purchases.
What Is Voltage Drop and Why Does It Matter in a 12V System?
Understanding voltage drop is essential because it directly affects the performance of your 12V system. When current flows through the circuit, resistance in the wiring and connections causes a voltage drop. This circuit resistance results in power loss, meaning less voltage reaches your devices. If the voltage drop is too high, your equipment may not operate correctly or could be damaged over time. It’s important to recognize that longer wires, thin gauge wiring, or loose connections increase circuit resistance, leading to greater power loss. Monitoring voltage drop helps you identify issues before they cause system failure. Proper wiring and secure connections are crucial for optimizing electrical performance, ensuring your 12V system runs efficiently and reliably, preventing unnecessary power loss and performance problems. Additionally, being aware of circuit resistance can help you implement better wiring practices to reduce voltage drop. Regularly inspecting connections and using appropriate wiring gauges can further minimize power loss and improve overall system efficiency. Recognizing the impact of wire length and gauge is also vital for maintaining an efficient electrical system, and understanding how connection quality influences voltage stability can help prevent issues before they arise.

TKDMR Battery Terminal Cleaners (2 pcs),12 pcs Battery Terminal Anti-Corrosion Fiber Washers (6 Red & 6 Green) for Car Marine Battery
Quantity: comes with 10 pieces battery anti-corrosion washers(5 red & 5 green) and 2pcs Battery Terminal Cleaning Brush.
As an affiliate, we earn on qualifying purchases.
As an affiliate, we earn on qualifying purchases.
Gather Your Tools Before You Start Troubleshooting
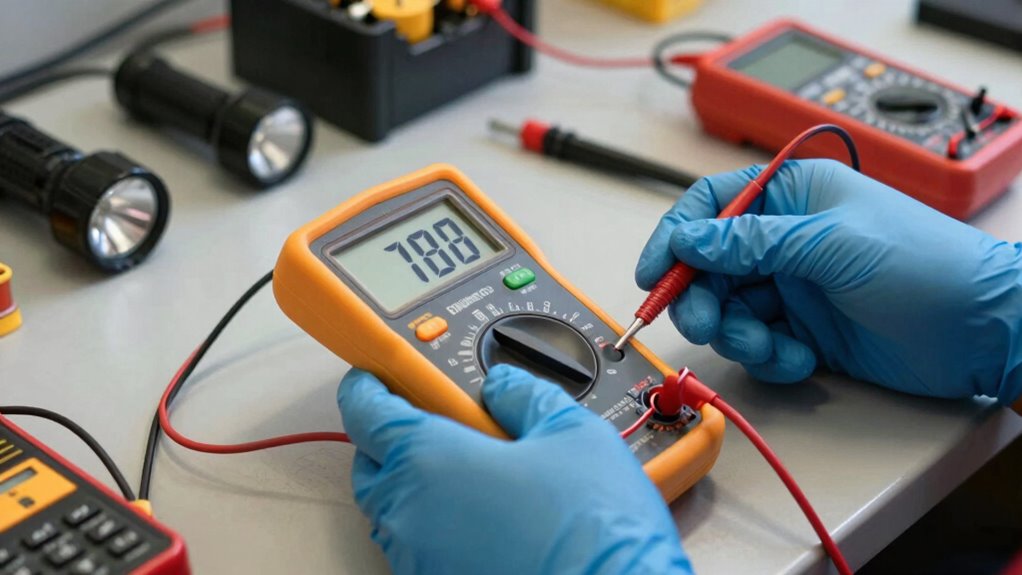
Before you begin troubleshooting a 12V system, gather all the necessary tools to guarantee a smooth process. Ensuring proper circuit protection and prioritizing battery safety are essential. Having the right tools ready prevents accidental damage and keeps you safe. Additionally, understanding air purifier maintenance dos and don’ts can help you avoid issues related to electrical components in devices associated with the system. Here are three must-have items: 1. Multimeter – for accurate voltage and current readings 2. Insulated gloves and safety glasses – to protect against sparks or short circuits 3. Properly rated fuse or circuit breaker – for circuit protection during testing. Familiarity with astrological signs and attractiveness can also provide insights into potential issues related to electrical systems influenced by environmental factors. Recognizing electrical system vulnerabilities can help you anticipate and prevent failures during troubleshooting. Using these tools helps you identify voltage drops quickly and safely. It’s also crucial to understand system load and capacity to ensure your components are not overloaded, which can lead to voltage drops and system failures. Remember, working with a live system can be risky, so always prioritize battery safety and circuit protection to avoid injury or damage.

Ansbell Car Circuit Tester Fuse Tester Automotive Current Tester Blade Fuse Max 48V, Circuit Measure AmpFuse Buddy, Automotive Blade Checker Fuses Box Current Test
Precision Measurement – The automobile current tester is engineered for high-accuracy electrical current measurements in automotive applications. Can…
As an affiliate, we earn on qualifying purchases.
As an affiliate, we earn on qualifying purchases.
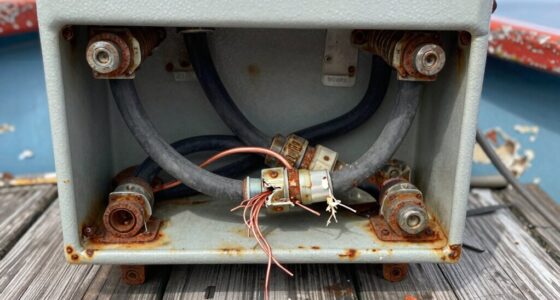
Start by Checking Your Battery and Main Connections
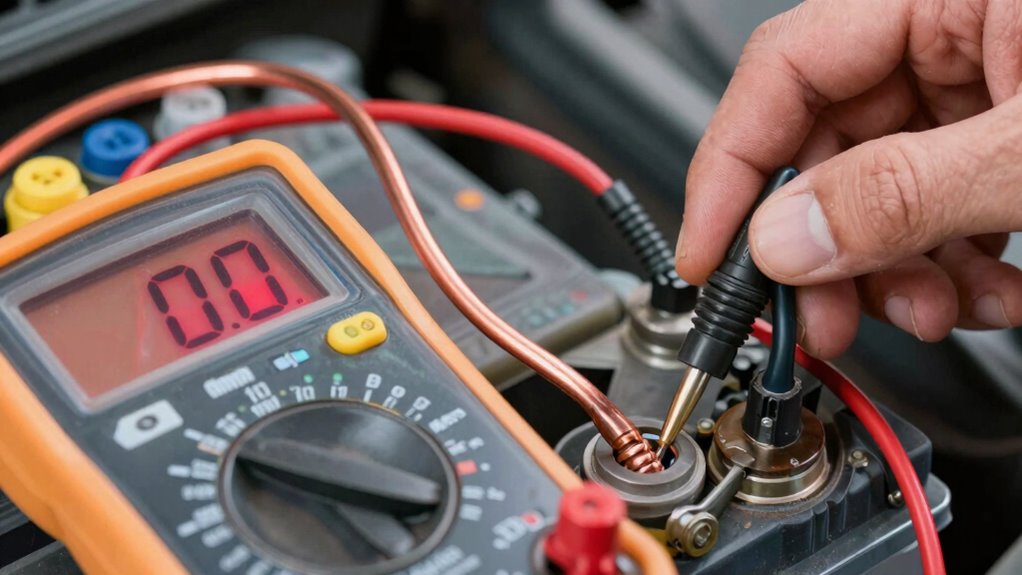
Start by examining your battery terminals for corrosion or looseness, as poor connections can cause starting issues. Next, verify that the main cables are securely attached and free of damage. Ensuring these connections are solid is a vital first step in troubleshooting your 12V system. Additionally, inspecting the integrity of main connections can help identify potential issues that may affect your system’s performance, especially since connection quality plays a crucial role in voltage stability. Regularly testing your battery voltage levels can also help detect early signs of battery degradation that could impact overall system reliability. For optimal system performance, it’s important to keep all components in good condition and perform routine checks. Proper maintenance of your toilet components can help prevent unexpected malfunctions that might affect your system’s efficiency.
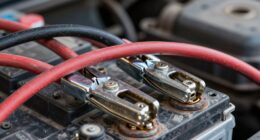
Inspect Battery Terminals
Have you checked your battery terminals lately? Loose or corroded terminals can cause voltage drops and system issues. Start by inspecting the terminals for any signs of battery corrosion—white, green, or bluish deposits. Corrosion can hinder electrical flow, so clean the terminals with a wire brush or terminal cleaner if needed. Next, confirm the terminal tightness; loose connections can cause intermittent power loss. Finally, look for any cracks or damaged connectors that might compromise the connection. To keep your system running smoothly, regularly check these points. Proper terminal maintenance helps prevent voltage drops and ensures your 12V system works efficiently. Additionally, understanding inclusive casting practices in the industry highlights the importance of diverse and representative components in your system. Regularly inspecting and maintaining your battery connections is essential for avoiding unexpected issues and prolonging system life.
Verify Main Cables
To verify your main cables and connections, begin by inspecting the battery terminals and the cables that attach to them. Ensure the connections are tight, clean, and free of corrosion, as poor contact can mimic voltage drops. Check the ground wire from the battery to the chassis; it should be secure and free of rust or damage. Also, examine the main positive cable for any cuts or frays. Confirm the alternator’s health by ensuring the wiring from it to the battery is solid, as a weak alternator can cause inconsistent voltage. A faulty ground wire or loose main cables can lead to significant voltage drops, affecting your entire 12V system. Properly secured and clean connections are critical for reliable power delivery and accurate troubleshooting. Additionally, refer to your vehicle’s electrical system to understand the correct voltage ranges and safety precautions during testing. Ensuring your battery health is good can prevent many common voltage issues and improve overall system performance. Regularly inspecting these connections helps maintain optimal system reliability and prevents unexpected failures. Remember that corrosion on terminals can significantly impact voltage flow and should be cleaned promptly. Using a wire brush or terminal cleaner can help restore proper contact and minimize voltage loss.

VIABRICO 14AWG 100FT Electrical Wire Cable 2 Conductors Red Black Cable Hookup LED Lighting Strips Flexible Wire Extension Cord 14 Gauge Copper Clad Aluminum Copper Wire 12V/24V DC Cable
【Wide Application】 VIABRICO electric wire is widely used for various DC electrical hookups, low voltage cables, 12V DC,…
As an affiliate, we earn on qualifying purchases.
As an affiliate, we earn on qualifying purchases.
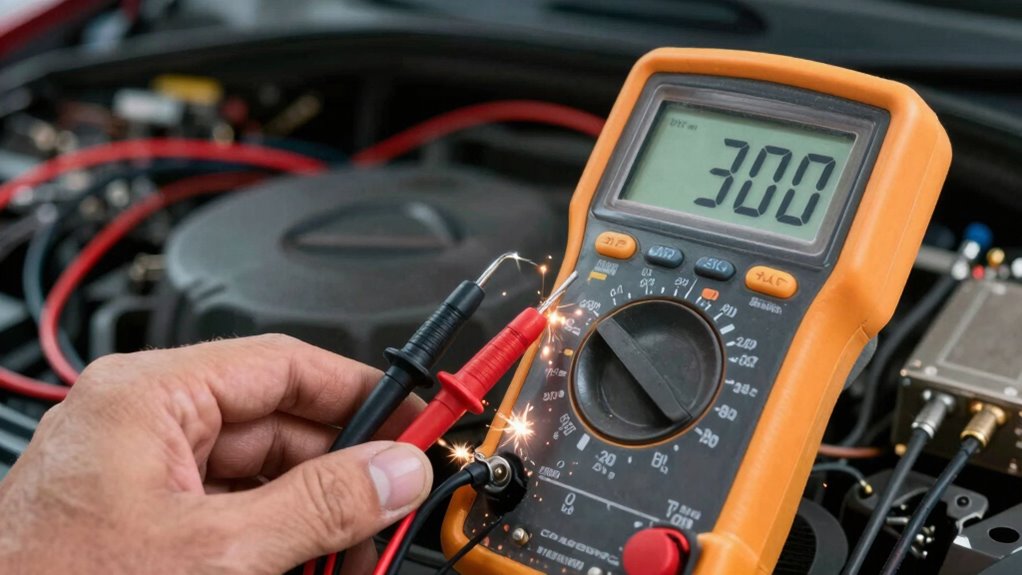
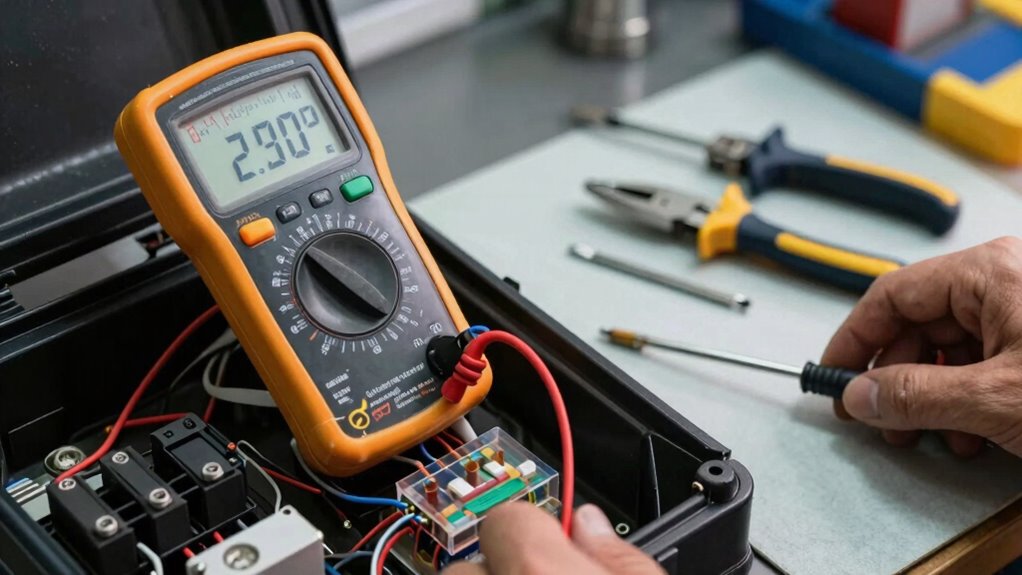
How to Measure Voltage at Critical Points in Your Circuit?

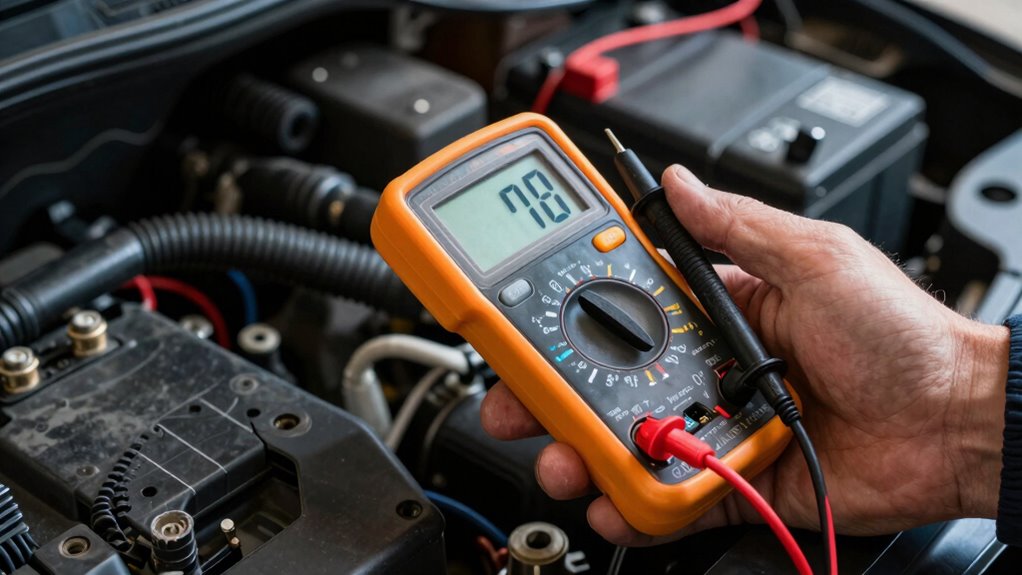
Measuring voltage at critical points in your circuit is essential for diagnosing issues and confirming proper operation. To get accurate readings, verify your circuit grounding is solid, as poor grounding can lead to misleading voltage measurements. Proper circuit grounding ensures consistent and trustworthy voltage readings. Additionally, inspecting the ground connections for corrosion or loose contacts can help prevent measurement errors. Also, confirm insulation integrity around wires and connectors to prevent voltage leaks. When measuring, follow these steps:
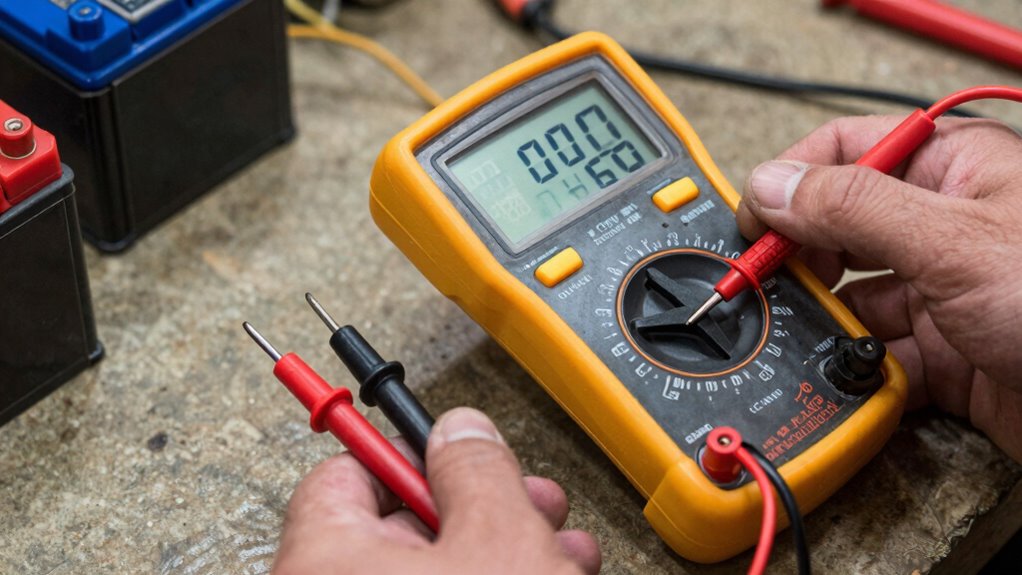
- Set your multimeter to the appropriate DC voltage range.
- Place the black lead on a good ground point, such as the chassis or negative terminal.
- Touch the red lead to the point you want to test, like a terminal or connector, and note the reading.
- Remember that proper circuit grounding is vital for consistent and trustworthy voltage measurements.
Repeat this process at various points to identify voltage drops. Properly measuring voltage at critical points helps pinpoint where issues like poor circuit grounding or insulation problems may be causing voltage loss.
Signs of Resistance or Corrosion That Could Cause Voltage Drops
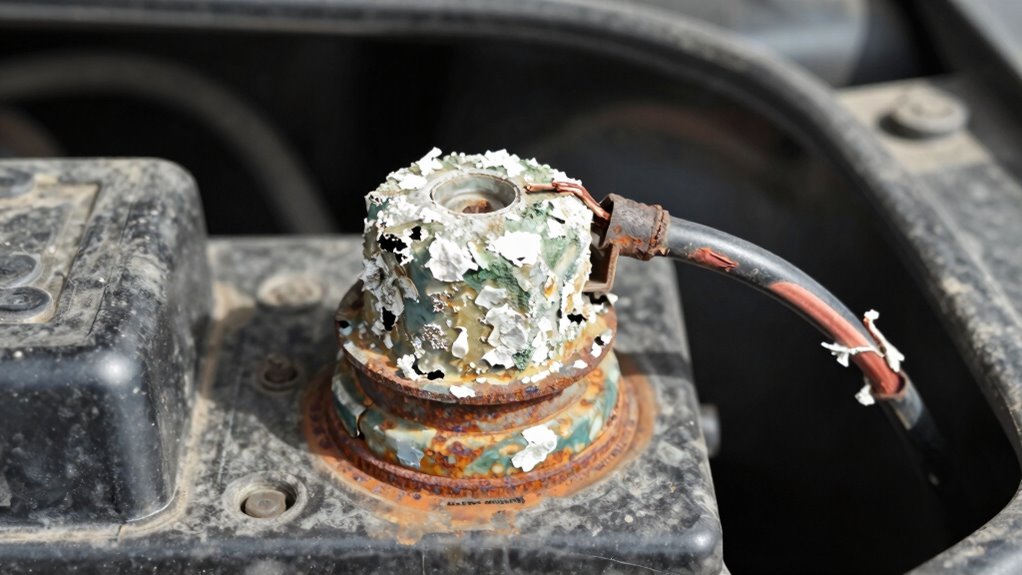
Resistance and corrosion in your electrical connections often manifest as visible signs like discoloration, rust, or dirt buildup on terminals and wires. These corrosion signs are key resistance indicators that can cause voltage drops. When terminals appear tarnished or have a greenish or white powdery residue, it suggests oxidation that impedes proper current flow. Dirt, grime, or corrosion buildup increases resistance, making it harder for electricity to pass efficiently. You might notice dimmer lights or inconsistent operation as a result. Regularly inspecting your connections for these resistance indicators helps identify problem areas early. Clean and tighten corroded terminals, and replace damaged wires to restore proper conductivity. Addressing corrosion signs promptly prevents voltage drops and maintains system performance.
Test Fuses, Relays, and Switches for Proper Function
Start by visually inspecting your fuses, relays, and switches for any signs of damage or corrosion. Use testing devices to check if each component is functioning correctly and providing proper continuity. This straightforward approach helps identify faulty parts that could be disrupting your 12V system.
Visual Inspection Techniques
Before testing fuses, relays, and switches, it’s important to perform a thorough visual inspection to identify obvious signs of damage or wear. Start by consulting your circuit diagrams to locate components correctly. Look for melted or cracked fuses, corroded relay terminals, and broken or loose switches. Check for burnt marks, discoloration, or broken plastic housings. Always follow safety precautions, such as disconnecting power before inspecting. Here are some key steps:
- Examine fuses for visible damage or discoloration.
- Inspect relays for corrosion, cracks, or loose connections.
- Verify switches are intact, with no broken or bent parts.
A careful visual check helps spot issues early, saving time and ensuring safe, effective troubleshooting.
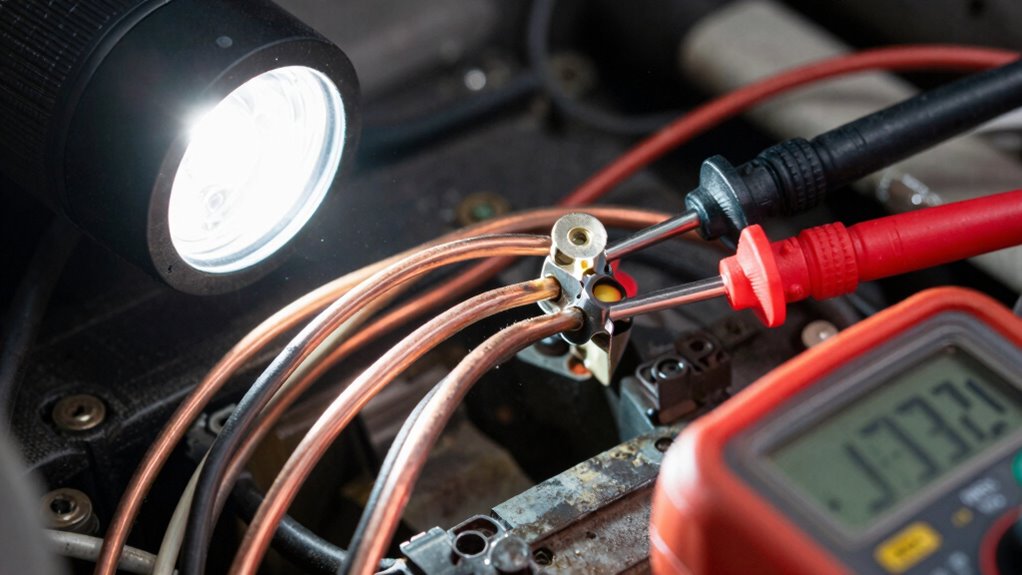
Using Testing Devices
To guarantee your fuses, relays, and switches are functioning correctly, you need to use appropriate testing devices such as a multimeter or a test light. These tools help verify proper operation by checking for voltage presence and continuity. Consult your circuit diagrams to identify the correct test points and ensure you’re testing the right components. When testing a fuse, set your multimeter to continuity mode and check for a beep or low resistance; a bad fuse will show no continuity. For relays and switches, confirm they switch correctly when activated. Using reliable testing equipment allows you to quickly pinpoint faults, ensuring your system’s components are functioning properly and preventing unnecessary replacements or repairs.
Identify and Fix Common Causes of Voltage Drop
Voltage drops in a 12V system are often caused by loose connections, corroded terminals, or undersized wiring. These issues increase circuit resistance and compromise connection integrity, leading to voltage loss. To fix this, start by inspecting all connections and terminals, tightening any loose ones and cleaning corrosion. Next, check the gauge of your wiring—undersized wires add unnecessary resistance. Finally, make certain all connectors and terminals are secure and free of corrosion, replacing any damaged parts. Remember, maintaining proper connection integrity and minimizing circuit resistance are key to preventing voltage drops. By addressing these common causes, you’ll improve system performance and reduce voltage inconsistencies effectively. Keep your wiring clean, tight, and appropriately sized for reliable operation.
Verify Your Repairs by Rechecking Voltage Levels
After completing your repairs, make sure to recheck the voltage levels to guarantee everything is functioning correctly. Start by testing circuit continuity to confirm that all connections are solid and unbroken. This ensures that there are no open circuits causing voltage drops. Next, verify the insulation resistance between conductors and ground to prevent leaks or shorts that could affect performance. Use a multimeter to measure voltage at critical points, comparing readings to your baseline. If voltage levels are still off, re-examine your repairs, paying close attention to areas where circuit continuity might be compromised or insulation resistance is low. Properly verifying these factors helps confirm your repairs are effective and reduces the risk of future issues.
Frequently Asked Questions
How Do Temperature Changes Affect Voltage Drop Readings?
Temperature changes can cause thermal expansion in your wires, leading to increased resistance. As resistance rises, you’ll notice voltage fluctuation, especially under load. Warmer temperatures typically decrease resistance, lowering voltage drops, while colder temps increase resistance and voltage drops. Keep in mind that even small temperature shifts can impact your readings, so always consider ambient conditions when troubleshooting voltage drops to make sure of accurate results.
Can a Poor Ground Connection Cause Intermittent Voltage Drops?
Yes, a poor ground connection can cause intermittent voltage drops. When your ground loop isn’t solid or the wiring harness has loose or corroded connections, electrical resistance increases, leading to inconsistent voltage readings. Ensuring a secure, clean ground connection helps maintain stable voltage levels. Check your wiring harness for any damaged or loose wires and tighten or replace connections to prevent these fluctuations.
What’s the Best Way to Trace Hidden Wiring Issues?
Start with a systematic sweep, scrutinizing every nook where hidden wiring hides. Use a multimeter to test electrical continuity, ensuring each connection carries current properly. Follow the wiring path carefully, checking for corrosion, chafing, or loose fittings that can sneakily sabotage your system. By methodically tracing every segment, you’ll uncover concealed faults and restore reliable power, turning tangled trouble into a tidy, trustworthy wiring wonderland.
How Often Should I Check for Voltage Drops in My System?
You should check for voltage drops during your regular maintenance schedule, ideally every few months or whenever you notice performance issues. Always follow safety precautions before testing, such as disconnecting power sources and wearing protective gear. Regular inspections help catch wiring problems early, preventing system failures and ensuring safety. Staying consistent with your checks keeps your 12V system running smoothly and helps you identify issues before they cause major damage.
Are There Specific Tools for Detecting Corrosion Inside Connectors?
About 85% of connector failures result from corrosion or internal contamination. To detect corrosion inside connectors, you should use specialized tools like a borescope or endoscope, which let you visually inspect tight spaces without disassembly. Additionally, corrosion testers or conductivity meters can help identify internal contamination. These tools enable you to pinpoint issues early, saving time and preventing system failures caused by hidden corrosion.
Conclusion
Now that you know how to identify and fix voltage drops in your 12V system, you’re better equipped to keep everything running smoothly. Remember, a small voltage drop can cause big issues, so don’t overlook the details. Are you willing to let a simple problem turn into a costly repair? By staying vigilant and methodical, you’ll guarantee your system stays reliable and efficient for years to come.