
To flush your outboard properly and prevent salt damage, gather necessary tools like a garden hose, flushing attachment, and inspection tools. Make certain the cooling system is clear of blocks or damage before connecting the hose. Start the engine and run it at idle for about five minutes, then disconnect the hose and let the engine dry in gear. Regular flushing and maintenance can considerably extend your engine’s life—keep going to learn every step.
Key Takeaways
- Gather necessary tools, including a flushing attachment or garden hose, and inspect the cooling system for damage before starting.
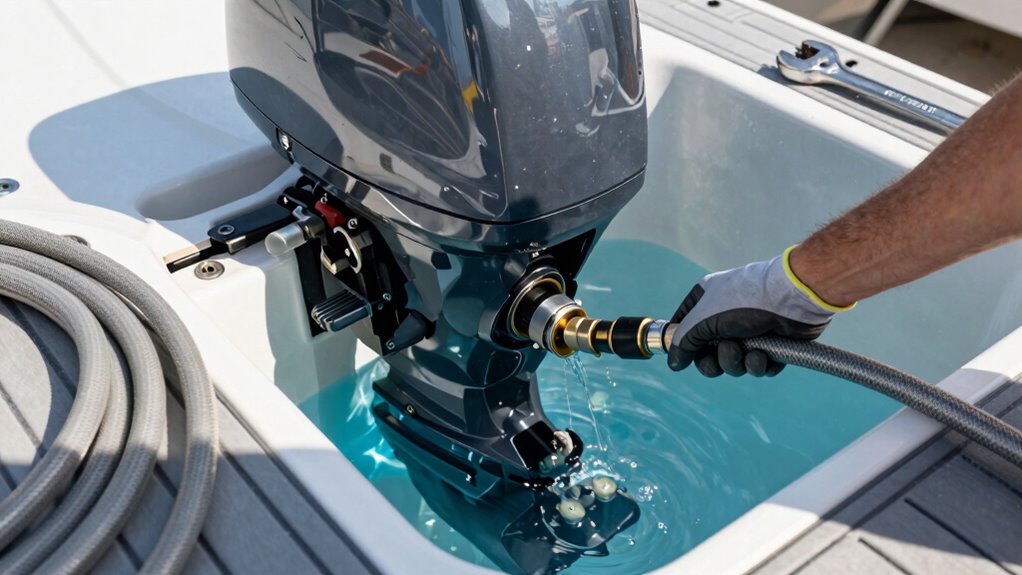
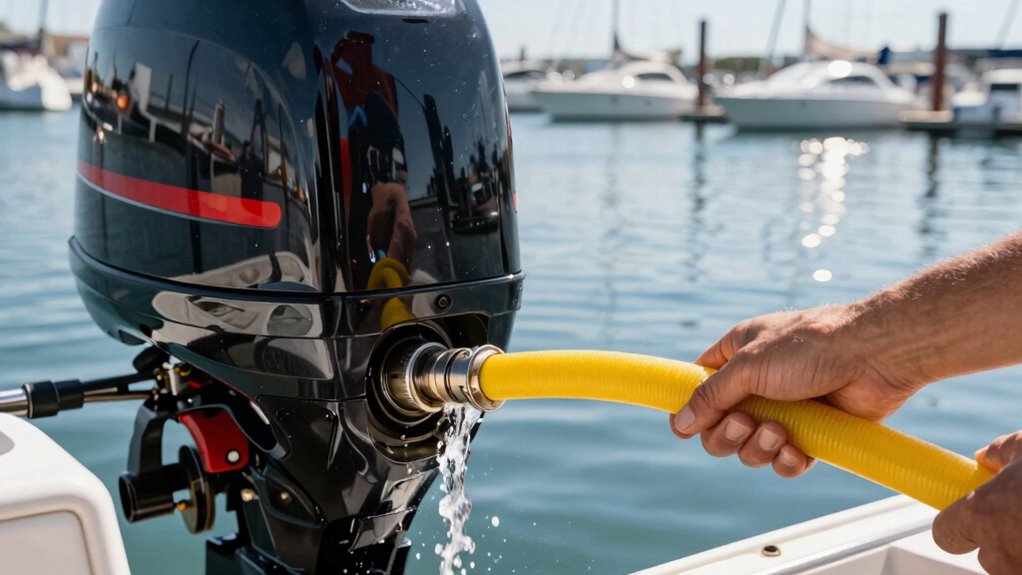
- Connect the flushing device securely to the water intake, ensuring all connections are tight and leak-free.
- Start the engine and run it at idle for about 5 minutes to allow fresh water to circulate through the cooling system.
- Turn off the water supply, disconnect the hose, and run the engine briefly in gear to dry internal components.
- Regularly flush after salty water use and perform maintenance checks to prevent corrosion and prolong engine life.

Outboard Motor Quick Connect Flush Kit,Compatible with Mercury, Mariner, Yamaha and Suzuki Outboard Engines Red
【Suits】Flushing Kit includes a slide valve、a hose adapter and a quality seal O-ring.
As an affiliate, we earn on qualifying purchases.
As an affiliate, we earn on qualifying purchases.
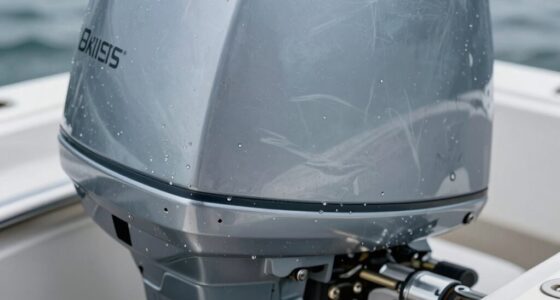
Why Flushing Your Outboard After Saltwater Is Essential
After a day on saltwater, it is crucial to flush your outboard to prevent corrosion and damage. Salt residue left on your engine accelerates marine corrosion, which can weaken vital components and shorten your outboard’s lifespan. Salt residue is highly corrosive and can settle into crevices, causing pitting and rust if not properly rinsed away. Flushing removes this salt buildup, protecting the metal parts from deterioration and ensuring smooth operation. Proper maintenance routines are essential to keep your engine in optimal condition. Regular flushing helps to remove any regional flavors that might contribute to buildup or corrosion, ensuring your engine remains in top shape. Implementing the right performance upgrades can further enhance your engine’s ability to withstand harsh saltwater conditions. Additionally, adhering to these routines can improve your engine’s performance and longevity, saving you money on repairs over time. Neglecting this step risks costly repairs and reduces the reliability of your engine. Regularly flushing your outboard after saltwater use is a simple, effective way to maintain its performance, extend its life, and keep it running efficiently for years to come. Incorporating corrosion prevention techniques can further safeguard your engine from long-term damage.

ISURE MARINE Universal Rectangular Outboard Motor Water Flusher Boat Ear Muff Engine Flusher for Marine Boat
✔Arms Length:10" (256mm),Rectangular Cap Size: 4.85" * 3" (123mm * 76.7mm)
As an affiliate, we earn on qualifying purchases.
As an affiliate, we earn on qualifying purchases.
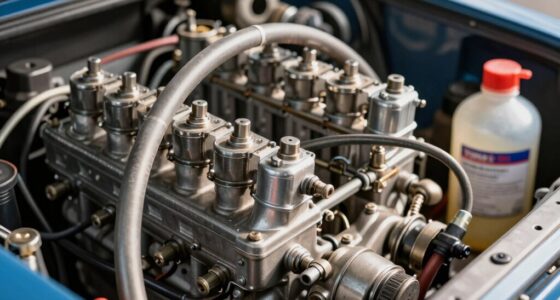
What Tools Do You Need to Flush Your Outboard?
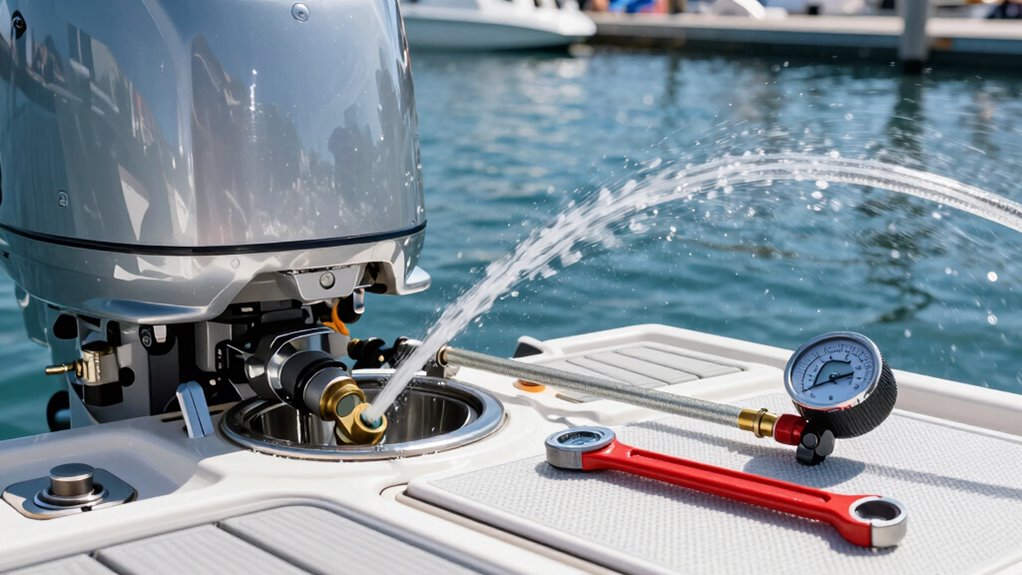
To properly flush your outboard, you’ll need the right set of tools to get the job done efficiently. Start with cleaning brushes to scrub off any dirt or salt residue from the exterior and cooling passages. A garden hose or specialized flushing attachment is essential for running fresh water through the engine. You’ll also want a container for catching any leftover water or debris. Checking your engine oil before and after flushing is important to ensure it hasn’t become contaminated. Having a wrench or socket set handy helps if you need to remove any components for thorough cleaning. Essential tools for engine maintenance will help you perform a complete flush, protecting your outboard from corrosion and extending its lifespan. Additionally, inspecting the cooling system components ensures there are no blockages or damage that could impede proper flushing. Regularly inspecting corrosion prevention measures can also help maintain your engine’s longevity. Incorporating preventive maintenance routines can further safeguard your outboard from salt damage.

Mercury 8M0047931 Quickleen Engine & Fuel System Cleaner, 12 oz
Removes carbon deposits from carburetors, injectors, intake valves, spark plugs, piston crowns and cylinder heads
As an affiliate, we earn on qualifying purchases.
As an affiliate, we earn on qualifying purchases.
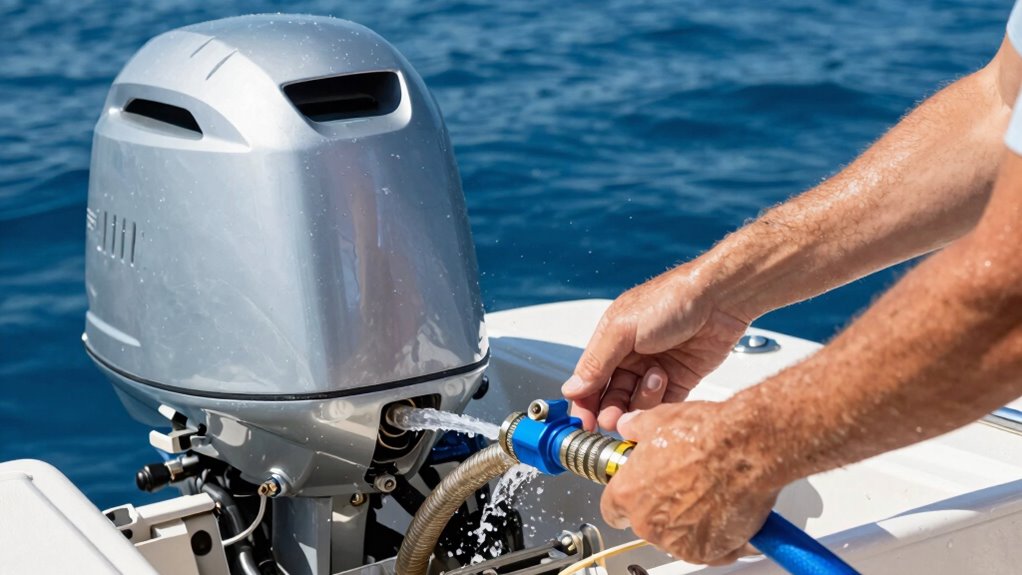
How to Prepare Your Outboard for Flushing Safely
Before you start flushing, gather all the necessary equipment to make the process smooth. Next, check your cooling system for any damage or blockages to prevent issues during flushing. Once everything is in order, you’re ready to proceed safely with the cleaning. Additionally, understanding how to properly maintain the cooling system can help prevent corrosion and prolong the life of your outboard. Regularly inspecting your insulated jackets for winter can also ensure your gear stays in top condition for any maintenance routines. Incorporating preventive maintenance routines can further reduce the risk of saltwater damage and extend the longevity of your outboard. Remember, establishing boundaries and support in maintenance routines can contribute to safer and more effective care of your equipment.
Gather Necessary Equipment
Having the right equipment ready is essential for a safe and effective outboard flushing process. You’ll need a freshwater supply, a garden hose with a spray nozzle, and a flushing connector compatible with your outboard. Keep some marine grease nearby to lubricate fittings and prevent corrosion. It’s also wise to have fuel stabilizer if you plan to run the engine afterward or store it long-term. Make sure your engine’s key tools are within reach, including gloves and safety glasses. Preparing these items beforehand ensures you won’t waste time once you start. Double-check that the hose water is clean and free of debris. Gathering everything in advance helps you stay organized and focused on the task, reducing the risk of missing any critical steps. Incorporating outboard maintenance practices into your routine can extend the life of your engine and improve performance. Additionally, verifying that your water-cooling system is functioning properly can help prevent overheating during operation. Being aware of sustainable practices can also help minimize environmental impact during maintenance. Taking a moment to review manufacturer guidelines ensures you follow the correct procedures for your specific engine model.
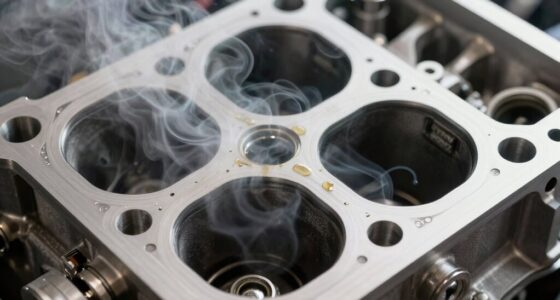
Check Cooling System
Make certain the cooling system is ready for flushing by inspecting the water intake and cooling hoses for blockages or damage. This cooling system inspection helps prevent salt buildup and corrosion, guaranteeing your outboard runs smoothly. Check for cracks, leaks, or blockages that could hinder water flow. Clear any debris or obstructions to maximize flushing effectiveness. Use the table below to guide your inspection:
| Step | Focus |
|---|---|
| Water Intake Check | Ensure intake screens are clear of debris |
| Cooling Hoses | Look for cracks, leaks, or stiffness |
| Corrosion Prevention | Inspect metal parts for corrosion signs |
| Overall System | Confirm unobstructed water flow and integrity |
Address issues promptly to prevent corrosion and maintain maximum cooling. Proper preparation guarantees a thorough flush and longer outboard life. Regular maintenance checks are essential for keeping your outboard in top condition, especially the cooling system, which is vital for engine longevity. Ensuring that the water flow remains unobstructed is crucial for preventing salt deposits and extending the life of your engine. Additionally, routinely inspecting the cooling hoses can help detect early signs of deterioration before major damage occurs. Incorporating preventive maintenance practices can further enhance the durability of your outboard.

DNYSYSJ Outboard Motor Boat Engine with Air Cooling System and Manual Pull Start for Inflatable Fishing Boats Yachts Water Sport Tools Marine Boat Motor (Stand Carrier Trolley Dolly)
✅【High Load-bearing Capacity】This trolley features a thickened pine hanging board with a loading capacity of up to 110lbs…
As an affiliate, we earn on qualifying purchases.
As an affiliate, we earn on qualifying purchases.
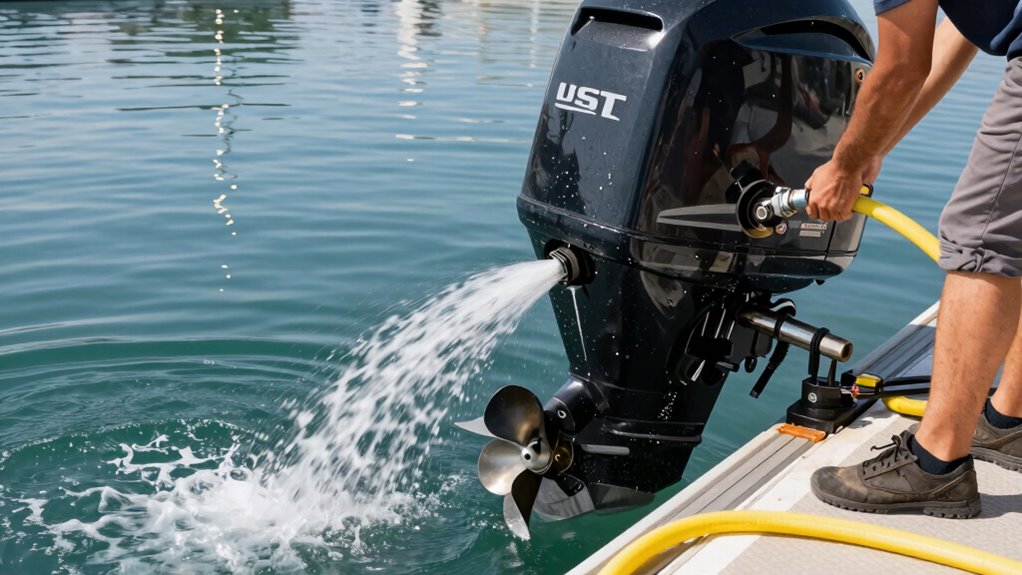
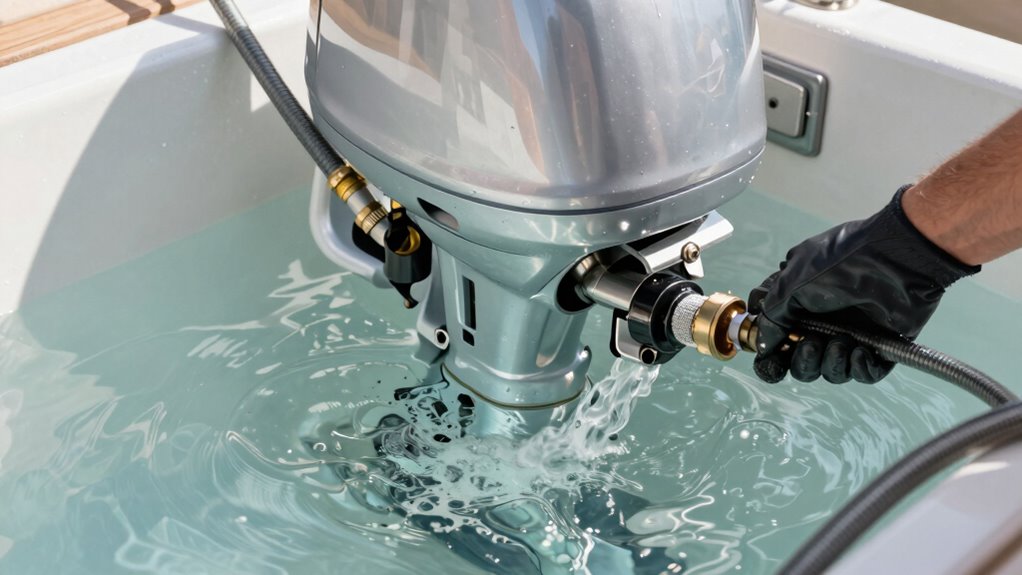
How to Flush Your Outboard Step-by-Step
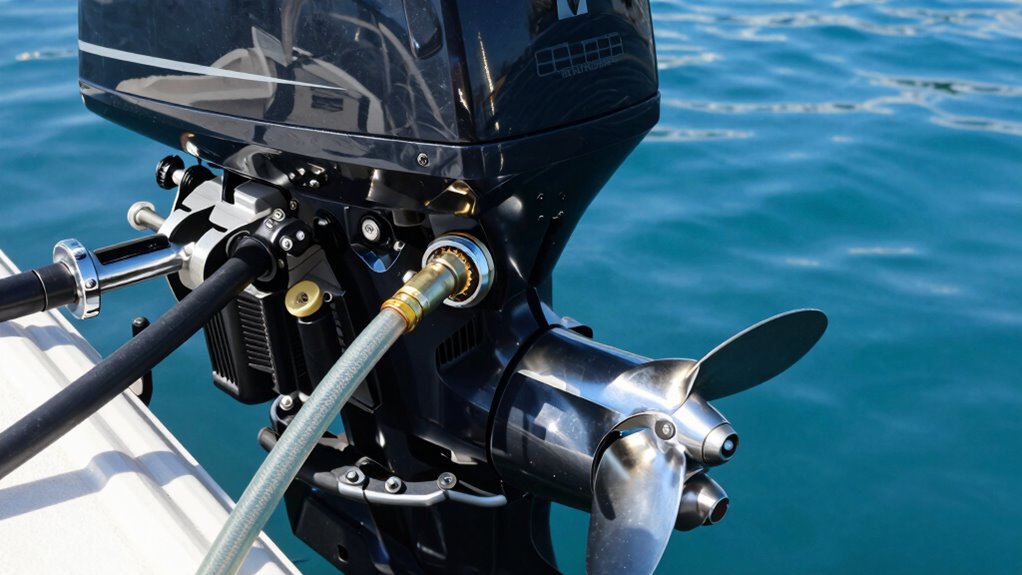
To guarantee your outboard engine stays in top condition, flushing it after each use is essential, especially if you’ve been in saltwater or dirty conditions. Start by connecting a flushing device or garden hose to the water intake. Turn on the water supply and start your engine. Let water circulate through the cooling system for about 5 minutes, ensuring all salt and debris are flushed out. Keep the engine in neutral and run it at idle speed. While water flows, check for leaks or blockages. Once finished, turn off the water, disconnect the hose, and run the engine in gear for a few seconds to dry internal components. Proper water circulation during this process is vital for effective marine maintenance, preventing corrosion and buildup.
Common Flushing Problems and How to Fix Them
Sometimes, things don’t go as planned when flushing your outboard, and you might encounter common errors like leaks or clogs. Knowing troubleshooting techniques helps you quickly identify and fix these issues. Staying aware of these problems guarantees your engine stays in top shape with minimal hassle.
Common Flushing Errors
One of the most common mistakes when flushing an outboard is neglecting to secure the water intake properly, which can lead to poor cooling or engine damage. An incorrect connection of the flushing hose is a frequent error that prevents water from flowing correctly through the system. This mistake often results from improper maintenance or rushing the process. If the hose isn’t tightly fitted or connected to the right outlet, you won’t get an effective flush, leaving salt and debris behind. Additionally, using the wrong size or type of hose can cause leaks or disconnections. Always double-check your connections before starting, ensuring they’re secure and correct. Proper maintenance includes regular inspection of your flushing setup to avoid these common errors and protect your engine from long-term damage.
Troubleshooting Techniques
When you encounter problems during flushing, identifying the root cause quickly can save you time and prevent further damage. If the engine isn’t cooling properly after flushing, marine corrosion might be blocking water flow or causing corrosion buildup in cooling passages. Check for clogged hoses or fittings that restrict water circulation. If you notice persistent overheating or reduced engine cooling, inspect for corrosion inside the cooling system—marine corrosion can cause blockages or damage that impairs heat transfer. Sometimes, a loose or damaged hose causes leaks, preventing proper flushing. Ensure all connections are tight and free of corrosion. Regular maintenance and thorough cleaning help prevent these issues. Troubleshooting these common problems ensures your outboard stays protected against salt damage and keeps running smoothly.
How Often Should You Flush Your Outboard?
How often you should flush your outboard depends on how frequently you use it and the conditions it operates in. If you’re out on salty or polluted water, it’s best to flush after every trip to maintain your engine’s performance and extend its lifespan. For regular freshwater use, flushing every few outings or at least once a month aligns with a good maintenance schedule. Regular flushing reduces the environmental impact by preventing salt and debris from damaging internal components and contaminating water sources. Consistent flushing also helps catch potential issues early, saving you money and avoiding environmental harm caused by oil leaks or corrosion. Adjust your flushing routine based on usage, but don’t neglect it—keeping your outboard salt-free benefits both your boat and the environment.
Extra Tips to Keep Your Outboard Salt-Free and in Top Shape
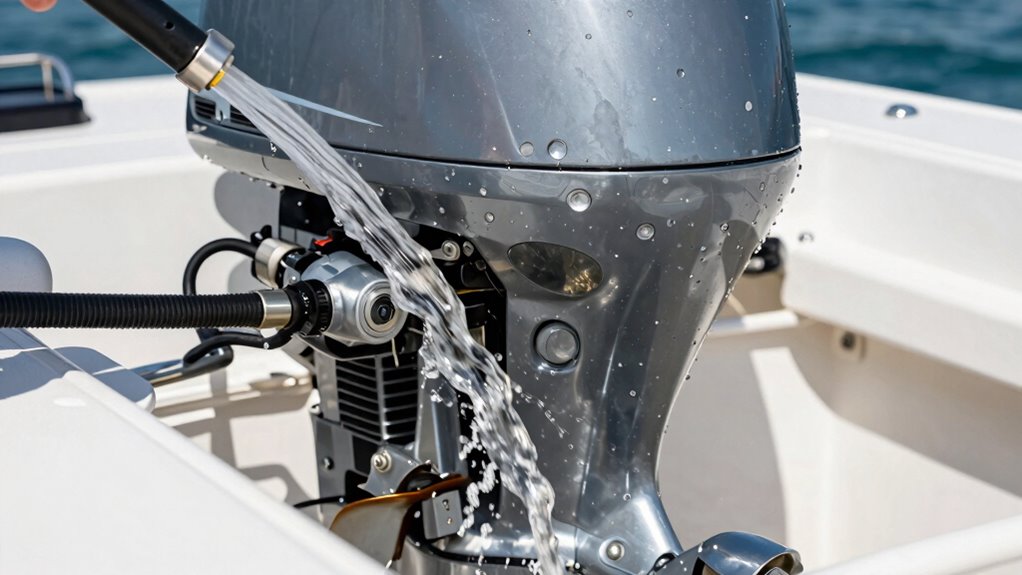
To keep your outboard salt-free and performing at its best, incorporating some simple maintenance habits can make a big difference. Regularly rinsing your engine with fresh water after each use helps prevent salt buildup that can lead to marine corrosion. Applying a protective anti-corrosion spray or lubricant on electrical components and exposed metal parts adds an extra layer of defense. Keep an eye on anodes and replace them when they show signs of wear, as they protect against corrosion. Storing your outboard in a dry, covered area also minimizes exposure to moisture. By staying proactive with these tips, you’ll reduce salt accumulation and marine corrosion, extending your engine’s lifespan and ensuring smooth, reliable performance on the water.
Frequently Asked Questions
Can I Flush My Outboard Without Running the Engine?
Yes, you can flush your outboard without running the engine. For marine cleaning and engine maintenance, use a flushing device or a hose attachment designed for outboards. Connect it to the cooling system, turn on the water, and let it run for several minutes. This method helps remove salt and debris effectively, preventing corrosion and ensuring your engine stays in top condition without needing to start the engine.
What Type of Freshwater Is Best for Flushing?
You might think tap water is fine, but ironically, marine grade water or distilled water is best for flushing. Marine grade water is specially treated to prevent mineral deposits, while distilled water has no impurities or salts that could harm your engine. Using these guarantees you flush out salt and debris effectively, protecting your outboard from corrosion and corrosion-related damage, keeping it running smoothly for longer.
How Do I Know if My Outboard Is Properly Flushed?
You can tell your outboard is properly flushed when the freshwater runs clear and free, with no salty or rusty residue. Regular flushing helps prevent corrosion, so stick to your maintenance schedule. After flushing, check for any signs of corrosion or buildup. If everything looks clean and smooth, you’ve done a good job. Consistent flushing and inspections keep your motor in top shape and saltwater at bay.
Is It Necessary to Flush if I Only Use the Boat in Freshwater?
Even if you only use your boat in freshwater, flushing your outboard engine is still essential. Studies show that regular marine maintenance extends engine life by up to 30%. Flushing helps remove dirt and debris, preventing buildup that could cause corrosion or damage. Proper engine care ensures your boat runs smoothly and reliably, so don’t skip the flush—it’s a simple step that pays off in the long run.
Can Flushing Damage My Outboard’s Internal Components?
Flushing your outboard generally won’t damage its internal components if done correctly. It helps prevent corrosion by removing salt and debris, maintaining seal integrity, and reducing wear. Just make certain you follow proper procedures, use the right gear, and avoid excessive pressure. Regular flushing is a smart way to protect your engine from corrosion and keep seals tight, ensuring long-term performance and reliability.
Conclusion
Regularly flushing your outboard isn’t just about maintenance—it’s about outsmarting salt’s corrosive effects. Some say salt “doesn’t harm” if rinsed, but research shows corrosion can begin in just hours without proper care. By sticking to a routine, you’ll extend your motor’s life and save money. Think of flushing as your outboard’s armor—protect it diligently, and it’ll perform smoothly for years to come.