
To guarantee your boat’s backup camera performs well, focus on choosing the right mounting angle and location. Aim for a clear, unobstructed view that minimizes water exposure and distortion, using a secure, waterproof housing to protect against rain and saltwater. Properly sealing all connections and regularly maintaining the camera helps prevent water damage and ensures long-term reliability. Keep these tips in mind, and you’ll discover more ways to optimize your boat’s camera setup.
Key Takeaways
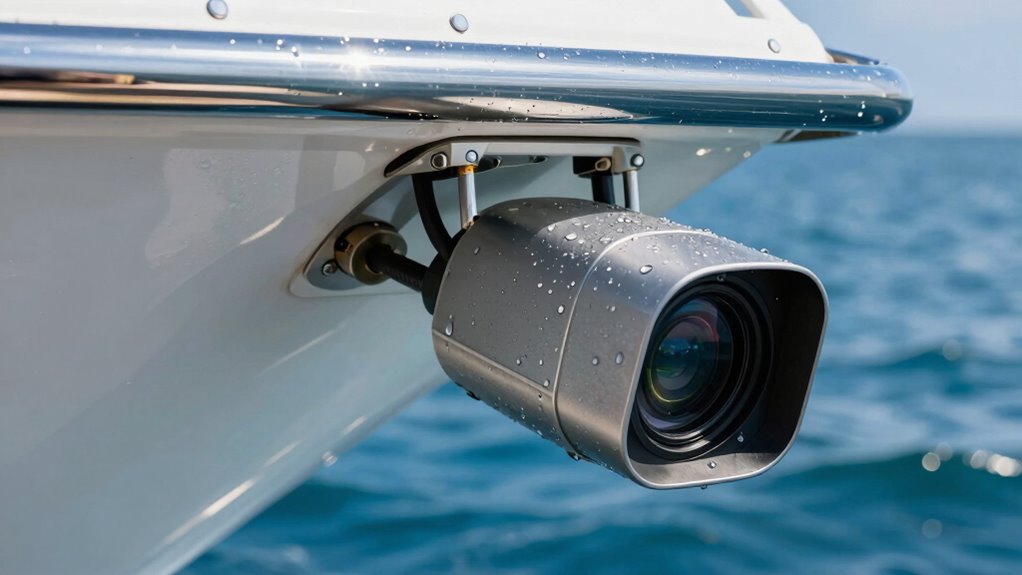
- Mount backup cameras at optimal angles near the stern for wide, unobstructed views and minimal distortion.
- Use waterproof housings, gaskets, and sealed connections to prevent water ingress and corrosion.
- Position cameras high and dry, avoiding obstructions, to enhance visibility and protect against spray and water damage.
- Secure all wiring with waterproof connectors and conduits to ensure reliable signal transmission and prevent water damage.
- Regularly inspect seals, clean lenses, and maintain waterproof features to ensure sustained camera performance in marine conditions.

Waterproof Marine Bluetooth Radio for Boat – Marine Gauge Stereo Receiver -3 Inch LCD Display Backup Camera Input USB AUX 4 Zones Subwoofer Pre-Amp AM FM Radio for ATVs UTVs SXS
WEATHERPROOF MARINE AUDIO SYSTEM: The bluetooth bass boat radio well built with water resistant IPX5, UV coating front…
As an affiliate, we earn on qualifying purchases.
As an affiliate, we earn on qualifying purchases.
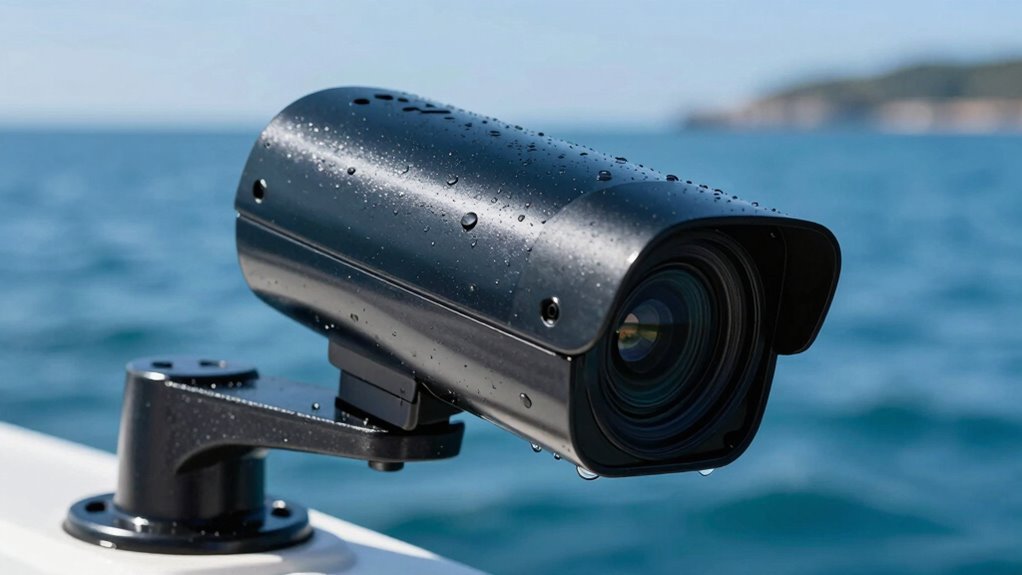
Why Proper Mounting Angles Are Crucial for Marine Backup Cameras
Proper mounting angles are essential for marine backup cameras because they directly impact the clarity and accuracy of the images you see. When you focus on correct camera alignment, you ensure that the camera captures the right field of view, reducing blind spots and distortion. Using the right mounting hardware helps secure the camera firmly in place, preventing shifts caused by boat motion or waves. An improper angle can leave you with distorted images or obscure critical areas behind your boat, risking safety. To get the best results, double-check that your camera is mounted at an ideal angle from the start. Properly aligned and securely attached cameras give you clear, reliable visuals, making your boating experience safer and more confident. Proper mounting techniques are also key to maintaining consistent image quality over time. Additionally, considering waterproofing features ensures your camera remains functional in harsh marine environments. Regularly inspecting your camera’s water resistance capabilities can help prevent damage caused by exposure to saltwater and moisture, which is especially important in marine environments.

Marine Bracket Mount – Heavy Duty Stainless Steel Boat & Truck Mounting Bracket for Rod Holders, Antennas, Cameras & Accessories, – Marine Grade Hardware
Marine-Grade Construction: Made from 316 stainless steel with superior resistance, this bracket withstands saltwater, exposure, and harsh weather…
As an affiliate, we earn on qualifying purchases.
As an affiliate, we earn on qualifying purchases.
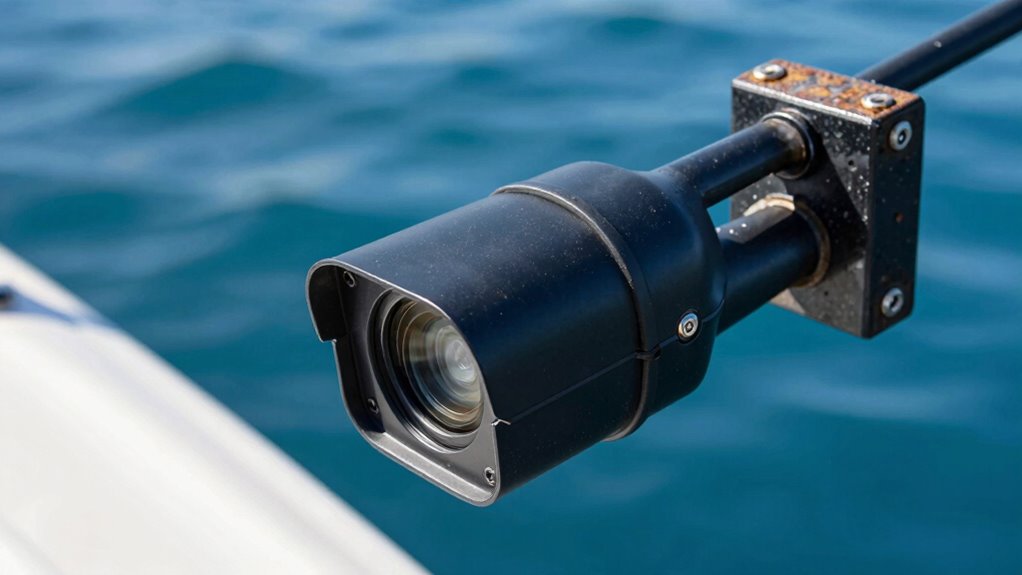
How to Choose the Best Spot for Your Boat’s Backup Camera

Choosing the right spot for your backup camera is key to getting a clear view and easy installation. You need to contemplate the best mounting locations, angles for visibility, and waterproofing to handle marine conditions. Let’s explore how to find the perfect spot that balances all these factors. For optimal performance, consider the engine feel of your boat to ensure the camera setup complements your vessel’s handling and responsiveness. Additionally, assess the marine environment to select a location resistant to water exposure and corrosion, prolonging the lifespan of your camera. Proper installation practices are essential to ensure the camera remains secure and functions correctly in challenging conditions. Recognizing the importance of boat etiquette can also guide you in discreetly positioning your camera without disturbing the vessel’s aesthetics. Furthermore, understanding the marine electronics setup can help you seamlessly integrate the backup camera with your existing navigation systems.
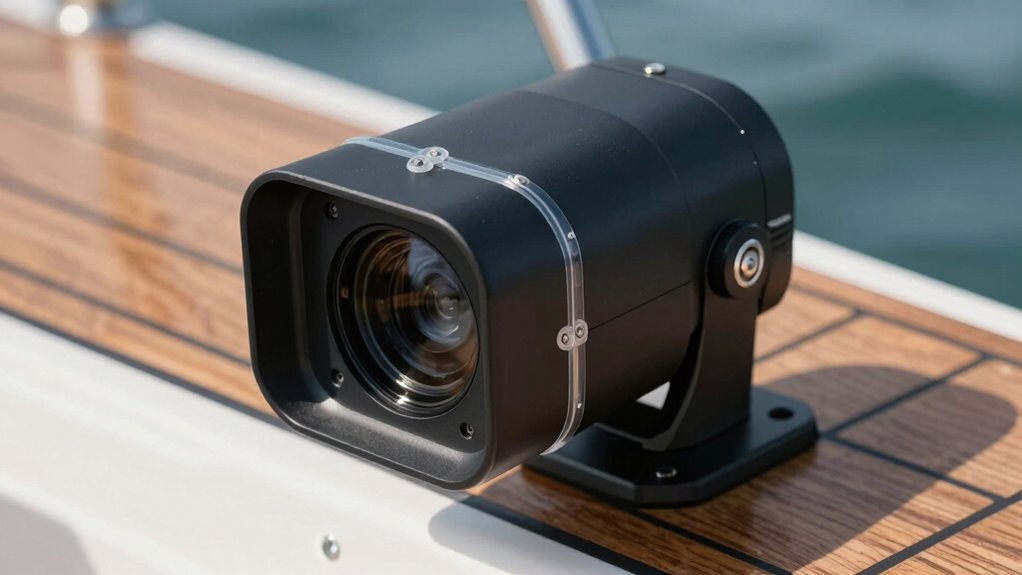
Optimal Mounting Locations
Selecting the right spot for your boat’s backup camera is essential for a clear, unobstructed view. You want it positioned where fender placement doesn’t block the camera’s line of sight or interfere with docking procedures. Mounting near the stern, just above or beside the transom, often works best, providing a wide-angle view of your surroundings. Confirm the camera isn’t obstructed by rails, cleats, or other gear that might be moved during docking. Consider ease of access for maintenance and adjustments, especially when attaching or removing fenders. The goal is to find a location that balances visibility with practicality, so you can rely on the camera during docking and maneuvering without obstructions or blind spots. Proper placement improves safety and makes your boating experience smoother. Incorporating privacy policy considerations ensures that any data collected by the camera complies with relevant regulations and maintains user trust. Additionally, understanding the digital security of your camera system can prevent unauthorized access and protect your privacy, especially when choosing secure mounting options. For optimal performance, selecting a position that minimizes interference from electronic devices can help maintain a clear signal and reliable operation, while also considering proper cable management to prevent damage during vessel movement.
Consider Visibility Angles
In addition to mounting location, considering the camera’s visibility angles guarantees you get the best view during docking and maneuvering. You want a spot that offers a clear, wide field of vision, minimizing blind spots. Pay attention to lighting considerations—avoid areas where glare or reflections may obscure the image, especially in bright sunlight or low-light conditions. Making certain that adequate lighting helps your camera capture clear, detailed footage. Camera resolution also plays an essential role; higher resolution cameras provide sharper images, making it easier to judge distances and identify obstacles. Test different angles before finalizing the placement, and aim for a position that balances wide coverage with minimal distortion. Proper positioning ensures you get the best possible view, making docking safer and more efficient. Additionally, understanding effective home soundproofing tips can help create a quieter environment on your boat, enhancing overall safety and comfort during navigation and docking procedures.
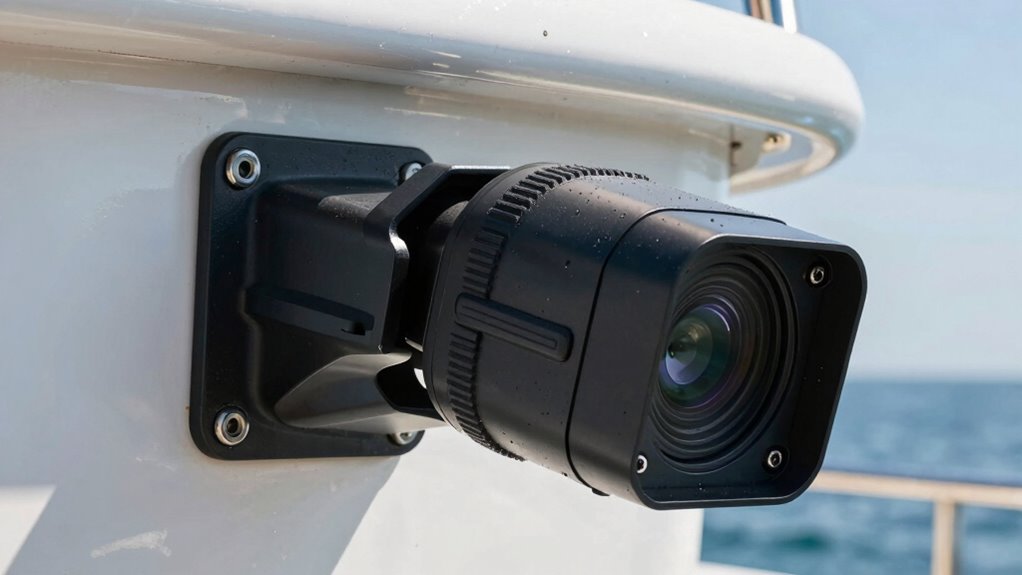
Waterproofing Strategies
Since your boat is constantly exposed to water and weather elements, selecting a camera spot with the right waterproofing is essential. Focus on areas that prevent water intrusion and protect wiring from corrosion. For antenna placement, choose a high, dry spot away from direct spray to avoid water damage and signal interference. Ensure the camera is sealed tightly with waterproof housings or gaskets. When wiring, run cables through waterproof conduits and avoid low points where water can collect. Regularly inspect for signs of corrosion or wear. Additionally, considering waterproofing techniques can greatly enhance the longevity of your installation by providing extra layers of protection against moisture intrusion. Proper mounting angles also help minimize water exposure and improve camera visibility, further protecting your equipment. Proper drainage strategies can help prevent water accumulation around the mounting area, reducing the risk of leaks. Incorporating corrosion-resistant materials into your mounting hardware can further safeguard against moisture-related damage. Here’s a visual guide:
| Location | Waterproofing Tips | Risks to Avoid |
|---|---|---|
| Mounting surface | Seal with silicone, use waterproof brackets | Water leaks and wiring corrosion |
| Wiring path | Use waterproof conduits, avoid low spots | Short circuits, signal loss |
| Antenna placement | High, dry, away from spray | Signal interference, damage |
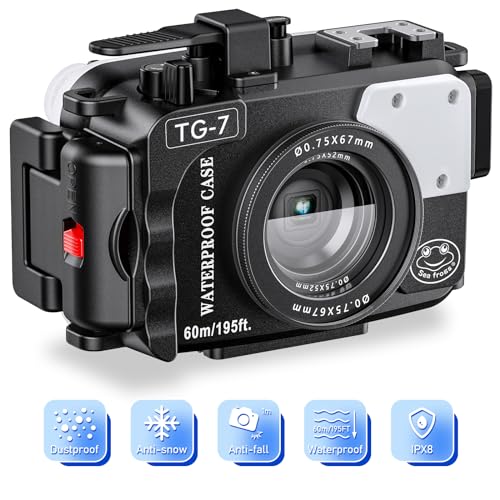
Seafrogs 60m/195ft Underwater Camera Housing for Olympus TG-7 – Waterproof Case with 52mm & 67mm Thread, Dual Fiber Optic Ports, Leak Detection, Stainless Steel Mounting Plate (TG-7-black)
Perfect Compatibility: Specifically designed for the Olympus TG-7 camera, this underwater housing ensures your camera stays dry and…
As an affiliate, we earn on qualifying purchases.
As an affiliate, we earn on qualifying purchases.
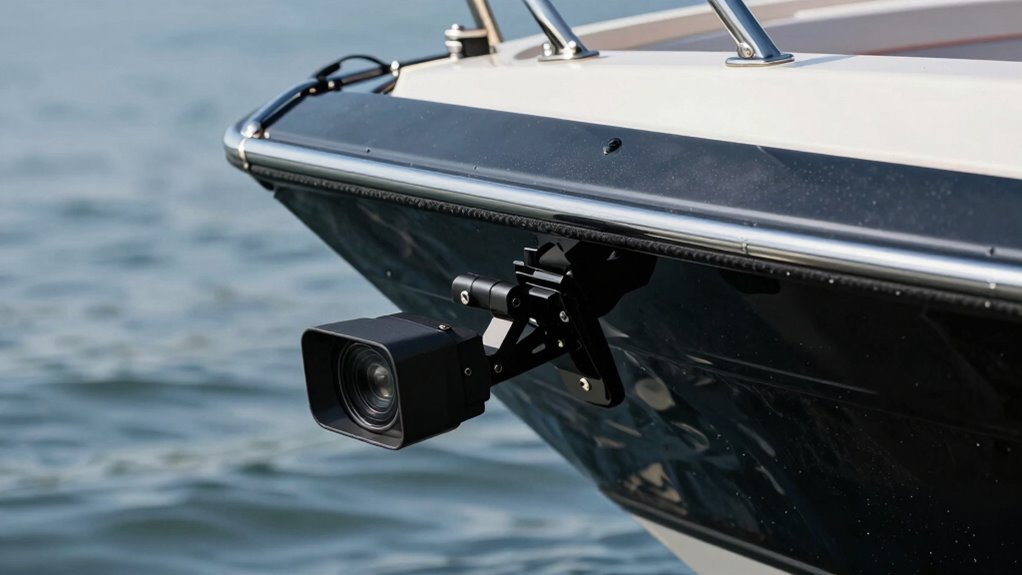
Setting the Right Camera Angle for Visibility and Safety
Getting the camera angle right is essential for maximizing visibility and ensuring safety on your boat. You need to take into account lighting conditions, which can vary throughout the day and affect how well you see the camera feed. Adjusting the camera tilt helps optimize the view, reducing glare during bright conditions and enhancing visibility in low light. Aim the camera slightly downward to capture a clear view of the area behind your boat without excessive sky or water reflections that can obscure objects. Test different angles during daylight and at dusk to find the best setting. Proper tilting ensures you can spot obstacles early, prevent accidents, and navigate safely, regardless of changing lighting conditions. Additionally, understanding waterproofing techniques is crucial to maintain camera functionality in wet conditions and extend its lifespan. Incorporating proper maintenance practices can further help protect your camera from water damage and ensure continuous operation. Being aware of waterproofing methods can significantly enhance your camera’s durability in harsh marine environments. Moreover, selecting cameras with robust waterproof ratings can provide added assurance against water intrusion and harsh weather.

380PCS Vesmikit Heat Shrink Butt Connectors-Marine Grade Waterproof Electrical Wire Connectors Kit-Tinned Copper Insulated Crimp Terminals Butt Splice for Wiring,Automotive,Boat,Trailer Truck,Stereo
ELECTRICAL CONNECTORS COMPLIANT WITH RELEVANT STANDARDS: Total 380PCS heat shrink butt connectors kit (150 PCS RED: 22-18A.W.G./ 150…
As an affiliate, we earn on qualifying purchases.
As an affiliate, we earn on qualifying purchases.
Waterproofing Tips to Keep Your Marine Camera Dry and Working
To keep your marine camera functioning properly, you need to prioritize waterproofing. Start by sealing all connections tightly, use marine-grade materials designed for harsh conditions, and perform regular maintenance checks. These steps guarantee your camera stays dry and ready for any weather. Additionally, ensuring proper mounting angles can help prevent water intrusion and improve visibility. Proper camera positioning also minimizes the risk of water pooling on the lens and affecting image quality.
Seal All Connections
Sealing all connections is essential to prevent water from seeping into your marine camera system. Properly sealed connections protect your marine electronics from corrosion and damage caused by moisture. Use waterproof connectors and quality sealants to assure every plug, wire, and junction is airtight. This also helps maintain the indoor air quality of your marine environment by preventing humidity buildup that can lead to mold or mildew. Proper sealing techniques are especially important in Free Floating environments where exposure to water is constant. This prevents water ingress that could compromise image clarity or damage the camera’s internal components. When installing, double-check that your cables are fully inserted and securely sealed before powering up. Additionally, camera calibration might be affected if moisture enters the system, leading to distorted images or misalignment. Regularly inspect all seals and connections, replacing any worn or compromised materials. Ensuring that your waterproofing methods are up to standard is crucial for long-term durability. Implementing marine-specific sealing techniques can further enhance the effectiveness of your waterproofing efforts. Keeping connections sealed guarantees your backup camera remains operational, providing reliable visuals when you need them most on your boat.
Use Marine-Grade Materials
Using marine-grade materials is key to ensuring your backup camera stays dry and functional in harsh boating conditions. These materials are designed for maximum corrosion resistance and durability. To protect your camera, consider these tips:
- Choose enclosures made from marine-grade plastics or stainless steel, which resist corrosion and saltwater damage.
- Use waterproof seals around all openings to prevent water ingress.
- Select mounting hardware specifically designed for marine environments, ensuring long-term stability and resistance to rust.
Regular Maintenance Checks
Regular maintenance checks are essential to keep your marine backup camera waterproof and functioning properly. You should regularly inspect the camera for signs of water intrusion or corrosion, ensuring seals remain intact. Proper camera calibration is vital after any impact or adjustment to maintain accurate imaging. Pay close attention to lighting considerations; clean the lens frequently to prevent fogging or dirt buildup that can impair visibility. Verify that the waterproof housing remains sealed and free of cracks. Test the camera’s performance in different lighting conditions, adjusting settings if necessary to optimize image clarity. Regularly cleaning and calibrating your camera, along with monitoring its waterproof integrity, helps ensure reliable operation in challenging marine environments. Staying proactive prevents costly repairs and keeps your boat’s safety features in top shape.
Common Mounting Mistakes and How to Avoid Them
One of the most common mistakes when mounting boat backup cameras is placing them in spots that don’t provide a clear, unobstructed view. This can lead to blind spots and reduced visibility. To avoid issues, pay attention to these key mistakes:
- Installing the camera at the wrong angle, which distorts the view.
- Using incorrect wiring, causing signal loss or power failures.
- Neglecting poor cable management, leading to damage or water ingress.
Proper mounting involves choosing a high, central location and securing the camera firmly. Make sure wiring is correct and neatly organized, avoiding tangles or exposed connections. Proper cable management prevents damage and water intrusion, ensuring long-term performance. Avoiding these mistakes guarantees your backup camera functions reliably and provides a clear, safe view.
Maintaining Your Boat Backup Camera for Long-Term Use
To guarantee your boat backup camera remains reliable over time, it’s essential to perform regular maintenance and inspections. Check the camera’s waterproof seals and mounting to prevent corrosion and water ingress. Keep the camera lens clean to preserve resolution clarity, ensuring clear visibility at all times. Monitor the battery life of wireless models; replace or recharge batteries before they run out to avoid downtime. Regularly test the camera’s resolution and functionality, especially before outings. Here’s a quick overview:
| Maintenance Task | Benefit |
|---|---|
| Clean the lens | Maintains clear visibility |
| Inspect waterproof seals | Prevents water damage |
| Check battery status | Ensures continuous operation |
Consistent upkeep guarantees peak performance and safety.
Frequently Asked Questions
What Are the Best Materials for Waterproof Mounting Brackets?
You should choose marine grade silicone and stainless steel brackets for waterproof mounting. Marine grade silicone offers excellent water resistance and seals gaps effectively, preventing water intrusion. Stainless steel brackets are durable, corrosion-resistant, and withstand harsh marine environments. Combining these materials guarantees your backup camera stays securely mounted and waterproof, even in tough conditions. Always select high-quality, marine-rated components for lasting performance and peace of mind on your boat.
How Often Should I Inspect My Backup Camera’s Waterproof Seals?
Think of your waterproof seals as the boat’s life jackets — essential for safety. You should inspect your backup camera’s seals at least every three to six months, especially before and after rough weather or long trips. During inspections, look for cracks or signs of wear. If you notice any damage or if the seals aren’t tight, perform seal maintenance or replace the seals promptly to keep water out and your camera working smoothly.
Can I Install a Backup Camera While the Boat Is in Water?
Yes, you can do marine camera installation while your boat is in water, but it’s best to do it carefully. Make sure you have waterproof camera mounting equipment and take precautions to safeguard electrical connections. Use marine-grade waterproofing materials, and ensure all seals are secure before powering on the camera. Working with a professional helps guarantee your waterproof camera mounting is done correctly and safely in this environment.
Are There Specific Electrical Considerations for Marine Waterproof Cameras?
Think of your marine camera like a sturdy ship steering stormy seas. You need proper electrical grounding to prevent electrical surges from damaging the system, just as a ship relies on a solid hull. Confirm your power supply is compatible, like the ship’s engine matching its fuel type, to keep the camera running smoothly. Proper wiring and waterproof connectors are essential, guaranteeing the camera stays protected against water’s relentless assault.
How Does Temperature Fluctuation Affect Waterproof Camera Performance?
Temperature fluctuations can impact your waterproof camera’s performance through thermal expansion, which may loosen seals or mounting components, and condensation buildup inside the housing. When it gets hot or cold, these changes can cause moisture to form or compromise waterproofing, leading to foggy images or damage. To prevent this, guarantee proper sealing, use materials that accommodate thermal expansion, and allow your camera to acclimate gradually to temperature changes.
Conclusion
By paying close attention to mounting angles and waterproofing, you guarantee your boat’s backup camera stays in top shape. Think of it as giving your camera a cozy, protected home where it can perform its best. When you choose the right spot and keep it well maintained, you’ll enjoy clearer views and safer trips on the water. A little care now means many smooth, worry-free adventures ahead—making your boating experience truly enjoyable.