
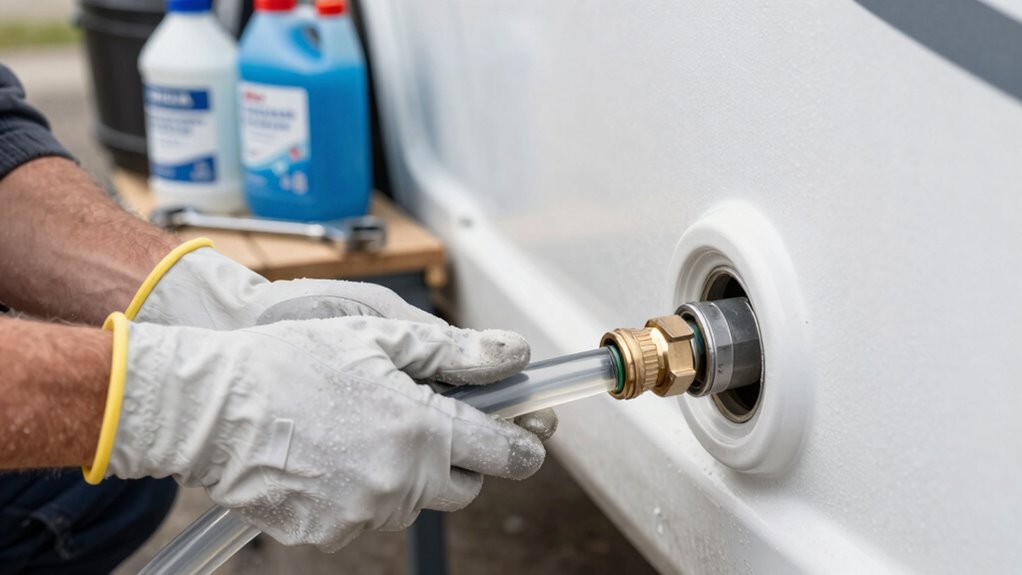
To winterize your freshwater system without damage, start by shutting off the main water supply and draining all pipes, appliances, and fixtures thoroughly. Use a proper antifreeze designed for potable water systems to prevent freezing, and guarantee it reaches every pipe, valve, and fixture. Insulate exposed pipes and vulnerable areas to keep warmth in. Double-check all connections, and don’t rush—proper steps protect your system from costly damage. Keep going to discover detailed tips for a flawless winterization.
Key Takeaways
- Drain all residual water from pipes, fixtures, and appliances, then use appropriate antifreeze to prevent freezing damage.
- Insulate exposed pipes and vulnerable areas with foam coverings, seal joints, and cover fittings to maintain warmth.
- Reduce water pressure before draining to minimize stress and prevent pipe cracks or bursts.
- Verify antifreeze concentration and ensure it reaches all system parts, running fixtures briefly to confirm proper flow.
- Conduct a thorough inspection of seals, insulation, and system components to prevent leaks and ensure complete protection.

West Marine -50°F Engine & Water System Antifreeze, Gallon
PREMIUM PROTECTION: Non-toxic propylene glycol formula provides burst protection down to -50°F (-46°C) for both engine and water…
As an affiliate, we earn on qualifying purchases.
As an affiliate, we earn on qualifying purchases.
Why Winterizing Your Freshwater System Matters
Winterizing your freshwater system is vital because freezing temperatures can cause significant damage. When water freezes, it expands, which can crack pipes, tanks, and fixtures. Beyond physical damage, neglecting winterization can lead to system contamination. Stagnant or unprotected water can harbor bacteria or mold, compromising water quality once the system is used again. Proper winterization helps prevent these issues by removing residual water and sealing your system, reducing the risk of contamination. Maintaining good water quality is essential for your health and the longevity of your equipment. Additionally, using appropriate tools can make the process more efficient and thorough. Taking these steps ensures your freshwater system stays intact and safe, preserving both its functionality and your peace of mind during the cold months. Properly system flushing is also crucial to eliminate any remaining impurities. Incorporating regional flavors and insights can also help you choose the best winterization methods based on your location’s climate conditions. Being aware of indoor air quality impacts, such as dust and microbes, underscores the importance of a well-maintained system for overall health. Furthermore, understanding the effects of temperature fluctuations can help you better prepare your system for unexpected cold snaps.

Duck Brand Foam Pipe Covers, Pipe Insulation Foam Tubes for Hot and Cold Water Pipes, Pre Slit and Self Sealing Adhesive Edge, 0.75 in. x 1 Ft., 6 Sticks Per Package, 6 Feet Total, Black
Duck Brand insulating foam pipe stick covers are great for insulating both hot and cold water pipes
As an affiliate, we earn on qualifying purchases.
As an affiliate, we earn on qualifying purchases.
Prepare Your Plumbing and Appliances for Winter
To protect your plumbing and appliances from freezing temperatures, you need to take proactive steps before the cold sets in. Start by inspecting your pipe materials; flexible pipes like PEX handle freezing better than rigid copper or PVC, but all pipes are vulnerable. Reduce water pressure to lessen stress on your plumbing during cold weather, preventing cracks or bursts. Consider installing insulation around exposed pipes and appliances to maintain warmth. Shut off water supply to outdoor faucets and drain any remaining water to prevent freezing damage. Check for leaks or weak spots that could worsen in freezing conditions. Additionally, understanding the different pipe materials can help you choose the best options for winter resilience. Knowing your plumbing system components is crucial to effectively winterize your home. Recognizing vulnerable areas in your plumbing can guide targeted insulation efforts. Using temperature monitoring devices can alert you to unexpected drops in temperature, allowing for timely intervention. For added protection, it’s also wise to review grocery savings strategies to ensure you have the resources for necessary repairs or supplies in case of emergencies. Taking these precautions now minimizes the risk of damage and guarantees your plumbing and appliances stay functional throughout winter.

MEASUREMAN Water Pressure Gauge, 0-200 PSI Water Pressure Tester with 2-1/2 Inch Dial & Durable 3/4 Inch Hose Thread, Ideal for Home, Hose Bib (Waterproof Case, Black)
Wide Pressure Range:It is capable of measuring between 0 and 200 PSI/kPa. This device ensures accurate monitoring for…
As an affiliate, we earn on qualifying purchases.
As an affiliate, we earn on qualifying purchases.
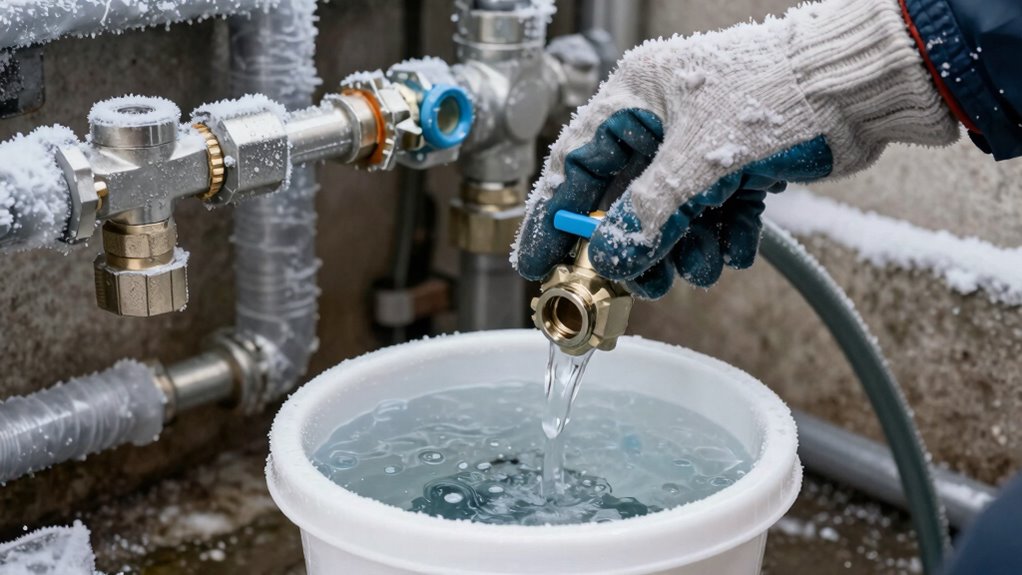
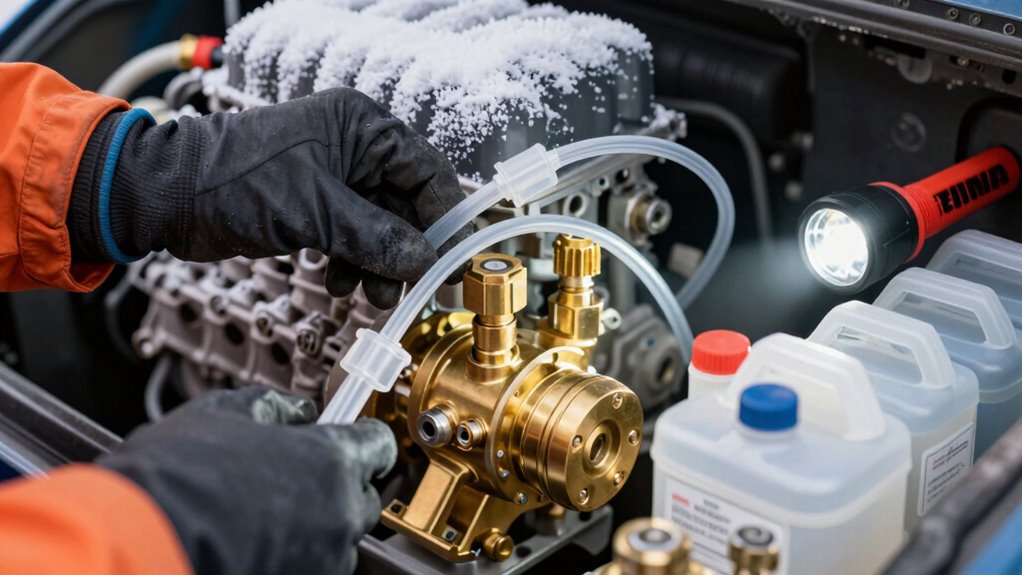
Drain and Flush Your System to Prevent Freezing
Drain and flush your system to prevent freezing damage. Before the cold weather arrives, it is vital to drain and flush your freshwater system to prevent freezing damage. Start by shutting off the water supply and opening all faucets to drain residual water. Use a specialized antifreeze selection designed for plumbing to guarantee no water remains that could freeze and crack pipes. After draining, flush the system with clean water to remove dirt and debris, then repeat the draining process. To provide extra protection, install pipe insulation around vulnerable pipes, especially in unheated areas. Proper insulation helps retain residual heat and prevents freezing. Additionally, choosing appropriate insulation materials can significantly improve your system’s winter resilience. Ensuring proper system maintenance can help identify potential vulnerabilities before the cold sets in. Incorporating product roundups can help you choose the best insulation and antifreeze options for your needs. By thoroughly draining, flushing, and insulating, you greatly reduce the risk of pipe damage during winter. This proactive approach keeps your freshwater system safe and functional through the cold months.

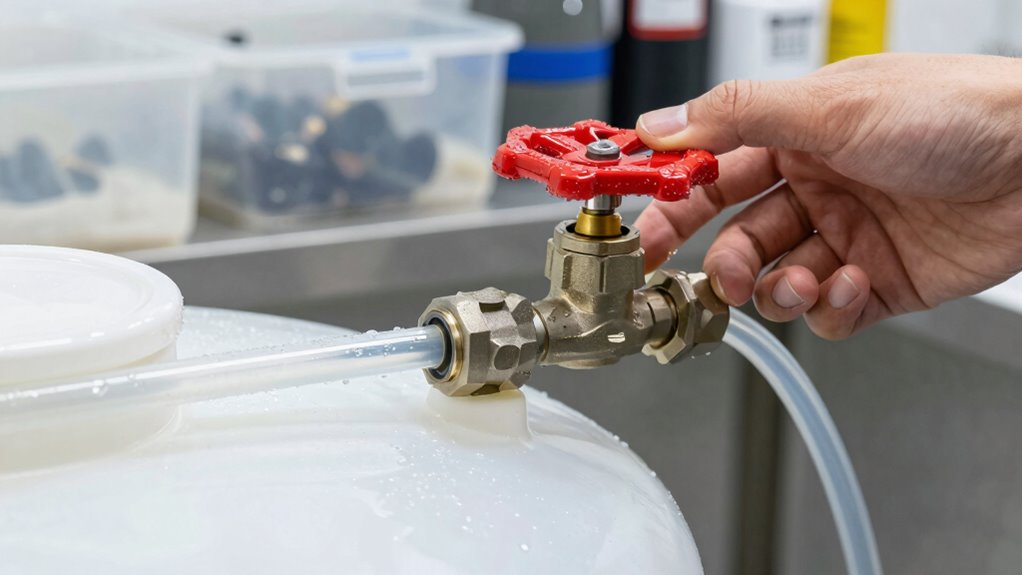
3/4" Brass Garden Hose Shut Off Valve,1-Way Restricted-Flow Water Shut-Off, Fits 3/4 Inch Hose Connector
Standard 3/4 inches Brass garden hose shut off valve fits all garden hose, watering devices, sprayers, sprinkler, nozzle…
As an affiliate, we earn on qualifying purchases.
As an affiliate, we earn on qualifying purchases.
Choose the Right Antifreeze for Your System
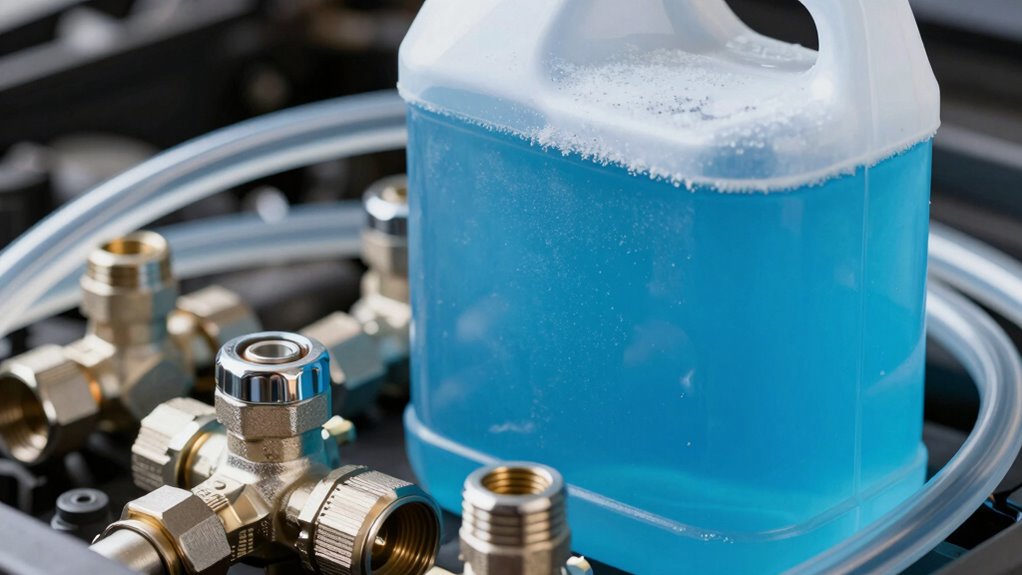
Choosing the right antifreeze is essential to protect your system from freezing damage. When selecting antifreeze, consider the antifreeze selection carefully to guarantee it matches your system’s requirements. Fluid compatibility is crucial in preventing system failures and ensuring long-term reliability. Not all antifreezes are compatible with every type of plumbing or components, so Fluid compatibility is key. Use a product specifically formulated for freshwater systems, and check manufacturer recommendations to avoid chemical reactions or corrosion. Properly understanding antifreeze formulations can help you select a product that offers optimal protection for your setup. Look for antifreeze that offers freeze protection down to your expected lowest temperature, especially if you’re in a cold climate. Considering the chemical properties of the antifreeze can help prevent corrosion and extend the lifespan of your system. Additionally, understanding system maintenance practices can help you maintain antifreeze effectiveness over time. Avoid using automotive antifreeze unless specified, as it can be toxic and unsuitable for potable water systems. Proper antifreeze selection ensures your system stays protected without causing damage or contamination.
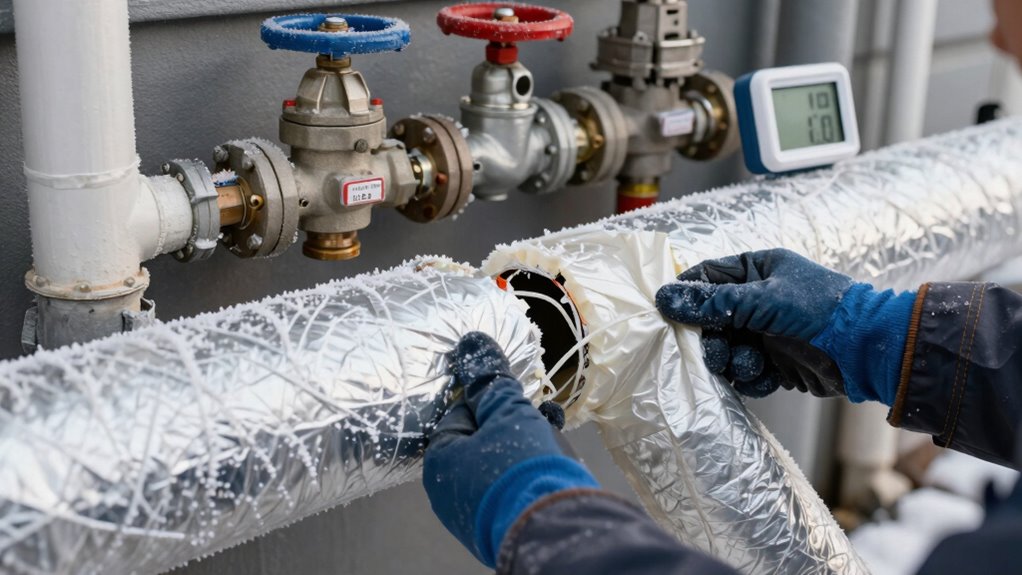
Insulate Pipes and Vulnerable Components
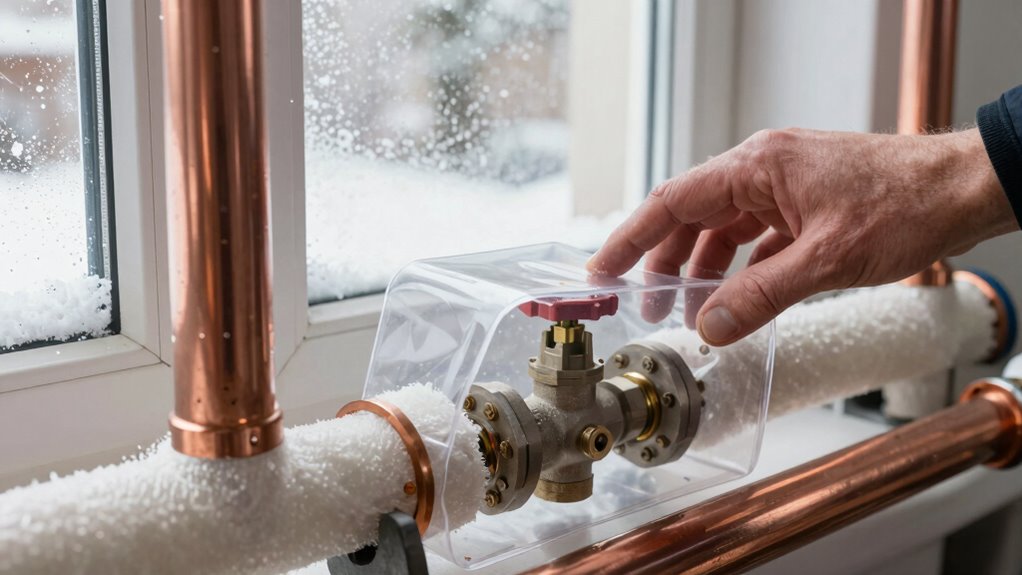
To safeguard your system from freezing, start by wrapping pipes with insulation to keep the heat in. Make sure you seal vulnerable joints properly to prevent drafts, and cover exposed components with foam or tape coverings for extra insulation. These steps help ensure your system stays safe during cold temperatures. Additionally, consider using proper insulation materials around your pipes and components to maximize protection against the cold. For a more secure setup, you might also explore cable failure prevention methods to protect your wiring from harsh winter conditions. Incorporating temperature monitoring devices can further alert you to potential issues before damage occurs.
Wrap Pipes With Insulation
Wrapping pipes with insulation is one of the most effective ways to protect your freshwater system from freezing temperatures. Use pipe insulation or foam coverings to shield vulnerable sections, especially those exposed to outdoor elements or unheated spaces. Proper insulation prevents pipes from freezing and bursting, saving you costly repairs. When wrapping, ensure the coverings fit snugly without gaps. For added protection, secure the insulation with tape or zip ties. Remember, focus on areas near exterior walls, basements, or crawl spaces. Additionally, thermal expansion can occur when pipes freeze and thaw, so proper insulation helps mitigate this risk. Here’s a quick comparison:
| Insulation Type | Best Use |
|---|---|
| Pipe insulation | Indoor and outdoor pipes |
| Foam coverings | Exposed or vulnerable pipes |
| Seal tape | Securing insulation effectively |
Insulating your pipes is a simple yet essential step in winterizing your freshwater system. Proper installation techniques will maximize the effectiveness of your insulation efforts, helping to prevent damage caused by temperature fluctuations.
Seal Vulnerable Joints Properly
After insulating your pipes, it’s important to address the vulnerable joints and connections that could still be susceptible to freezing. To do this, carefully inspect all joints and seal them properly with appropriate materials like pipe sealant or weatherproof tape. Sealing joints helps prevent leaks and keeps cold air from seeping in, which can cause pipes to freeze. Be thorough around areas where pipes connect to fixtures, valves, or fittings. Make sure each joint is tightly sealed and double-check for gaps or cracks. Properly sealing joints not only reduces the risk of freezing but also minimizes water damage from leaks. Taking these steps ensures your system stays protected during harsh winter conditions and helps avoid costly repairs.
Use Foam or Tape Coverings
Covering your pipes and vulnerable components with foam or tape provides essential insulation against cold temperatures. Foam coverings are easy to slip over exposed pipes, creating a barrier that prevents freezing. Tape insulation is a flexible, effective option for wrapping joints, valves, and other tricky areas. Apply foam coverings to all exposed piping, especially those in unheated spaces, to guarantee they stay warm. Use tape insulation to secure vulnerable connections and prevent heat loss at joints. Make sure the coverings fit snugly, leaving no gaps where cold air can seep in. Proper insulation reduces the risk of pipes freezing and bursting, saving you costly repairs. Regularly inspect the foam and tape throughout winter, replacing any worn or damaged sections to maintain effective protection.
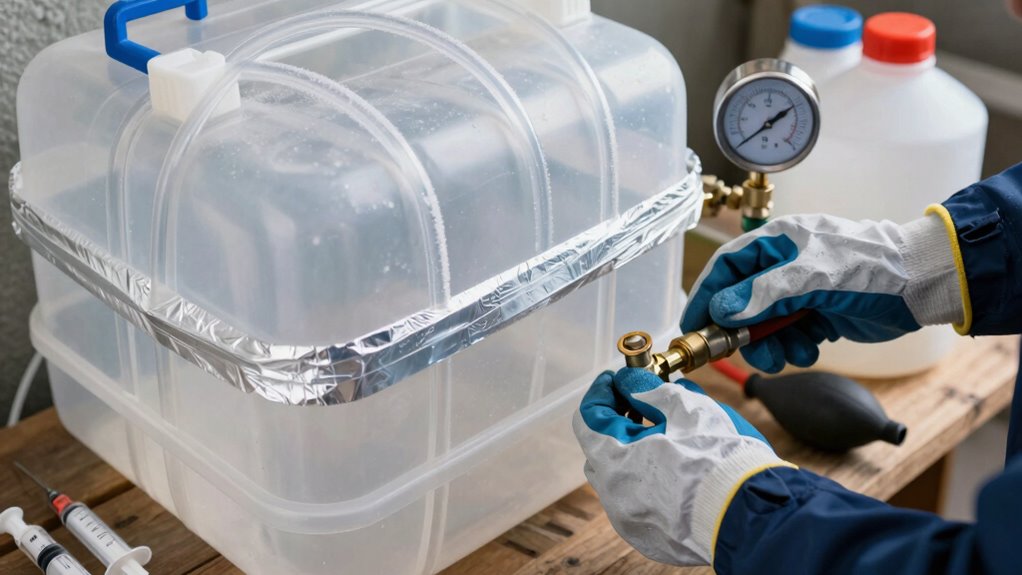
Check That Your Winterization Is Done Properly
Before the cold weather sets in completely, it’s essential to verify that your winterization process was successful. First, check the system pressure; it should be stable and within the recommended range, indicating no leaks or blockages. Next, inspect the antifreeze concentration in all lines and fixtures—use a tester to ensure it’s at the right level for freezing temperatures. If the pressure is too low, it might mean a leak, while too high could cause damage. Confirm that antifreeze has reached all parts of the system, including traps and faucets. Also, run water fixtures briefly to see if antifreeze flows properly and no air bubbles are present. These checks help prevent costly damage caused by overlooked issues.
Common Mistakes When Winterizing and How to Avoid Them
One common mistake is rushing the winterization process, which can lead to missed spots and freezing issues later on. Using the wrong solutions or incorrect concentrations can also cause damage or inadequate protection. To avoid these pitfalls, take your time and follow manufacturer instructions carefully.
Rushing the Process
Rushing through the winterization process can lead to costly mistakes and potential damage to your freshwater system. Speeding procedures may cause you to skip essential steps, leaving water trapped where it can freeze and expand, damaging pipes or fittings. When you hurry, you might overlook draining all water lines thoroughly or fail to use the correct antifreeze. This rushed approach increases the risk of cracks, leaks, or system failure come winter. Take your time to follow each step carefully, ensuring every part is properly drained and protected. Avoid the temptation to cut corners, as the long-term costs of damage far outweigh the inconvenience of a slower process. Properly winterizing your freshwater system means patience, not speed.
Using Incorrect Solutions
Using the wrong type of antifreeze is a common mistake that can cause serious damage to your freshwater system. Many people mistakenly use improper chemicals or incorrect solutions, which can corrode pipes or damage seals. To avoid this, always select RV or potable water-grade antifreeze designed for freshwater systems. Here’s a quick comparison:
| Solution Type | Proper Use | Risks of Incorrect Use |
|---|---|---|
| Propylene Glycol | Safe for plumbing and drinking water | Corrosion or health hazards |
| Ethylene Glycol | Not recommended for potable systems | Toxicity and damage |
| Commercial Winterizing Solution | Properly formulated for winterization | Potential chemical damage |
Always verify the chemicals you use, and steer clear of improper chemicals to protect your system.
Frequently Asked Questions
Can I Winterize My Freshwater System Myself or Should I Hire a Professional?
You can definitely handle DIY winterization if you’re comfortable with basic plumbing tasks, but if you’re unsure or want to avoid mistakes, professional assistance is a smart choice. A professional guarantees the job’s done correctly and prevents damage to your system. Weigh your skills and comfort level — if you’re confident, DIY winterization saves money; otherwise, hiring an expert provides peace of mind and proper protection for your freshwater system.
How Often Should I Check My System After Winterization?
You should check your system regularly after winterization, ideally every few weeks during the first few months. This allows you to detect any signs of leaks or damage early, helping you maintain proper system maintenance. Performing these preventative measures ensures your freshwater system stays in good condition and prevents costly repairs. Consistent inspections give you peace of mind, keeping everything running smoothly and extending the lifespan of your system.
Is It Necessary to Completely Drain My System or Just Partially?
You should completely drain your freshwater system to prevent any residual water from freezing and causing damage. Follow proper drainage procedures, ensuring all pipes, tanks, and appliances are empty. After draining, apply antifreeze to the remaining water in traps and drains to add extra protection. This thorough approach minimizes the risk of freeze damage, keeping your system safe through winter. Partial draining isn’t enough; full drainage and antifreeze application are essential.
What Signs Indicate My System Was Not Winterized Properly?
If your system wasn’t winterized properly, you’ll notice leaks or cracks around fixtures and pipes during use, indicating potential freeze damage. Odor issues, like musty or moldy smells, can also signal trapped moisture or mold growth caused by incomplete draining. Conduct leak detection checks and smell for unusual odors to identify these issues early, so you can address them before further damage occurs.
How Does Climate Impact the Winterization Process?
Climate variations substantially impact your winterization process, requiring seasonal adjustments to protect your freshwater system. Colder climates demand thorough draining and antifreeze use to prevent freezing damage, while milder climates may need less intensive measures. You should consider local temperature patterns and humidity levels, adjusting your winterization steps accordingly. By tailoring your approach to climate fluctuations, you guarantee your system stays safe and functional throughout winter, avoiding costly repairs.
Conclusion
If you think winterizing is just about avoiding frozen pipes, think again. Skip the steps, and you might end up with a soggy, expensive surprise in spring. But hey, who needs peace of mind or a warm home, right? Follow these tips carefully, or enjoy shoveling out your costly mistakes. After all, nothing says “winter-proof” like a little preventive chaos. Stay smart, stay safe—your pipes will thank you.