To troubleshoot trailer lights, start by inspecting bulbs, wiring, and connections for damage or corrosion. Use a test light or multimeter to verify power at each connection point, and verify grounds are solid. Check fuses and replace burnt-out bulbs as needed. Address loose, corroded, or damaged cables, and make sure wiring is secured and protected. If problems persist, you’ll find valuable tips to restore reliable lighting as you explore further.
Key Takeaways
- Check for damaged, loose, or corroded wiring and connections; clean and tighten as needed.
- Test bulbs and fuses regularly; replace any burnt-out components with correct ratings.
- Verify proper grounding to prevent flickering or failure of trailer lights.
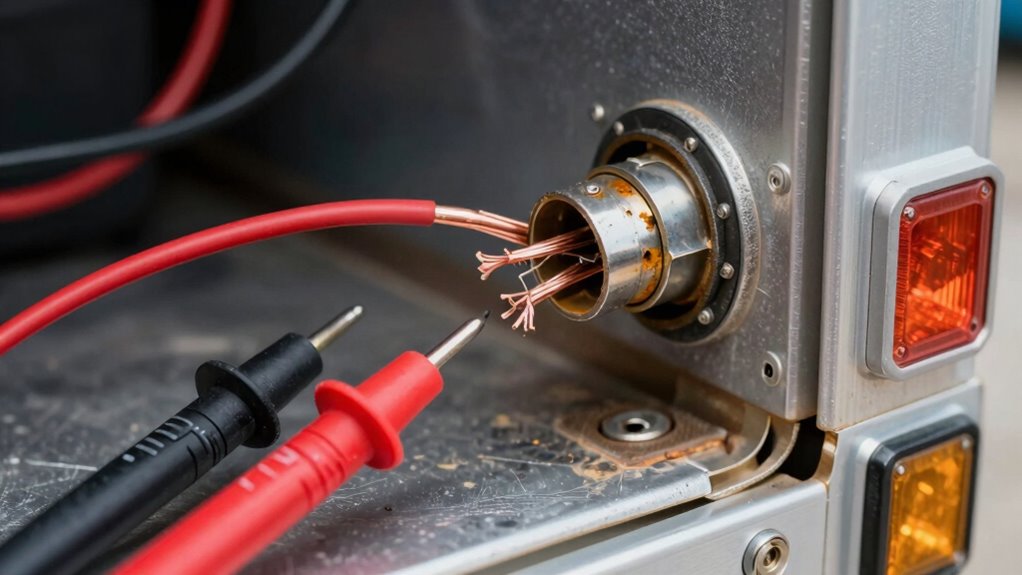
- Use a multimeter or test light to confirm power reaches each light socket.
- Perform routine maintenance and inspect wiring to prevent corrosion and ensure reliable operation.

IRONWALLS 8000LBS Heavy Duty Trailer Jack Stand, Drill Powered/Manual Side-Mount Trailer Tongue Jack Bolt on, Adjustable Drop Leg, 28.4" Vertical Travel, for Utility, Camper, Boat Trailers
【8000LBS Large Load Capacity for Multiple Trailers】Engineered for 8,000 lbs heavy duty trailers, IRONWALLS boat trailer jack stand...
As an affiliate, we earn on qualifying purchases.
How to Diagnose Trailer Light Problems Quickly
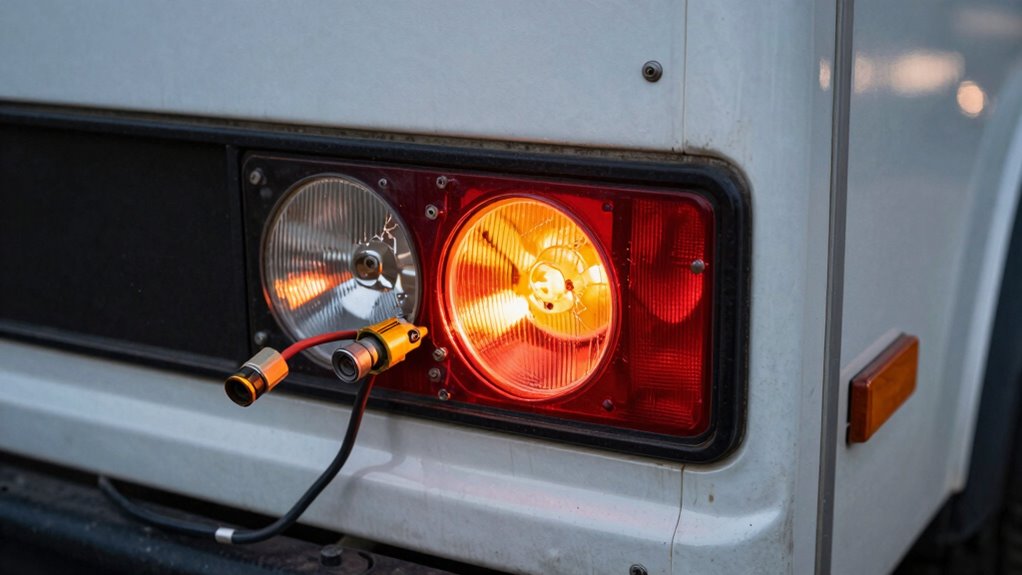
Troubleshooting trailer light problems promptly can save you time and prevent further issues on the road. To diagnose quickly, start by understanding the difference between LED lights and incandescent lights. LED lights are more durable, energy-efficient, and tend to last longer, but they may require specific wiring or resistors to function correctly. Check the trailer light color codes—red for brake lights, yellow for turn signals, and white for ground—to identify if any bulbs or wiring are mismatched or faulty. Use a test light or multimeter to verify power at each connection point. If the lights don’t match the expected color functions or don’t illuminate, it’s a sign to inspect wiring and connections closely. Recognizing these differences helps you pinpoint issues faster and get back on the road safely, especially as luxury lighting options can add both style and function to your trailer. Additionally, understanding trailer electrical systems can help you troubleshoot more complex wiring problems effectively. When addressing wiring issues, paying attention to ground connections is crucial, as poor grounding is a common cause of trailer light failures. Moreover, inspecting the condition of electrical connectors can reveal corrosion or damage that impairs proper function.

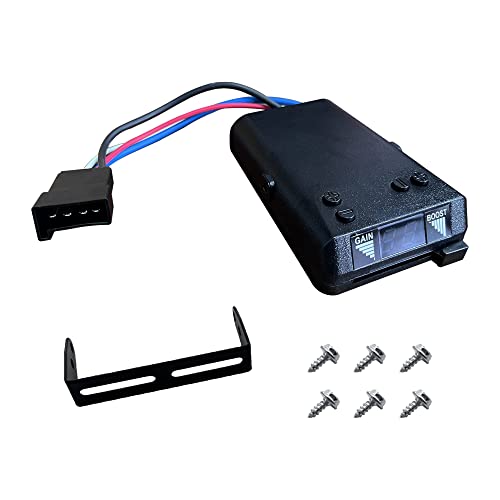
briidea Bluetooth Trailer Brake Controller, Proportional Brake Controller with APP Control & LED Display, Boost Function for Smoother Braking, Ideal for Heavy-Duty & Frequent Towing (1-4 Axles)
UPGRADED BLUETOOTH CONNECTIVITY & SMART APP CONTROL: The Briidea bluetooth brake controller has been fully upgraded to support...
As an affiliate, we earn on qualifying purchases.
Common Causes of Trailer Light Failures (Bulbs, Wiring, Connections)

Many trailer light failures come down to simple issues like faulty bulb connections or corroded wiring points. Loose or damaged cables can also disrupt the electrical flow, causing lights to stop working. Identifying these common problems is the first step to getting your trailer lights back in action. Additionally, checking the electrical components of bike generators can help ensure your power sources are functioning properly. Proper contrast ratio and calibration of electrical systems may also improve overall performance and reliability. Regular water damage prevention measures can help protect sensitive wiring from moisture-related failures. Understanding halal traditions and their significance can also inspire careful maintenance and respectful handling of your equipment, ensuring longevity and proper function. Maintaining a comprehensive wiring inspection schedule can further reduce the risk of electrical failures and extend the lifespan of your trailer’s lighting system.
Faulty Bulb Connections
Faulty bulb connections are a common cause of trailer light failures, often resulting from loose or corroded contacts. You should inspect the bulbs and verify they’re seated properly; sometimes, a simple bulb replacement solves the issue. If the bulbs are fine, check the connection points for looseness or corrosion. Tightening the connections can restore proper contact and fix the problem. Remove the bulb socket and clean any corrosion with a wire brush or contact cleaner. Make sure all wires are securely attached and free of rust or debris. Proper connection tightening ensures good electrical contact, preventing flickering or complete light failure. Regularly inspecting and maintaining these connections helps keep your trailer lights functioning reliably and avoids unexpected breakdowns on the road. Additionally, using quality wiring components can help reduce future connection issues and improve overall reliability. Ensuring that the wiring system complies with safety standards is also crucial for long-term durability. Incorporating corrosion-resistant connectors can further enhance the longevity of your trailer’s electrical system. Investing in reliable electrical parts not only improves safety but also minimizes the need for frequent repairs. Moreover, implementing preventative maintenance routines can help catch potential issues early before they escalate.
Corroded Wiring Points
Corrosion at wiring points is a common cause of trailer light failures because it disrupts the flow of electricity. When wiring corrosion occurs, it creates resistance, preventing proper signal transmission. You might notice dim or flickering lights, or complete failure. To prevent corrosion issues, regularly inspect and clean wiring connections. Look out for:
- Rust or greenish deposits around connectors
- Corrosion buildup on terminals
- Loose or dirty connections
- Signs of water damage or moisture infiltration
Maintaining proper outdoor lighting practices can also help minimize exposure to elements that cause corrosion. Wiring corrosion often stems from exposure to moisture, road salt, or dirt. Keeping connections dry and applying dielectric grease can help prevent corrosion issues. Ensuring your wiring points are clean and secure will keep your trailer lights functioning properly. Additionally, understanding corrosion prevention techniques can further extend the lifespan of your trailer’s electrical system. Regularly using protective coatings on electrical connections can provide an extra layer of defense against environmental damage. Incorporating proper maintenance routines into your trailer care can significantly reduce the risk of corrosion-related failures.
Loose or Damaged Cables
Loose or damaged cables are a frequent culprit behind trailer light failures, often causing signals to cut out or flicker unexpectedly. Grounding issues can occur if cables aren’t securely connected to the trailer frame, leading to intermittent lighting. Damaged cables, such as frayed or broken wires, also interrupt the electrical flow. Additionally, connector corrosion from exposure to moisture can weaken connections, resulting in flickering or complete failure. Regularly inspect your wiring for loose connections and signs of wear. Make certain all cables are tightly secured and free of corrosion. Replacing damaged cables and cleaning corroded connectors can restore proper function. Proper cable routing and securing cables away from moving parts or sharp edges can further prevent issues. Using quality wiring materials and ensuring proper cable connections can further prevent issues. Employing proper cable management techniques can also help prevent unnecessary strain on connections and extend the lifespan of your wiring system. Taking these steps helps prevent common issues caused by loose or damaged cables, keeping your trailer lights reliable and safe.
LeleoCar 8508211 Proportional Trailer Brake Controller Digital Electronic Monitor Compatible with 1 to 4 Axles Vehicle RV Trucks and Load Replace 8508211 Brakeman IV Digital Brake Control
Proportional controllers: The safest and most responsive braking system you can install, proportional controllers are best for heavy-duty...
As an affiliate, we earn on qualifying purchases.
How to Check Your Trailer Lights Step-by-Step
To check your trailer lights, start by gathering the necessary tools like a test light or multimeter. Next, inspect the wiring connections for any loose or damaged wires, ensuring everything’s secure. Additionally, verifying that your trailer lights comply with safety standards can prevent future issues related to ethical consumer choices. Finally, test the lights using your tools to pinpoint where the issue might be.
Gather Necessary Tools
Before you start troubleshooting your trailer lights, it’s important to gather the right tools to make the process smooth and effective. Having the correct equipment ensures you can identify problems quickly and safely. You’ll need some essential items, such as:
- Portable tools (multimeter, screwdrivers)
- Safety gear (gloves, safety glasses)
- Electrical tape and connectors
- A trailer wiring tester
Using portable tools allows you to check electrical connections efficiently, while safety gear protects you during inspection. Make sure your multimeter is functioning properly and your safety gear is on before working on the wiring. Gathering these tools beforehand saves time and prevents interruptions during troubleshooting, helping you fix your trailer lights effectively and safely.
Inspect Wiring Connections
Start by visually inspecting all wiring connections for any obvious signs of damage, corrosion, or looseness. Check the grounding points to verify they are secure and free of rust or corrosion, as grounding issues are common causes of trailer light failures. Look closely at the connectors; connector corrosion can disrupt electrical flow and cause lights to malfunction. If you notice corrosion or corrosion buildup, clean the contacts with a wire brush or contact cleaner and tighten any loose connections. Examine the wiring for frays, cuts, or exposed conductors, which can also cause issues. Properly securing all connections and addressing corrosion issues early can prevent many common trailer lighting problems and ensure reliable operation.
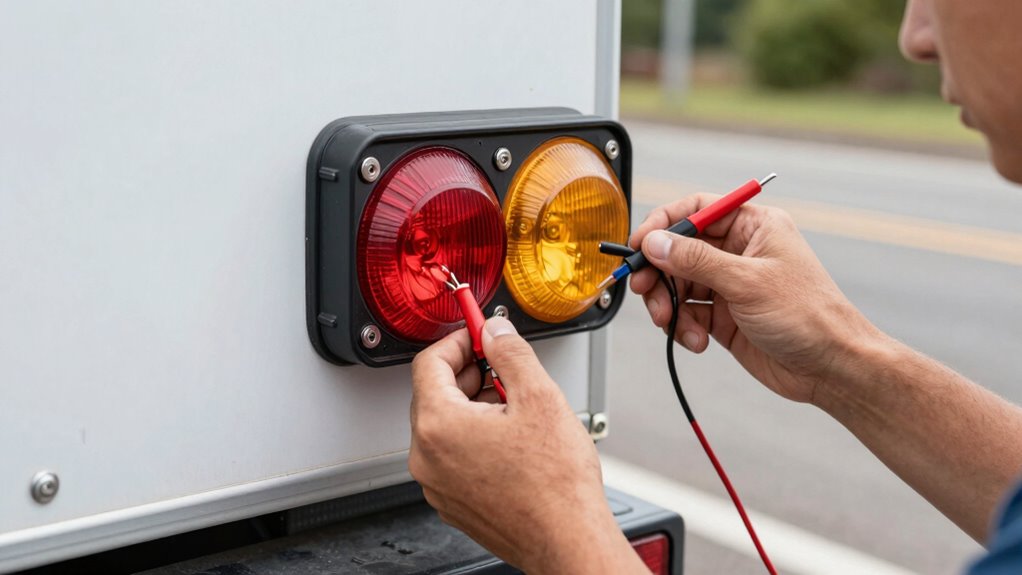
Test Light Functionality
Using a test light is one of the most straightforward ways to verify if your trailer lights are functioning properly. First, connect your electrical tester to the vehicle’s power source, then touch the test light’s probe to the contact points of each light bulb. This helps you determine if current is reaching the light socket. When testing, keep these tips in mind:
- Check for power at the light bulb socket using your electrical tester.
- Make sure the bulb is properly seated in its socket.
- Confirm that the test light glows when touching the contacts, indicating good electrical flow.
- Replace any faulty light bulbs to restore proper operation.
This process quickly pinpoints issues, ensuring your trailer lights work reliably. Remember, a functioning light bulb is essential for safety and compliance.

Hopkins Towing Solutions 47297 INSIGHT Plug-in Simple Brake Control
Advanced brake technology that mirrors the braking of the tow vehicle for safe, smooth stops
As an affiliate, we earn on qualifying purchases.
How to Replace Burnt-Out Bulbs and Fuses
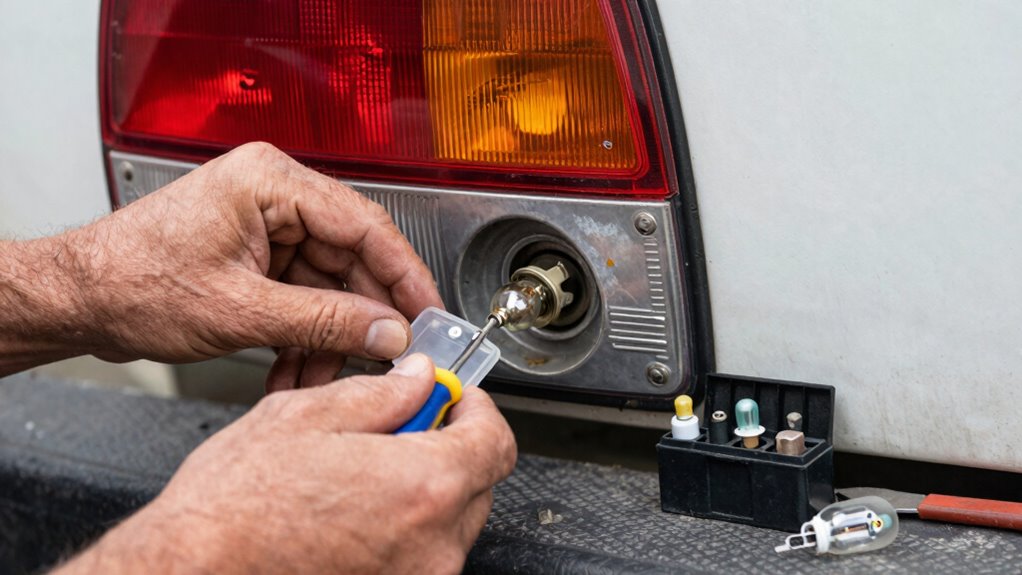
When a trailer light isn’t working, the most common cause is a burnt-out bulb or blown fuse. To fix this, start with a bulb replacement by removing the faulty bulb and installing a new one that matches the specifications. Be sure to check the socket for corrosion or damage before installing the new bulb. Next, perform fuse inspection by locating your trailer’s fuse box, usually near the hitch or inside a panel. Remove the fuse related to the trailer lights and examine it; if the fuse is blown, it will appear cracked or cloudy. Replace the blown fuse with one of the same amperage rating. Regularly inspecting bulbs and fuses helps ensure your trailer lights stay functional and safe.
Troubleshooting Wiring and Connection Issues
After replacing bulbs and fuses, wiring and connection issues are common reasons why your trailer lights might still not work properly. Check for grounding issues, as loose or damaged grounds can cause flickering or dead lights. Inspect connectors for corrosion, which can prevent proper electrical flow, and clean or replace them as needed. Look for loose or damaged wiring connections that might interrupt signals. Make sure all wires are properly secured and protected from the elements. Additionally, verify that the wiring harness is intact without cuts or frays. Troubleshooting these issues can save you time and guarantee your trailer lights function reliably. Remember, addressing grounding issues, connector corrosion, and wiring integrity is vital for a safe, well-lit trailer.
Tips to Prevent Future Trailer Light Failures and When to Seek Help

Preventing future trailer light failures starts with regular maintenance and proactive checks. Regular trailer maintenance helps identify worn wiring, loose connections, or corrosion before they cause problems. Incorporate routine safety checks before each trip to ensure all lights function properly. Inspect wiring and connectors for signs of damage or rust, and clean connections to maintain good contact. If you notice persistent issues like flickering or non-functioning lights despite basic troubleshooting, it’s time to seek professional help. Don’t ignore warning signs, as faulty trailer lights can compromise safety and lead to traffic violations. Staying vigilant through consistent trailer maintenance and safety checks keeps your trailer’s lighting system reliable, reducing the chances of unexpected failures on the road.
Frequently Asked Questions
How Do I Identify Intermittent Trailer Light Issues?
To identify intermittent trailer light issues, start with a wiring inspection to spot loose or damaged connections. Then, perform bulb testing to make sure all bulbs are functioning properly. Watch for flickering or inconsistent signals when you test the lights, which can indicate wiring problems or faulty bulbs. These steps help you pinpoint the cause of intermittent issues and get your trailer lights working reliably again.
Can Trailer Light Problems Affect Vehicle Wiring?
Trailer light problems can indeed affect your vehicle wiring if left unchecked. Faulty trailer wiring or a bad bulb replacement might cause shorts or corrosion, leading to issues in your vehicle’s electrical system. Pay close attention to your trailer lights; if they flicker or fail, inspect the wiring carefully. Neglecting these signs can eventually damage your vehicle’s wiring, so address problems promptly to prevent costly repairs down the line.
Are LED Trailer Lights More Reliable Than Traditional Bulbs?
Yes, LED trailer lights are generally more reliable than traditional bulbs. Their durability means they can withstand vibrations and harsh weather better, reducing the risk of failure. Plus, LED lights have a longer lifespan, so you won’t need to replace them as often. This makes them a smarter choice for trailer lighting, ensuring consistent visibility and safety on the road.
What Tools Are Best for Troubleshooting Trailer Electrical Systems?
You’ll want to grab a multimeter and a test light for troubleshooting trailer electrical systems—they’re essential diagnostic tools. These tools help you quickly identify wiring issues, blown fuses, or bad connections, saving you time and frustration. With proper troubleshooting techniques, you can pinpoint problems efficiently. Don’t rely on guesswork; instead, use these diagnostic tools to make certain your trailer lights function reliably and safely every time you hit the road.
How Often Should I Inspect My Trailer Lights?
You should inspect your trailer lights at least once every three months to guarantee they’re working properly. During these checks, look for lighting upgrades and review wiring diagrams to spot any issues. Regular inspections help catch problems early, preventing breakdowns or accidents. Keep your lights functioning well by staying vigilant and performing routine maintenance—it’s a simple way to keep your trailer safe and compliant on the road.
Conclusion
By keeping your trailer lights shining bright, you’re the steady heartbeat on the road’s rhythm. Regular checks and swift fixes are your rhythm section, preventing minor hiccups from turning into roadblock ballads. When issues arise, don’t hesitate—tackle them head-on like a skilled conductor. With a little know-how and attention, your trailer’s lights will dance in harmony, guiding you safely home and ensuring your journey hits all the right notes every time.