
To winterize your outboard, start by inspecting and cleaning it, then connect a freshwater hose to the flushing port and run the engine to clear out dirt and salt. Drain the cooling water, check for leaks, and add antifreeze if needed. Change the gear oil, stabilize the fuel with a stabilizer, and make certain the battery is charged and disconnected. Finally, lubricate moving parts and store the outboard in a dry, protected spot—you’re about to learn more details.
Key Takeaways
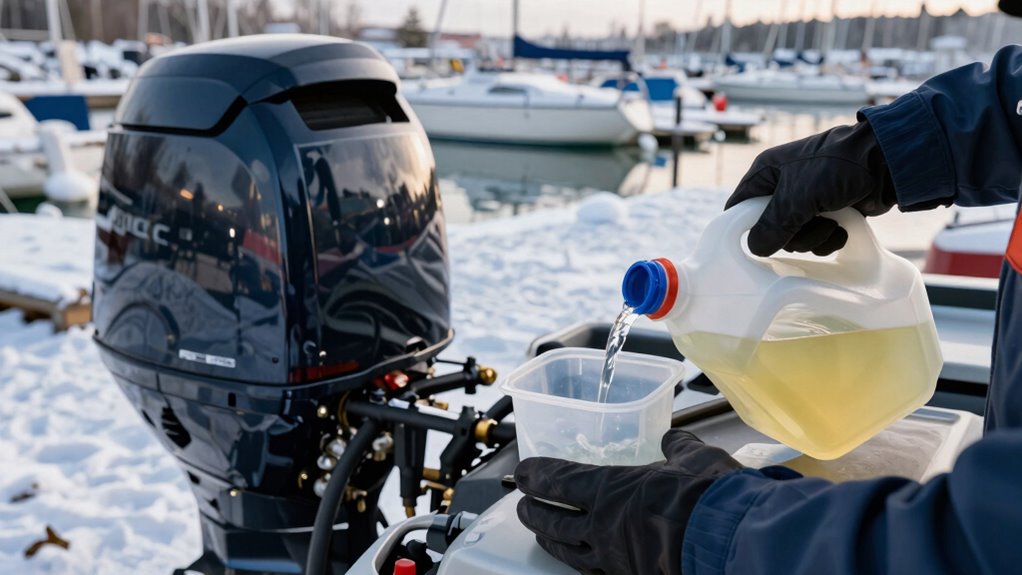
- Flush the cooling system with fresh water to remove salt, dirt, and debris, then drain and add antifreeze.
- Change the gear oil, inspecting for metal shavings or damage, and refill with high-quality lubricant.
- Stabilize the fuel by adding a fuel stabilizer, filling the tank completely, and running the engine to distribute the additive.
- Lubricate moving parts like propeller shafts and steering linkages with marine-grade grease or spray lubricants.
- Cover the outboard with a breathable cover, store in a dry, elevated area, and use moisture absorbers to prevent corrosion.

AMRWSM-K2 Outboard Engine Winterization Kit
A complete do-it yourself winterization kit for Outboard engines.
As an affiliate, we earn on qualifying purchases.
As an affiliate, we earn on qualifying purchases.
Why Winterizing Your Outboard Protects It

Winterizing your outboard is essential because it prevents damage caused by freezing temperatures and moisture buildup. Proper winter storage helps avoid cracks, warped parts, and engine failure that can occur when water freezes inside the engine. By protecting your outboard from the cold, you lessen the risk of corrosion, which can quickly degrade metal components. Corrosion prevention is especially important during winter storage, as moisture and salt exposure accelerate rust and deterioration. When you take these steps, you ensure your engine remains in good condition and ready for use when spring arrives. Additionally, understanding the importance of contrast ratio in maintaining optimal engine performance can help identify potential issues early. Proper storage techniques, including moisture control, are vital to maintaining your outboard’s longevity during the off-season. Using appropriate winterizing fluids can further safeguard internal components from corrosion and freezing damage. Regularly inspecting engine components during winter storage can help catch potential problems early and ensure your outboard is ready for the water when spring arrives. Implementing proper draining methods can also remove residual water that might cause internal damage during cold months.

STA-BIL 360 Marine Ethanol Treatment and Fuel Stabilizer – Prevents Corrosion – Helps Clean Fuel System For Improved In-Season Performance – Treats Up To 80 Gallons, 8 fl. oz. (22260)
FUEL SYSTEM CLEANER: Cleanses the entire fuel system using PEA additives, including fuel injectors, lines, & fuel pumps….
As an affiliate, we earn on qualifying purchases.
As an affiliate, we earn on qualifying purchases.
Gather Supplies and Inspect Your Outboard
Before you start winterizing your outboard, gather all the necessary supplies to make the process smoother and more efficient. Check your outboard for any damage or corrosion, inspecting the lower unit and fuel system. Proper battery maintenance is vital; confirm the battery is fully charged and disconnected if needed. Consider your outboard storage options—indoor, covered, or outdoor—with appropriate protective covers. Use this table to organize your supplies:
| Supplies Needed | Purpose |
|---|---|
| Battery terminal cleaner | Prevent corrosion |
| Fuel stabilizer | Protect fuel system |
| Protective cover or tarp | Outboard storage options |
Having everything ready saves time and guarantees you don’t miss essential steps. Additionally, regular maintenance can extend the lifespan of your outboard and ensure safety during operation. Performing these preparations helps prevent winter-related damage and keeps your outboard in optimal condition. To further safeguard your equipment, consider using solar-powered security solutions, which can monitor your boat and storage area remotely during the winter months. Incorporating appropriate cleaning techniques can also help maintain your outboard’s performance over time. Regular inspections and preventive measures are key to outboard longevity and reliable operation year after year.

Shoreline Marine Universal Dual Flow Motor Flusher, with Rectangular Muffs, Easy Installation
MOTOR ACCESSORY: Keep your boat’s engine in good condition by protecting it with the efficient and durable Shoreline…
As an affiliate, we earn on qualifying purchases.
As an affiliate, we earn on qualifying purchases.
Flush the Motor and Drain Cooling Water
To safeguard your outboard during winter, you need to properly flush the motor to remove salt, dirt, and debris. Use the correct flushing technique to make certain all cooling passages are cleaned thoroughly. Afterward, drain the cooling system to prevent any remaining water from freezing and causing damage. Incorporating inclusive casting practices ensures that your boat is prepared for diverse environments and promotes safety during winterization. Additionally, consider the environmental impact of your maintenance procedures to minimize ecological harm. Regularly inspecting and maintaining your outboard also supports overall marine engine longevity, helping to keep it in optimal condition through the colder months. Being aware of sustainable maintenance methods can further reduce environmental effects and extend the lifespan of your engine.
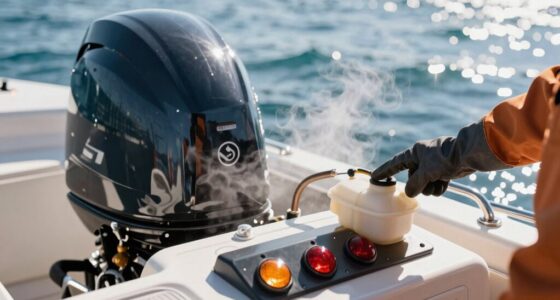
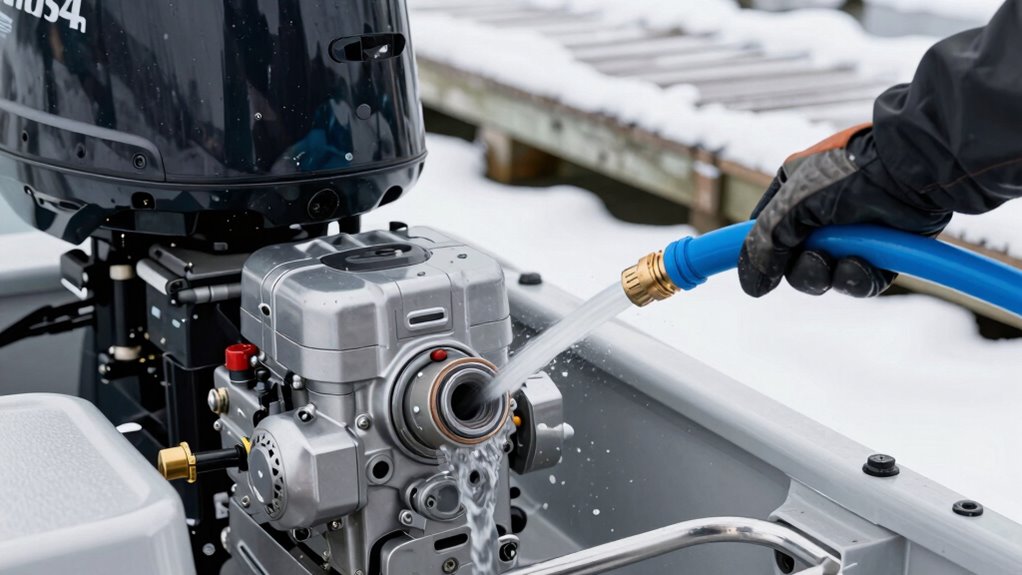
Proper Flushing Technique
Properly flushing your outboard motor is essential to remove salt, dirt, and debris that can cause corrosion and damage during the off-season. Start by connecting a freshwater hose to the flushing port or inlet, ensuring the boat is out of the water. Turn on the motor and run it at idle, allowing water to circulate through the cooling system. This process helps clear marine electronics and internal components of harmful buildup. Avoid revving the engine excessively to prevent damage. Once flushed for about five minutes, turn off the motor and disconnect the hose. Proper flushing is a key part of boat maintenance, preventing corrosion and extending your outboard’s lifespan. Regularly performing this step keeps your engine in top shape for safe, trouble-free boating next season. Additionally, understanding content formats can help you better document and share your maintenance routines for future reference. To ensure thorough cleaning, periodically check the cooling system for any blockages or buildup that might impede water flow. Incorporating a visual inspection into your routine can help identify issues early and maintain optimal performance. Furthermore, using a corrosion inhibitor during the flush can provide added protection against rust and salt damage.
Implementing proper flushing techniques can significantly improve the longevity of your outboard motor and prevent costly repairs.
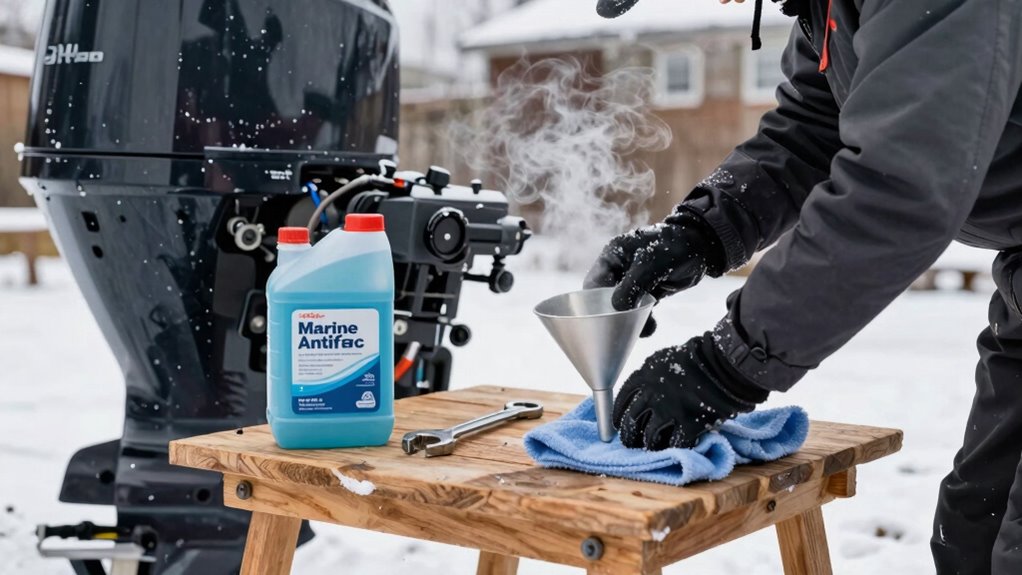
Drain Cooling System
Have you drained the cooling system to prevent damage during winter? Properly draining and flushing the motor is essential. Start by running the engine to warm the water, then disconnect the water intake hose. Use compressed air or a flushing device to remove any residual water. Once drained, inspect the cooling system for leaks or corrosion. Consider adding antifreeze to prevent freezing and corrosion during storage. Always perform a thorough cooling system inspection to ensure all passages are clear. To complete the process, double-check the emergency shutoff to ensure the engine cannot accidentally start during winter storage. Flush the motor with fresh water to remove salt or debris. Drain all remaining water from the cooling passages. Add antifreeze to protect against freezing and corrosion. Regular maintenance, such as checking for corrosion or leaks, can extend the lifespan of your engine. Proper winterization not only safeguards your engine but also ensures reliable starting when you’re ready to use your boat again. Additionally, verifying the cooling system components can help prevent costly repairs come spring. Performing a comprehensive system check is crucial to identify any existing issues before storage.

F75 F90 F115 Outboard Service Maintenance Kit, 10W-30 4M Oil Change Kit, Marine Gearcase Lube, Filters, Fits Yamaha 2006+ Models
COMPLETE KIT: All-in-one maintenance package includes 4 quarts of 10W-30 marine oil, oil filter, fuel filter, gearcase lube,…
As an affiliate, we earn on qualifying purchases.
As an affiliate, we earn on qualifying purchases.
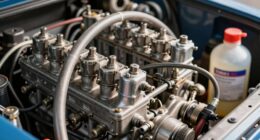
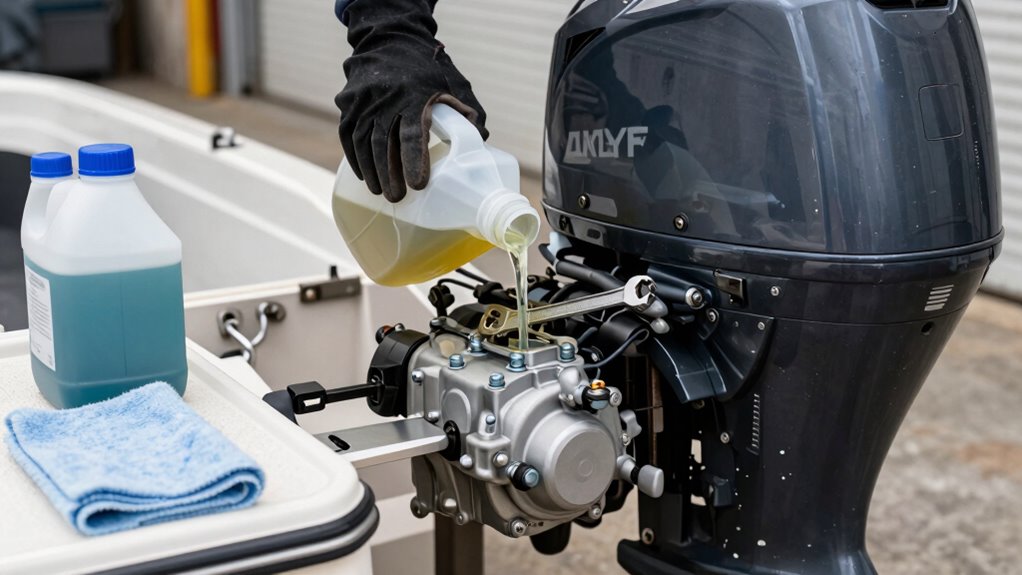
Change Gear Oil and Check for Damage

Before winterizing your outboard, it’s essential to change the gear oil and inspect it for any signs of damage. Start by draining the old gear oil from the lower unit, then refill it with fresh, high-quality gear oil suitable for your engine. As you do this, perform a thorough damage inspection of the gear oil. Look for metal shavings, discoloration, or any debris, which could indicate internal wear or damage. If you notice these issues, it may be necessary to have your outboard serviced before storage. Proper gear oil maintenance helps prevent corrosion and gear failure during the off-season. Taking the time to change the oil and inspect it guarantees your outboard stays in good condition and is ready for smooth operation when spring arrives.
Stabilize Fuel and Add Fuel Stabilizer
To protect your fuel system during winter, you should add a fuel stabilizer to prevent fuel from degrading. This step guarantees your engine stays ready to start when spring arrives. Proper stabilization is key to maintaining engine performance and avoiding costly repairs later.
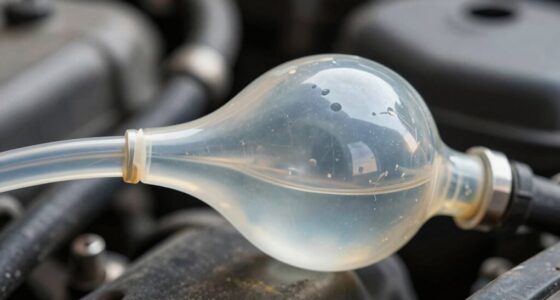
Fuel System Protection
Protecting your fuel system during winter storage is essential to prevent fuel breakdown and corrosion. To do this, you should add fuel stabilizer, which contains fuel additives that keep fuel fresh and prevent gumming. Before stabilizing, verify your fuel tank vents are closed to avoid moisture buildup and contamination. Properly stabilized fuel reduces the risk of engine issues when you’re ready to use your boat again. Additionally, consider these steps:
- Use quality fuel additives designed for your engine type to enhance protection.
- Ensure the fuel tank vents are sealed tightly to prevent moisture intrusion.
- Fill your tank completely to minimize air space, which can lead to fuel degradation.
Following these steps helps maintain your fuel system’s integrity throughout the winter.
Prevent Fuel Degradation
During winter storage, preventing fuel degradation is essential to keep your engine running smoothly when you’re ready to hit the water again. To do this, add a quality fuel stabilizer to your tank and fill it completely to minimize air space, which can cause fuel breakdown. This step protects your fuel from forming deposits that could clog your engine or damage your marine electronics. Proper boat maintenance includes stabilizing fuel to avoid gummed carburetors and clogged filters come spring. Remember, degraded fuel can lead to starting issues and poor performance. By stabilizing your fuel now, you ensure a smoother start when boating season resumes, and your outboard remains in top shape throughout winter.
Ensure Engine Readiness
Ensuring your engine is ready for winter storage starts with stabilizing the fuel and adding a quality fuel stabilizer. This prevents fuel degradation and keeps the system clean. While doing this, also check your battery’s condition—clean terminals, charge it properly, and disconnect if necessary to prevent corrosion. Proper corrosion prevention measures, like applying a protective spray, extend battery life. To deepen engine readiness:
- Run the engine to circulate stabilized fuel throughout
- Inspect and replace any worn spark plugs
- Drain or fog the cylinders if recommended by your manufacturer
These steps help prevent corrosion, guarantee easy starting next season, and keep essential components in top shape. Taking these precautions guarantees your engine remains reliable and protected during storage.
Lubricate Moving Parts and Cover the Outboard

After draining any remaining water from your outboard, it’s important to lubricate all moving parts to prevent rust and guarantee smooth operation. Use marine-grade grease or lubricant on the propeller shaft, steering linkages, and throttle cables. This helps keep everything functioning properly during the winter months. Once lubricated, cover the outboard with a breathable cover to protect it from dust, dirt, and moisture. Proper covering minimizes exposure to the elements and reduces corrosion risk. Here’s a quick guide:
| Moving Parts | Lubrication Method | Covering Tips |
|---|---|---|
| Propeller Shaft | Marine grease | Use a breathable cover |
| Steering Linkages | Spray lubricant | Keep cover snug |
| Throttle Cables | Light oil | Ensure ventilation |
Taking these steps ensures your outboard stays in top shape until spring.
Store in a Dry, Safe Location for Winter
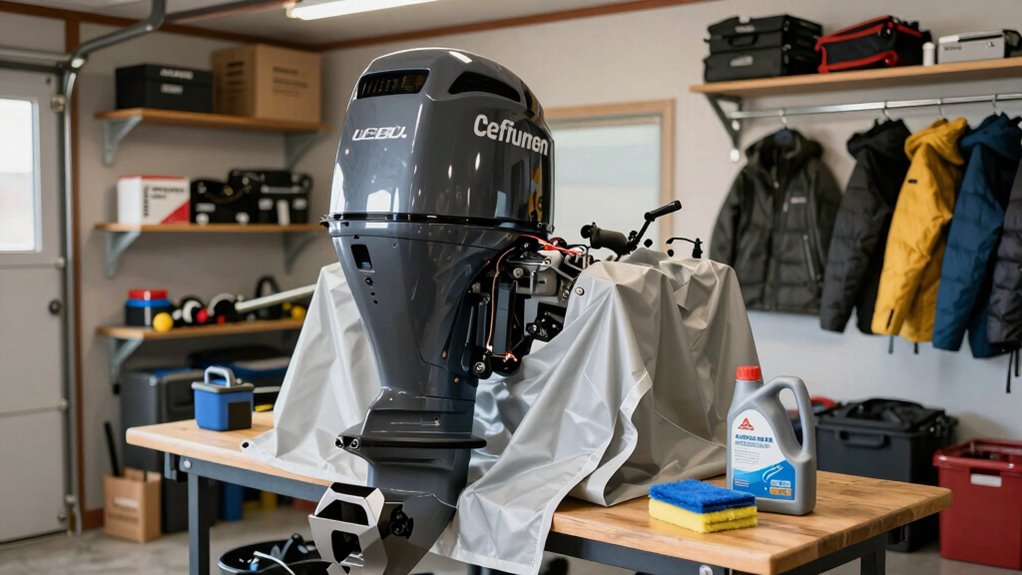
Once you’ve lubricated all moving parts and covered your outboard, the next step is to store it in a dry, secure location. Proper moisture prevention is key to avoiding corrosion and damage during winter. Find a space that is cool, dry, and well-ventilated to reduce humidity buildup. Confirm your storage area is stable and protected from pests or falling debris. Consider these tips for ideal secure storage:
- Use a moisture absorber or dehumidifier to keep humidity levels low
- Elevate the outboard off the ground to prevent contact with moisture
- Cover it with a breathable tarp to allow airflow while shielding from dust and pests
Following these steps helps protect your outboard from winter damage and ensures it’s ready for the next season.
Frequently Asked Questions
How Often Should I Winterize My Outboard Annually?
You should winterize your outboard annually, ideally at the end of each boating season. Regular storage maintenance and seasonal preparation help prevent corrosion and damage from freezing temperatures. By winterizing every year, you guarantee your engine stays in top shape, reducing repair costs and extending its lifespan. Make it a routine to winterize your outboard before the first freeze, so it’s ready to go when spring arrives.
Can I Winterize My Outboard Myself or Should I Hire a Professional?
Thinking you can DIY winterize your outboard? Sure, if you’re a marine mechanic in disguise, it’s doable. But for most, professional services save you time and avoid costly mistakes. While DIY tips are available, the complex process might be better entrusted to experts who ensure your outboard’s ready for winter. So, weigh your skills — sometimes, hiring a professional guarantees peace of mind and a smoother winter.
What Are Signs of Damage to Look for During Inspection?
During your inspection, look for signs of corrosion on metal parts, which can weaken the engine. Check the seal integrity around the lower unit and other connection points—any cracks or leaks indicate damage. Also, inspect the propeller for dents or corrosion and ensure all electrical connections are clean and tight. If you notice any rust, cracks, or compromised seals, it’s a sign you should get professional help to prevent further damage.
How Do I Dispose of Old Fuel and Oil Safely?
You need to handle old fuel and oil like they’re ticking time bombs. For fuel disposal, never pour it down drains or onto the ground—take it to a designated fuel recycling center or hazardous waste facility. For oil, use a proper container and bring it to a recycling center that accepts used motor oil. Always follow local regulations to keep the environment safe and avoid hefty fines.
What Temperature Range Requires Winterizing My Outboard?
You should winterize your outboard if temperatures drop below the temperature threshold of around 32°F (0°C), as frost risk increases, potentially causing engine damage. When the forecast predicts consistent cold weather, it’s time to take action. Protect your engine by draining fuel, adding antifreeze, and storing it properly. Don’t wait until the last minute—winterizing before the first frost guarantees your outboard stays in top condition.
Conclusion
Now that you know the simple steps to winterize your outboard, you’re all set to safeguard your boat’s engine. By following these tips, you prevent problems and prolong performance. Proper preparation protects your prized possession from the punishing winter weather. So, stay savvy, stay secure, and enjoy smooth sailing season after season. With a little care and consistency, your outboard will be ready to roar back to life when spring arrives!