
To inspect your hull for cracks and blisters, start by preparing your safety gear and ensuring your boat is stable. Use a flashlight and mirrors to examine all surfaces carefully, looking for cracks that appear as thin lines or fractures, and blisters that seem soft or swollen. Check for uneven textures or bubbles in the paint. If you spot any issues, acting quickly is essential. Keep going to find out how to identify damage and when to get professional help.
Key Takeaways
- Use proper lighting and mirrors to examine the entire hull surface thoroughly.
- Look for cracks as thin lines or fractures, and identify blisters as soft, swollen spots.
- Check for uneven, rough, or swollen areas indicating potential damage or blistering.
- Utilize moisture meters or ultrasonic testing to detect hidden water intrusion or internal cracks.
- Document all findings with photos and notes for further assessment or professional repair needs.
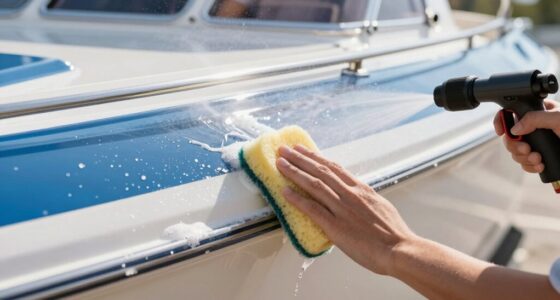
boat hull inspection flashlight
As an affiliate, we earn on qualifying purchases.
As an affiliate, we earn on qualifying purchases.
Why Regular Hull Inspections Are Critical for Your Boat’s Longevity
Regular hull inspections are essential because they help detect small issues before they become costly repairs or safety hazards. By sticking to a regular maintenance schedule, you guarantee early signs of damage, like cracks or blisters, are caught promptly. This proactive approach helps prevent corrosion, which can weaken the hull over time and compromise your boat’s integrity. Regular inspections allow you to address minor problems quickly, saving money and extending your boat’s lifespan. Neglecting these checks can lead to corrosion and structural failures that are far more expensive to repair later. Staying diligent with your inspection routine not only keeps your boat in top condition but also ensures safety on every outing. Additionally, understanding the signs of damage can help you identify issues more effectively during inspections. Incorporating technology such as digital imaging can further enhance your ability to spot hidden problems early. Maintaining a thorough inspection routine is a vital part of responsible boat ownership and helps preserve the overall health of your vessel. Regular inspections also support preventive maintenance, which is crucial for long-term durability and safety. Being aware of corrosion indicators can further improve your detection skills during these inspections.

2 Pieces Telescoping Inspection Mirror, 360° Swivel Extendable Mechanic Automotive Mirrors Tools, Rectangular Round Mirror on a Stick for Mechanics, Automotive Repair, Contractors, Home Inspection
Package Includes: Comes with a 2.05" round mirror and a 3.94" x 1.96" rectangular mirror, Both provide sharp…
As an affiliate, we earn on qualifying purchases.
As an affiliate, we earn on qualifying purchases.
How Do I Prepare My Boat and Safety Gear Before Checking for Damage?
Before you begin inspecting your boat for damage, it’s important to properly prepare both your vessel and safety gear. Start by reviewing your inspection checklist to ensure you cover all key areas. Wear appropriate safety gear, such as gloves, eye protection, and a life jacket, to protect yourself during the inspection. Clear the area around your boat to avoid tripping hazards and ensure good access to all hull surfaces. Check that your tools, like a flashlight and mirror, are in good condition and ready for use. Make sure your boat is stable, either on a trailer or lift, to prevent accidents. Proper preparation helps you conduct a thorough inspection safely and efficiently, minimizing the risk of injury or missed damage. Additionally, maintaining a positive mindset can help you stay focused and attentive throughout the inspection process. Being familiar with marine inspection techniques can further improve your ability to identify potential issues early. Developing a systematic approach ensures you don’t overlook any critical areas during your inspection. Remember, understanding hull damage signs can make your inspection more effective and accurate.

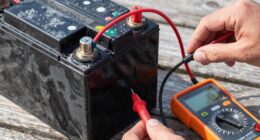
Tramex Skipper 5 Boat Moisture Meter SMM5 | Marine Instrument for Measuring Moisture Content in Wood & Glass-Reinforced Plastic (GRP)
PREVENT MOISTURE PROBLEMS: The Tramex Skipper 5, the updated Skipper Plus, is a non-destructive analog marine moisture meter…
As an affiliate, we earn on qualifying purchases.
As an affiliate, we earn on qualifying purchases.
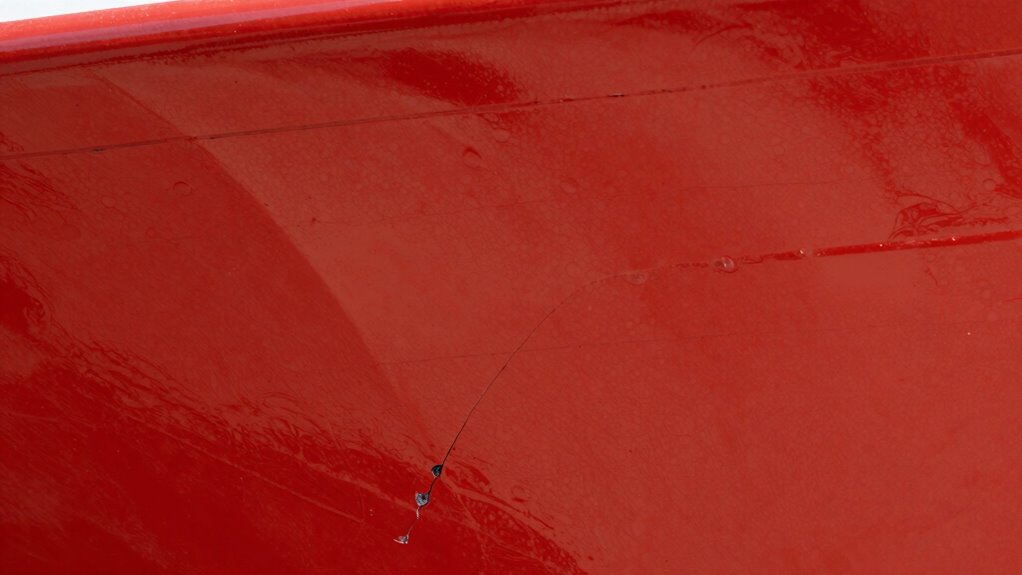
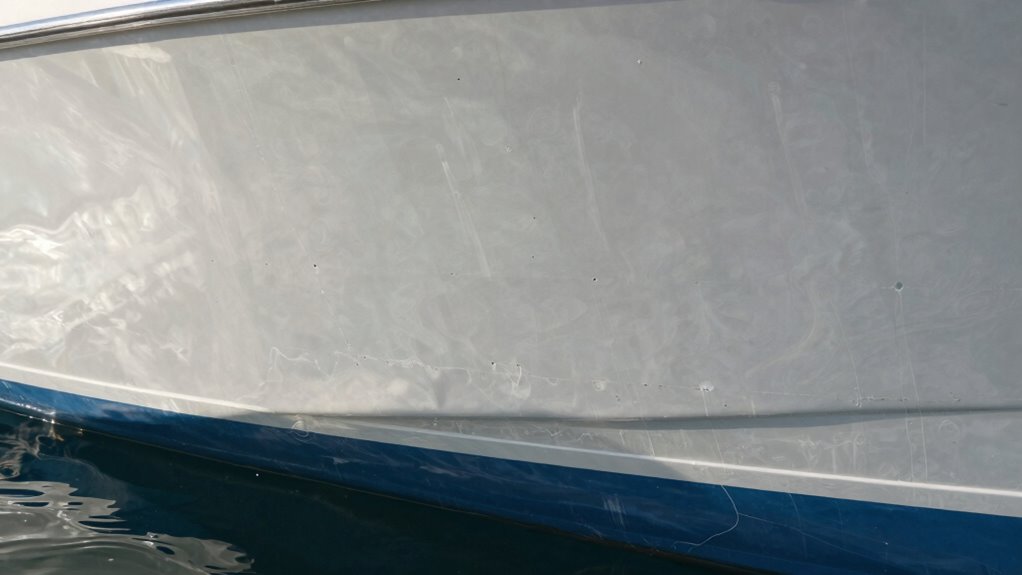
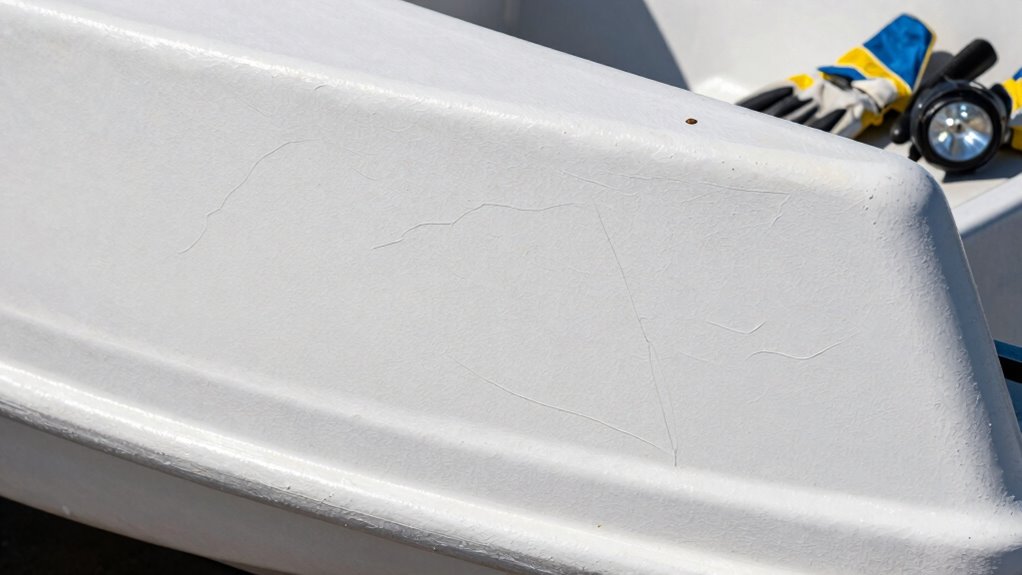
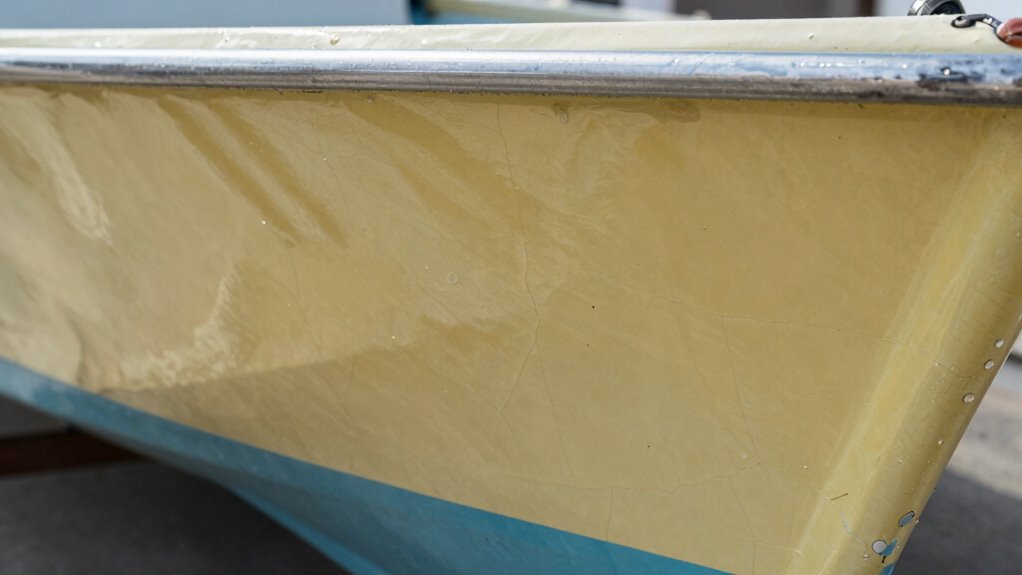
How Can I Visually Spot Cracks and Blisters on My Hull?
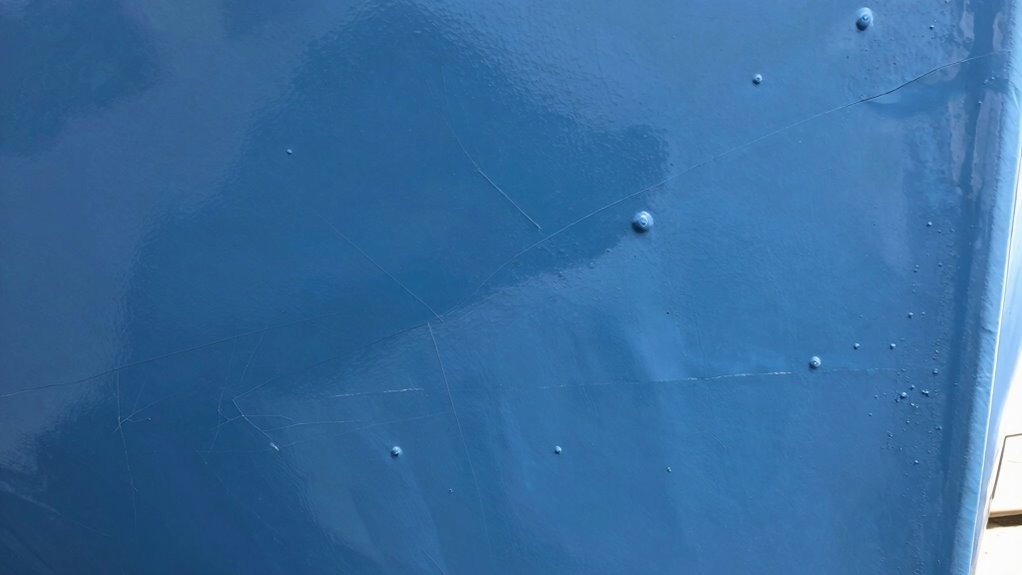
Start your visual inspection by carefully examining the entire hull surface for any signs of damage. Look for obvious visual clues like cracks, blisters, or bubbles in the paint or gel coat. Pay close attention to areas where the surface texture appears uneven, rough, or swollen—these can indicate underlying issues. Cracks often look like thin lines or fractures running through the hull’s surface, while blisters appear as rounded, swollen spots that may feel soft or spongy. Check seams, joints, and areas around fittings, as these are common spots for problems to develop. Use good lighting and a mirror if needed to get a clear view of hidden spots. Spotting these surface clues early helps prevent more serious damage later. Additionally, familiarizing yourself with the common signs of damage can help you perform more effective inspections. Keep in mind that surface irregularities may also result from environmental exposure or age-related wear, so consider the context of your vessel’s history during your assessment. Regular inspections and understanding marine hull vulnerabilities are essential for maintaining hull integrity over time, especially since cracks and blisters can compromise the vessel’s safety if left unaddressed. Being aware of the effects of environmental exposure can also help you identify early warning signs before they lead to costly repairs.
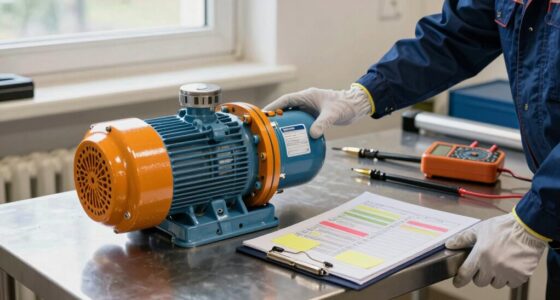
ultrasonic testing device for boats
As an affiliate, we earn on qualifying purchases.
As an affiliate, we earn on qualifying purchases.
What Should I Do If I Find Cracks or Blisters? How to Assess and Act Fast

If you discover cracks or blisters on your hull, acting promptly is essential to prevent further damage. Begin with an emergency response plan—shut off any equipment that could worsen the issue and avoid steering until repairs are addressed. Document the damage thoroughly with photos and detailed notes for future reference and insurance claims. Follow proper documentation procedures to record the location, size, and nature of the cracks or blisters. This information helps you assess the severity and guides your next steps. While immediate repairs might not be possible, preventing additional harm is critical. If the damage appears extensive or worsening, prioritize contacting a professional for detailed evaluation. Quick, decisive action can save you from costly repairs and ensure your vessel remains seaworthy. Proper inspection techniques can help identify underlying issues early and prevent further deterioration. Additionally, understanding early warning signs can enable you to address problems before they escalate into major repairs. Recognizing structural vulnerabilities can further assist in maintaining the integrity of your hull over time. Being aware of corrosion patterns can also help you spot potential issues before they become serious. Regularly inspecting your hull for signs of wear and tear can help catch developing problems early and ensure your vessel’s longevity.
When Should I Call a Professional for Repair? Tips for Finding the Right Help
Knowing when to call a professional is essential to guarantee your hull repairs are done correctly and safely. While some minor cracks or blisters can be handled with DIY repairs, larger or deeper issues require expert attention. If you’re unsure about the severity of the damage or lack the tools and experience, it’s best to hire professionals. Attempting complex repairs yourself could worsen the problem or compromise safety. When cracks are extensive, blisters are widespread, or water intrusion is evident, don’t hesitate to seek expert help. Look for licensed and experienced hull repair specialists who understand your boat’s material and structure. Hiring professionals ensures proper assessment, quality repairs, and peace of mind, especially when safety is at stake. Additionally, understanding the importance of vetted repair services can help you find trusted professionals who meet industry standards. Recognizing damage severity and consulting with qualified experts can prevent further deterioration and costly repairs later on. Being aware of industry standards can also assist you in selecting the best repair provider. It’s also beneficial to consider proper inspection techniques to effectively evaluate the extent of damage before calling in experts.
Frequently Asked Questions
How Often Should I Perform a Hull Inspection?
You should perform a hull inspection at least once every three to six months, depending on usage and conditions. Regular inspections are a key part of preventative maintenance, helping you detect issues early. Stick to a consistent inspection schedule, especially before and after heavy use or rough conditions. This routine ensures your boat stays in top shape, preventing costly repairs and keeping you safe on the water.
What Tools Are Best for Detecting Hidden Cracks?
A stitch in time saves nine—so use the best tools to catch hidden cracks early. Underwater cameras help you visually spot cracks or blisters below the surface, while ultrasonic testers detect subsurface flaws invisible to the eye. Combining both tools provides a thorough assessment of your hull’s condition, ensuring you catch issues before they worsen. Regular inspections with these tools keep your boat safe and seaworthy.
Can I Repair Minor Cracks Myself?
Yes, you can repair minor cracks yourself if you’re comfortable with basic boat maintenance. Start by cleaning the area thoroughly, removing paint peeling and corrosion spots. Use a suitable marine epoxy or filler to seal the cracks, then sand smooth. Apply a fresh coat of marine paint to protect the area. However, if cracks are extensive or in critical areas, it’s best to consult a professional to make sure of safety and proper repair.
How Do I Differentiate Between Surface Blisters and Structural Damage?
Imagine your hull as a calm lake. Surface blisters, like tiny puddles, show up as paint bubbling and surface discoloration, indicating superficial issues. Structural damage, however, is like a crack running beneath the surface, often unseen but felt through changes in sound or feel when tapped. Look for raised areas or soft spots; if they’re soft and expand, it’s more than surface trouble. Always examine further to ensure safety.
What Environmental Conditions Affect Hull Deterioration?
Environmental conditions like marine growth and water temperature considerably impact hull deterioration. Warmer water encourages marine growth, which can cause biofouling and accelerate corrosion. Cold water can slow down chemical reactions, but freeze-thaw cycles may cause cracks. Regularly inspect for marine growth buildup and monitor water temperature changes to prevent long-term damage. Staying vigilant helps maintain your hull’s integrity and extends its lifespan.
Conclusion
So, after all that fuss inspecting your hull, you’d think it’s foolproof. Turns out, even the smallest crack or blister can hide a big problem—proof that your boat’s health isn’t always obvious. Ironically, the most diligent inspections often catch issues before they sink your plans. So, stay vigilant, trust your eyes, and remember: ignoring tiny signs can turn your boat’s lifespan into a sinking ship. Better safe than sorry!