
To patch gelcoat chips before they spread, start by cleaning the area thoroughly to remove dirt and contaminants, then lightly sand the damage for better adhesion. Use a matching gelcoat and carefully fill the chip with a small brush or toothpick, smoothing the surface afterward. Once cured, sand smoothly and apply a clear coat for a seamless finish. For detailed steps and tips, continue exploring how each stage guarantees a lasting repair.
Key Takeaways
- Clean and thoroughly dry the chipped area to remove dirt, grease, and salt deposits before repair.
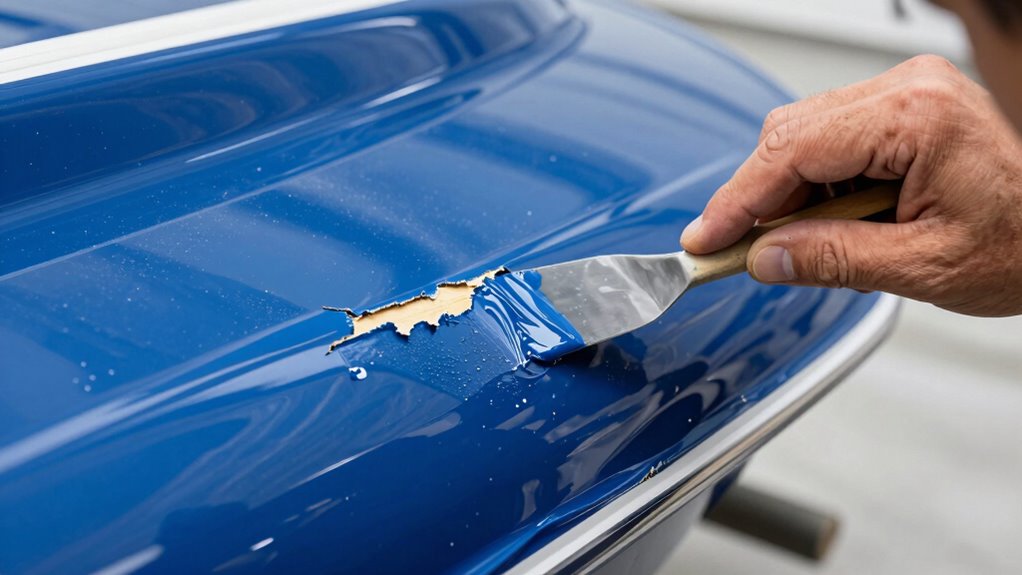
- Lightly sand the damaged surface to improve gelcoat adhesion and create a smooth repair area.
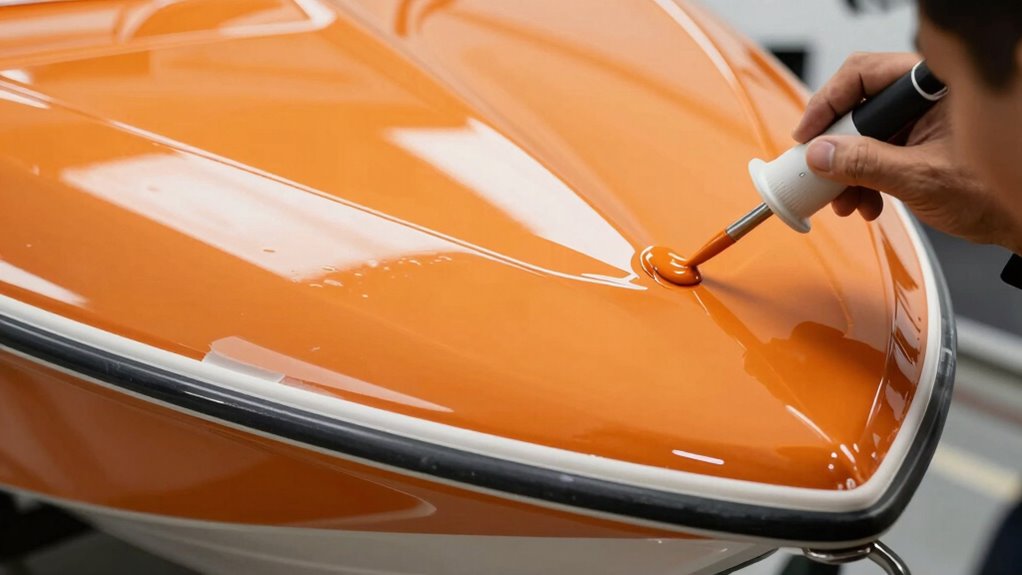
- Use matching gelcoat and apply it carefully with a small brush or toothpick to fill the chip completely.
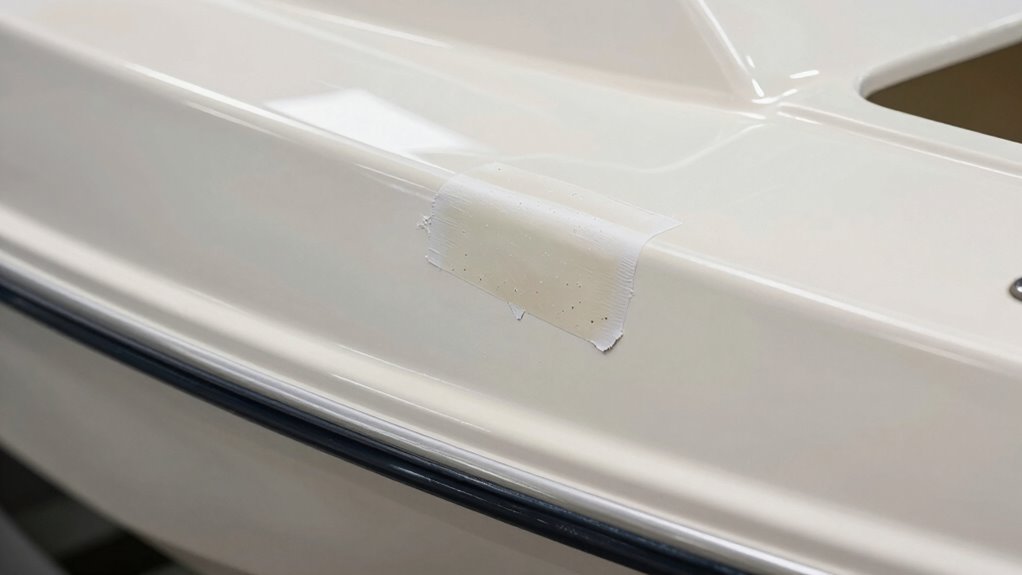
- Smooth the repair with a spatula or fingertip, removing excess gelcoat to ensure a flush surface.
- Allow proper curing time before polishing or applying a protective topcoat to prevent spreading.

Globalcom Fiberglass Boat Repair Kit White, Gel Coat Repair Kit for Boats, Marine Fiberglass Repair Kit for Boats, Epoxy Filler for Boats, Fiberglass Repair Kit Fix Holes Chips Pit Cracks
Multifunctional Marine Fiberglass Repair Kit – It is suitable for repairing chips, cracks, pits, gouges, scratches and holes…
As an affiliate, we earn on qualifying purchases.
As an affiliate, we earn on qualifying purchases.
Why Fix Gelcoat Chips Early to Save Time and Money
Fixing gelcoat chips early can save you both time and money down the line. Over time, gelcoat aging weakens the surface, making it more susceptible to further damage. UV damage from sunlight accelerates this deterioration, causing chips to expand and become harder to repair. When you address chips promptly, you prevent moisture from penetrating the exposed fiberglass, which can lead to costly repairs or structural issues later. Ignoring small chips allows them to worsen, increasing repair complexity and expense. Early fixes help preserve your boat’s appearance and value while reducing the risk of more extensive damage. By acting quickly, you maintain the integrity of your gelcoat, saving you hassle and money in the long run.

Marine Fiberglass Repair Kit for Boats, Gel Coat Repair Kit for Boats, Epoxy Filler for Fiberglass Boats Fix Holes, Chips and Deep Cracks, Gelcoat repair kit for Fiberglass, Acrylic, Porcelain(White)
Marine Fiberglass Repair Kit: This all-in-one epoxy filler can fix fiberglass boat damage efficiently, repairing deep scratches, cracks,…
As an affiliate, we earn on qualifying purchases.
As an affiliate, we earn on qualifying purchases.
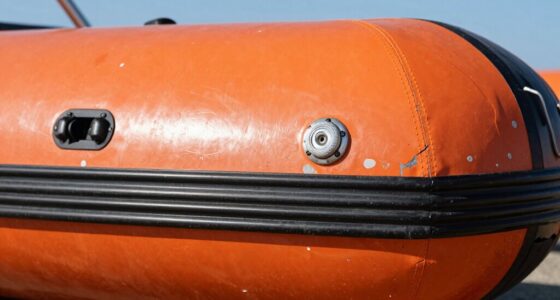
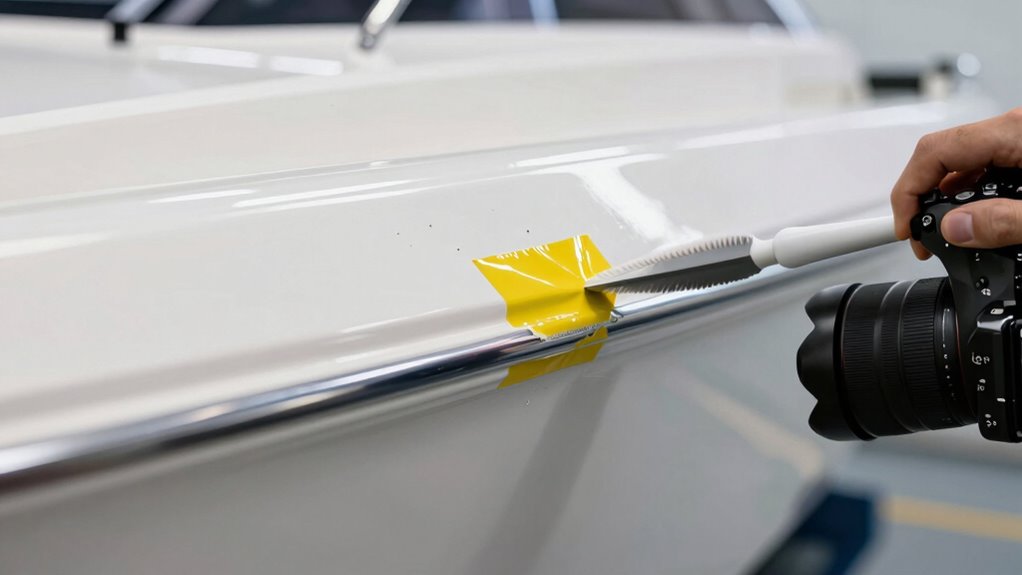
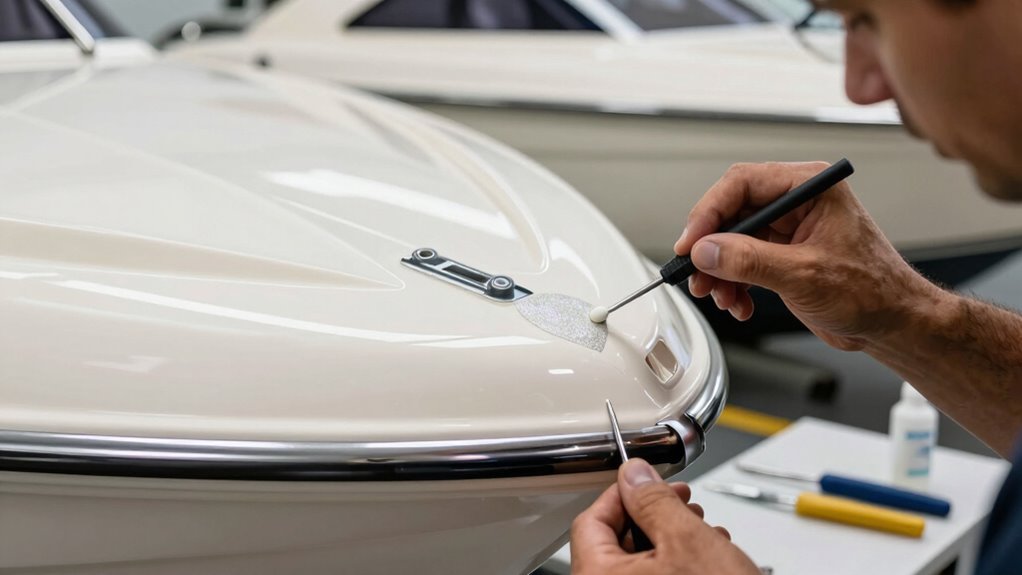
How to Spot and Assess the Severity of Gelcoat Chips
Start by carefully inspecting your boat’s surface for visible chips, scratches, or cracks. Check how deep the damage goes by gently feeling around the area, and consider whether the chip affects the boat’s strength. Understanding these signs helps you determine if the damage is cosmetic or needs immediate repair. Additionally, knowing how to identify secure spaces can help you prevent further issues or accidental damage. You can also assess the cabling setup around the damaged area to ensure there are no underlying issues that could worsen the problem. Proper maintenance techniques include inspecting and cleaning the gelcoat regularly, which can help prevent chips from developing into larger problems over time. Regularly monitoring structural integrity is essential for maintaining your boat’s overall safety and longevity.
Visual Inspection Techniques
How can you effectively identify gelcoat chips during inspection? Start by carefully examining the surface for visible damage, focusing on color mismatches that indicate exposed fiberglass or underlying layers. Look for irregular edges or rough textures that suggest chips or cracks. Use good lighting to enhance visibility and assess the severity of each chip. Additionally, understanding the exfoliating properties of glycolic acid can help in preparing the surface for more effective repairs. Keeping a visual inspection checklist ensures you don’t overlook subtle damage. Keep these tips in mind:
- Check for color matching issues that reveal damage not immediately obvious.
- Look closely at the edges for signs of surface preparation or wear.
- Use a magnifying glass if needed to detect small or subtle chips.
- Applying a methodical approach ensures thorough inspection and accurate damage assessment.
- Recognizing damage severity during inspection helps determine whether repair is straightforward or requires professional intervention.
Accurate visual inspection helps determine the extent of the damage, guiding effective patching. Proper surface preparation ensures the repair blends seamlessly with the surrounding gelcoat.
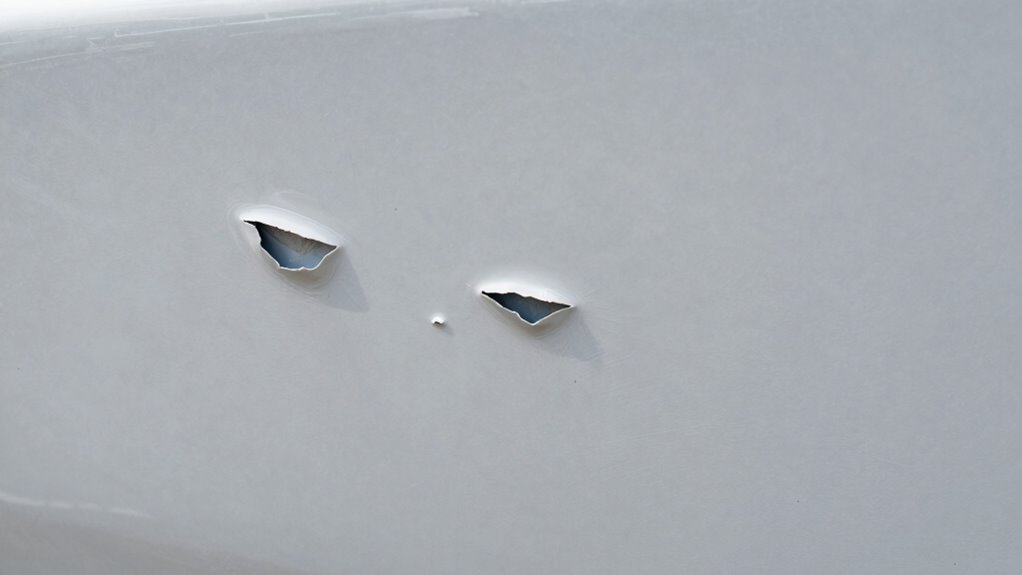
Damage Depth Assessment
To accurately assess the depth of gelcoat chips, you need to carefully examine the damage site for signs of how deeply the chip penetrates the surface. Look for variations in gelcoat thickness, such as exposed fibers or underlying layers, which indicate a deeper gelcoat depth. A shallow chip typically affects only the outer layer, while a deeper impact assessment reveals if the damage has reached the fiberglass substrate. Use a flashlight or magnifying glass to enhance visibility and determine if the damage is superficial or more severe. Understanding the impact assessment helps you decide whether simple patching suffices or if more extensive repairs are necessary. Properly evaluating the damage depth guarantees you address the problem effectively and prevent future spreading. Additionally, knowing the damage severity can guide your repair approach and ensure long-lasting results. Conducting a thorough damage evaluation is essential for choosing the right repair method and avoiding unnecessary repairs. Recognizing the extent of damage can also help you determine whether professional intervention is required, especially when dealing with forage or other critical boat components. An accurate assessment of damage depth also aligns with the importance of collaboration with professionals when needed, as emphasized in comprehensive architectural solutions that focus on innovative and tailored approaches.
Impact on Structural Integrity
Even small gelcoat chips can compromise the structural integrity of your vessel if they penetrate deeply enough. These breaches can expose the underlying fiberglass to marine corrosion, weakening the hull over time. To assess severity, look for signs like cracks around the chip, rust stains, or soft spots indicating compromised hull reinforcement. Regular inspection and maintenance are also important, as they help identify issues early before they become more serious. Using proper repair techniques can prevent further damage and preserve the vessel’s strength. Recognizing the importance of timely repair can make a significant difference in maintaining your vessel’s safety and longevity. If you notice any of these, it means the chip could threaten your vessel’s strength. Addressing damage early prevents further deterioration and maintains the vessel’s safety and durability.
Marine Fiberglass Repair Kit for Boats, Gel Coat Repair Kit for Boats, Epoxy Filler for Fiberglass Boats Fix Holes, Chips and Deep Cracks, Gelcoat repair kit for Fiberglass, Acrylic, Porcelain(White)
Marine Fiberglass Repair Kit: This all-in-one epoxy filler can fix fiberglass boat damage efficiently, repairing deep scratches, cracks,…
As an affiliate, we earn on qualifying purchases.
As an affiliate, we earn on qualifying purchases.
Essential Tools and Materials for Gelcoat Repair
To successfully repair gelcoat chips, you need the right materials and tools at hand. Essential repair materials include gelcoat patches, fillers, and sandpaper, while recommended application tools involve brushes, spatulas, and polishing pads. Having these prepared ensures a smooth and effective repair process. Additionally, using high-quality cosmetic finishes can help achieve a seamless appearance that matches the surrounding surface. It’s also beneficial to select accurate measurement tools to monitor the repair’s progress and ensure optimal results. Proper preparation of the surface and understanding gelcoat properties are crucial for a durable and visually appealing repair. Moreover, understanding gelcoat curing times can help prevent premature damage to the repaired area, ensuring long-lasting results.
Essential Repair Materials
Before you start repairing gelcoat chips, gather the essential tools and materials needed for the job. You’ll need high-quality gelcoat repair kits that include gelcoat bonding agents to guarantee proper adhesion. UV curing resin is vital for quick hardening and a seamless finish, especially in sunny conditions. Additionally, have these materials ready:
- Color-matched gelcoat for a perfect color match
- Cleaning supplies like isopropyl alcohol to prep the surface
- Fine-grit sandpaper for smoothing the repair area
Using the right materials ensures a durable fix that resists future cracks. The gelcoat bonding process creates a strong connection between the patch and existing gelcoat, while UV curing accelerates the setting time. These essentials help achieve a professional, long-lasting repair.
Recommended Application Tools
Having the right application tools is essential for a successful gelcoat repair, as they guarantee precise and clean results. Application brushes are perfect for detailed work and small areas, allowing you to control the gelcoat application and avoid excess. Foam rollers are ideal for covering larger surfaces evenly and quickly, creating a smooth finish. Use brushes for intricate spots or edges, while foam rollers help when applying gelcoat over broad areas. Make sure your brushes are high-quality to prevent streaks and ensure even coating. Foam rollers should have a fine nap to avoid leaving marks. Having these tools ready will streamline your repair process and improve the overall quality of your patch job. Proper application tools are key to a seamless, professional-looking fix.
Marine Fiberglass Repair Kit for Boats, Gel Coat Repair Kit for Boats, Epoxy Filler for Fiberglass Boats Fix Holes, Chips and Deep Cracks, Gelcoat repair kit for Fiberglass, Acrylic, Porcelain(White)
Marine Fiberglass Repair Kit: This all-in-one epoxy filler can fix fiberglass boat damage efficiently, repairing deep scratches, cracks,…
As an affiliate, we earn on qualifying purchases.
As an affiliate, we earn on qualifying purchases.
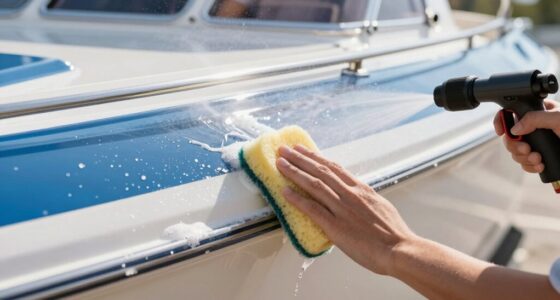
Preparing Your Boat’s Surface for a Seamless Gelcoat Patch
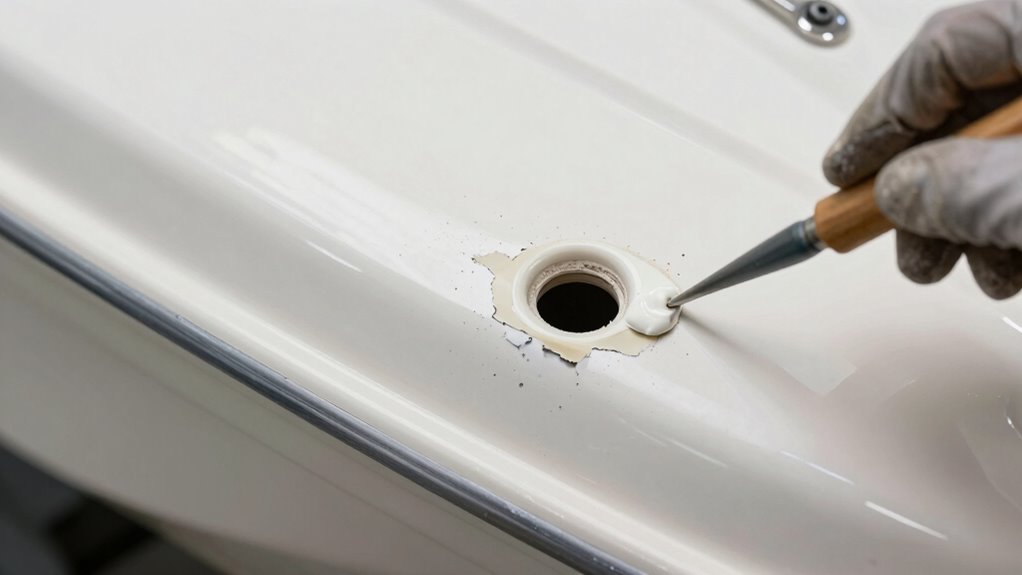
Ensuring a smooth surface is essential for a seamless gelcoat patch, and proper preparation sets the foundation for a professional finish. Start by thoroughly cleaning the area with marine cleaning to remove dirt, grease, and salt deposits. Next, lightly sand the damaged area to create a rough surface that helps the new gelcoat adhere better. Finally, perform gelcoat polishing around the repair site to smooth out imperfections and restore shine. Focus on these key steps:
- Use marine cleaning to guarantee a contaminant-free surface
- Sand with fine-grit paper for proper adhesion
- Polish the surrounding area for a seamless blend
This careful preparation will make your patch look smooth and professional, ensuring durability and a polished appearance.
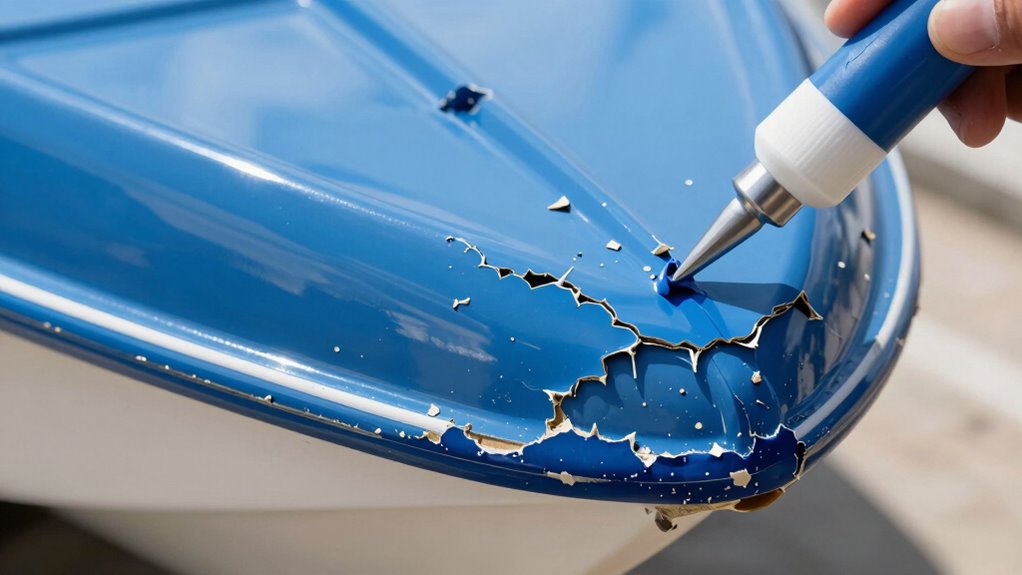
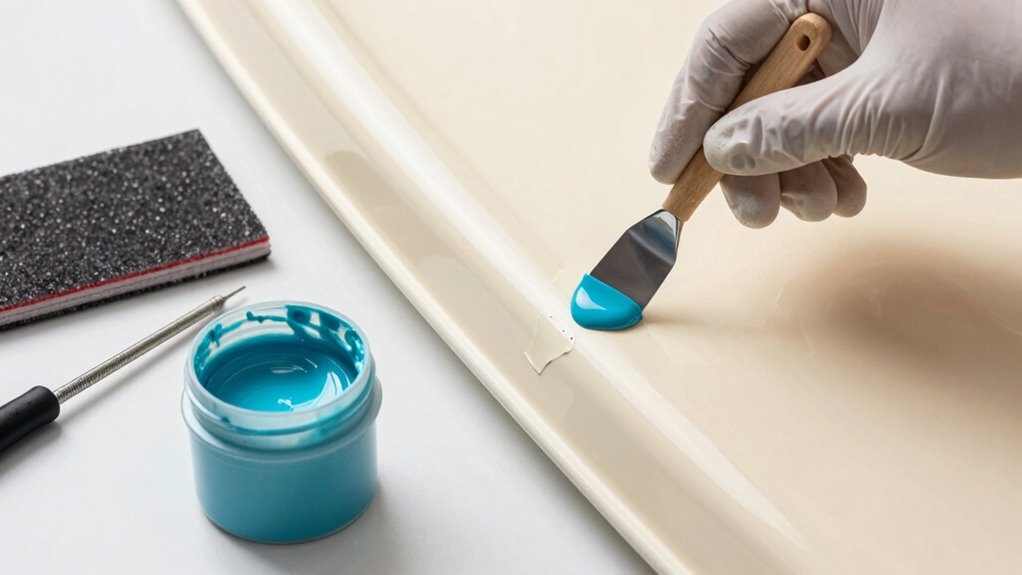
How to Patch Gelcoat Chips : Step-by-Step Guide
Once your surface is prepped and smooth, it’s time to start repairing the gelcoat chips. Begin by applying a gelcoat repair kit, matching the color as closely as possible. Use a small brush or toothpick to carefully fill the chipped area, ensuring you don’t overfill. Smooth the surface with a plastic spatula or your finger, removing excess material. Allow the patch to cure fully—this step is vital for gelcoat longevity. To enhance durability and maintain your boat’s appearance, follow proper maintenance routines, like regular cleaning and inspections. Here’s a quick overview of the process:
| Step | Action |
|---|---|
| 1 | Clean the chipped area thoroughly |
| 2 | Mix gelcoat repair material |
| 3 | Fill the chip carefully with the mixture |
| 4 | Smooth and level the surface |
| 5 | Allow curing before use or polishing |
Matching Gelcoat Color and Getting a Smooth Finish
Matching the gelcoat color precisely is essential for a seamless repair that blends with the surrounding surface. To achieve this, compare the gelcoat patch to the existing surface in natural light, and select a color that closely matches. Use color matching tools or test small amounts of gelcoat on a hidden area before full application. Once the color is correct, focus on finish smoothing to create a professional look.
- Mix the gelcoat thoroughly for consistent color distribution
- Use fine-grit sandpaper or a polishing pad to smooth the surface
- Apply a light, even layer of clear coat or polish for a uniform finish
Tips to Prevent Future Chips and Keep Your Gelcoat Looking Great
To keep your gelcoat looking great and prevent future chips, it’s important to protect the surface from impacts and harsh environmental conditions. Establishing regular maintenance schedules helps identify and address minor issues early before they worsen. Consistent cleaning and inspections reduce the risk of damage and keep the gelcoat in top condition. Additionally, crew training is essential; ensure everyone handling the boat understands proper care techniques and gentle handling to avoid unnecessary impacts. Educating your team on how to spot early signs of wear allows for prompt intervention. By maintaining a proactive approach and emphasizing proper handling, you minimize the chances of chips forming and extend the life of your gelcoat’s pristine appearance.
Common Mistakes to Avoid During Gelcoat Repairs
Avoiding common mistakes during gelcoat repairs is crucial to guarantee a smooth, durable finish. One mistake is neglecting proper color matching, which can make the repair obvious and unsightly. Take your time to blend the gelcoat with the surrounding area for a seamless look. Additionally, ignoring environmental factors like temperature and humidity can cause curing issues, leading to cracks or uneven textures. Always work in a controlled environment and follow manufacturer guidelines. In conclusion, rushing the process or skipping surface prep can compromise adhesion and longevity. Make sure the surface is clean, dry, and lightly sanded before application.
- Failing to address color matching accurately
- Overlooking environmental conditions during curing
- Skipping thorough surface preparation before applying gelcoat
When to Call in a Professional for Gelcoat Fixes

Sometimes, despite careful preparation and attention during gelcoat repairs, the results just aren’t up to par. If you notice persistent gelcoat cracking or surface contamination that won’t clean or sand away, it’s time to call in a professional. These issues can signal deeper problems, like underlying substrate damage or improper repair techniques. Attempting to fix severe cracking or contamination yourself may worsen the problem or cause uneven finishes. Professionals have specialized tools and expertise to properly diagnose the root cause and perform high-quality repairs. If your repairs don’t look smooth, or if cracks reappear after patching, don’t hesitate to seek expert help. Recognizing when the job exceeds your skill ensures a durable, seamless finish that protects your boat long-term.
Frequently Asked Questions
Can Gelcoat Chips Be Repaired Without Professional Help?
Yes, you can do DIY repairs for gelcoat chips, saving you money compared to professional help. You’ll need gelcoat repair kits, which are affordable and easy to use. Carefully sand the chipped area, clean it, and apply the gelcoat. While DIY repairs are cost-effective, they might not be perfect. If you want a flawless finish, professional repair costs more but guarantees better results.
How Long Does It Take for a Gelcoat Repair to Cure?
Imagine watching a sunrise, patience revealing beauty. When you repair gelcoat, the curing time is essential—usually 24 to 48 hours—like dawn’s gentle light. During this period, you should avoid exposing your boat to water or stress. Proper gelcoat mixing ensures a smooth, durable finish. Trust the curing process, as it transforms your patch from a fragile fix into a resilient shield, preserving your vessel’s beauty and strength.
Are There Specific Weather Conditions Ideal for Gelcoat Patching?
You should patch gelcoat in moderate temperatures, ideally between 70-85°F, to guarantee proper curing. Avoid extremely high or low temperatures, as they can affect adhesion and curing times. Humidity levels should be low, around 50% or less, because excessive moisture can cause defects like bubbles or poor bonding. By maintaining ideal temperature considerations and controlling humidity levels, your gelcoat patch will cure smoothly and last longer.
What Are the Signs of a Failed Gelcoat Repair?
If your gelcoat repair fails, you’ll notice poor gelcoat adhesion, causing peeling or bubbling. The color match might look off, with the patch standing out against the surrounding surface. You could also see cracks or uneven texture forming over time. These signs indicate that the repair didn’t bond properly or wasn’t applied under ideal conditions, making it necessary to sand, clean, and reapply the patch for a seamless finish.
How Often Should I Inspect My Boat’s Gelcoat for Chips?
You should inspect your boat’s gelcoat regularly, ideally every 3 to 6 months, as part of your gelcoat maintenance routine. Frequent inspections help catch chips early before they spread, saving you time and money. Keep an eye out for any cracks, chips, or discoloration. An established inspection schedule guarantees you address issues promptly, maintaining your boat’s appearance and protecting its underlying structure.
Conclusion
Addressing gelcoat chips early can save you time and money, preventing small problems from becoming costly repairs. With the right tools and techniques, you can confidently patch chips and keep your boat looking its best. Some believe that minor chips will fix themselves over time, but reality shows they often worsen without proper care. So, stay vigilant, fix chips promptly, and enjoy a smooth, protected boat surface for years to come.