To replace a hose clamp without losing the hose, start by carefully loosening the clamp with the right tool, like a screwdriver or pliers. Keep a firm grip on the hose to prevent slipping or falling when the clamp is removed. Gently slide the hose off the fitting and secure it to avoid misplacing it. When installing the new clamp, ensure it’s snug but not too tight. Continue exploring to learn how to do this effectively.
Key Takeaways
- Gradually loosen the clamp while keeping a finger on the hose to control removal.
- Use appropriate tools, like a screwdriver or pliers, to carefully slide the hose off the fitting.
- Apply a lubricant if the hose resists removal to ease detachment without damage.
- Hold the hose firmly during removal to prevent slipping or accidental loss.
- Secure the hose immediately in a container or hold it steady until the new clamp is ready for installation.

9PCS Hose Clamp Pliers, Long Reach Hose Clamp Tool Remover for Water Hose and Automotive Coolant Radiator Heater with Flexible Wire Long Reach Hose Clamp and Flat Band Pliers
Premium Hose Pliers Set: Our 9PCS mechanic tools set includes long-reach cabled hose clamp pliers, Clic-R type collar…
As an affiliate, we earn on qualifying purchases.
As an affiliate, we earn on qualifying purchases.
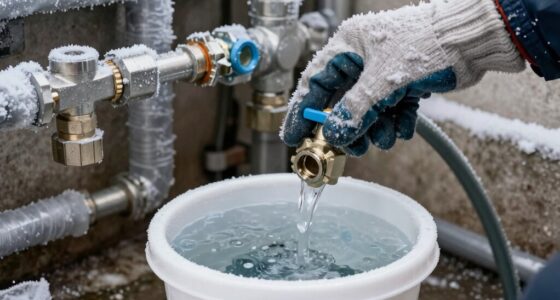
Why Proper Hose Clamp Removal Prevents Damage and Leaks
Properly removing a hose clamp is essential because it helps prevent damage to the hose and surrounding components. When you handle clamps with care, you reduce the risk of crushing or puncturing the hose, which could lead to leaks or failure. Clamp safety is critical; using the right tools and techniques guarantees you don’t apply excessive force that might cause cracks or tears. Before removing the clamp, perform a thorough hose inspection to check for signs of wear, corrosion, or damage. Identifying issues early helps you decide whether the hose needs replacement or just a new clamp. Taking your time during removal minimizes the chance of accidental slips or damage, ensuring a secure fit when you reinstall the new clamp and preventing future leaks. Using proper DIY tools and safety tips can make the process safer and more effective. Additionally, understanding hose materials can guide you in selecting the appropriate replacement parts for durability and compatibility, and knowing the correct removal techniques minimizes the risk of damage during the process. Incorporating attention to detail during each step ensures you avoid common mistakes that could compromise the repair. Furthermore, being aware of common mistakes helps you troubleshoot issues more effectively and achieve a longer-lasting repair.

9PCS Hose Clamp Pliers Set, Hose Clamp Removal Tool for Automotive, Flexible Removing Clamps Pliers Automotive for Coolant Radiator Heater and Water Hose
SET INCLUDES: The hose clamp tool includes one screwdriver, rubber handle pipe clamp, cross clamp pliers, bend throat…
As an affiliate, we earn on qualifying purchases.
As an affiliate, we earn on qualifying purchases.
What Tools Do You Need and How to Prepare Your Workspace
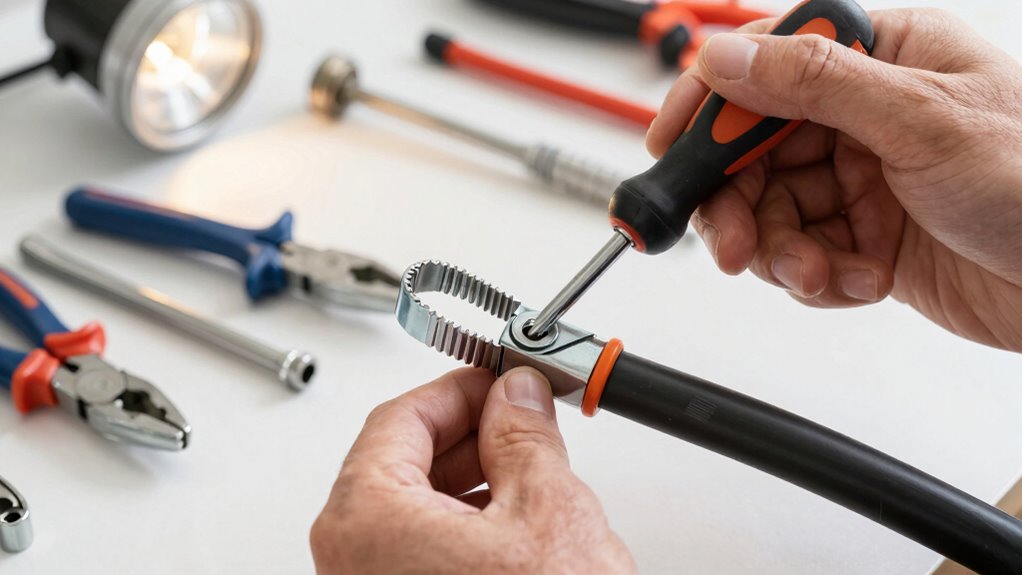
Before you start removing the hose clamp, gather the right tools and prepare your workspace to make the task smooth and safe. A proper tools overview helps guarantee you have everything needed, avoiding delays. Set up your workspace with good lighting, a clean surface, and a stable area to work comfortably. Consider using a container to hold removed parts and prevent losing small pieces. Essential tools include:
- Screwdriver or pliers suited for your clamp type
- Gloves for protection
- Rags or towels for cleanup
- A container for hose and clamp parts
A well-organized workspace setup minimizes frustration and reduces the risk of damage. Having the right tools and a tidy area makes replacing the hose clamp straightforward and efficient. Exploring a flexible platform for digital research and ideas]
Washer hose with clamp replacement kit:4738ER1004B As an affiliate, we earn on qualifying purchases. As an affiliate, we earn on qualifying purchases.
4738ER1004B washer hose with clamp replacement kit suitable for LG, Kenmore, Whirlpool, Amana, Bosch brands can replace AP4436600 1267576 AH3523347 EA3523347 PS3523347, etc
How to Remove a Hose Clamp Without Losing the Hose
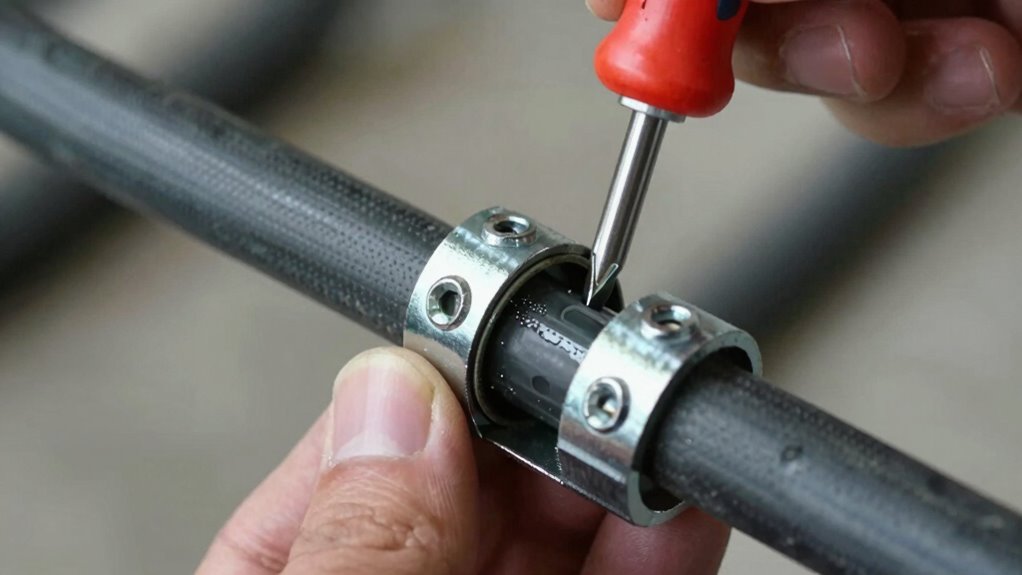
When removing a hose clamp, it’s important to prevent the hose from slipping off unexpectedly. Use clamp techniques that hold the hose steady during removal. Start by loosening the clamp slowly to avoid sudden slips. Keep a finger on the hose as you work to maintain control. Consider applying a small amount of lubricant if the hose resists removal. Here’s a quick reference:
| Step | Action | Tip |
|---|---|---|
| 1 | Loosen the clamp | Use the proper screwdriver or pliers |
| 2 | Hold the hose firmly | Prevent slipping during removal |
| 3 | Gently slide the hose off | Avoid tugging too hard |
| 4 | Inspect the hose | Check for damage or wear |
| 5 | Clean the fitting | Prepare for reinstallation |
Master these hose removal techniques to keep the hose intact. Remember that proper technique can significantly reduce the risk of damaging the hose during removal. Additionally, understanding the correct tools for clamp removal can make the process smoother and safer. Proper clamp removal methods are essential to avoiding unnecessary damage and ensuring a successful replacement. Recognizing the importance of technique mastery can lead to more efficient and damage-free maintenance. Being aware of hose material properties can also help in choosing the right approach for different types of hoses.
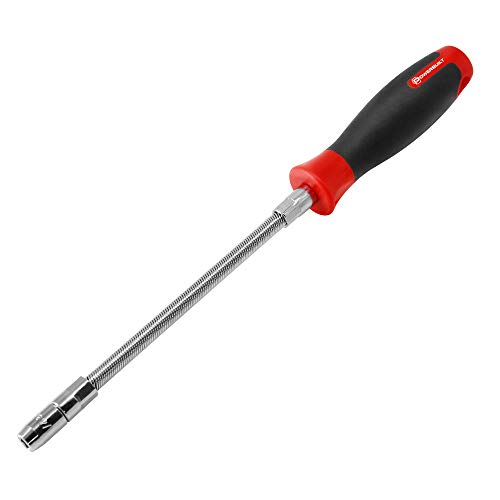
Powerbuilt Flexible Hose Clamp Driver 1/4 Inch and 5/16 Inch, Auto Specialty Tool, Car Service Loosen and Tighten Hose Clamp Nuts – 647769
SAVES TIME: Makes it fast and easy to loosen and tighten hose clamp nuts
As an affiliate, we earn on qualifying purchases.
As an affiliate, we earn on qualifying purchases.
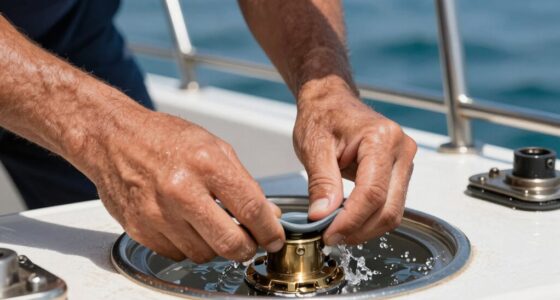
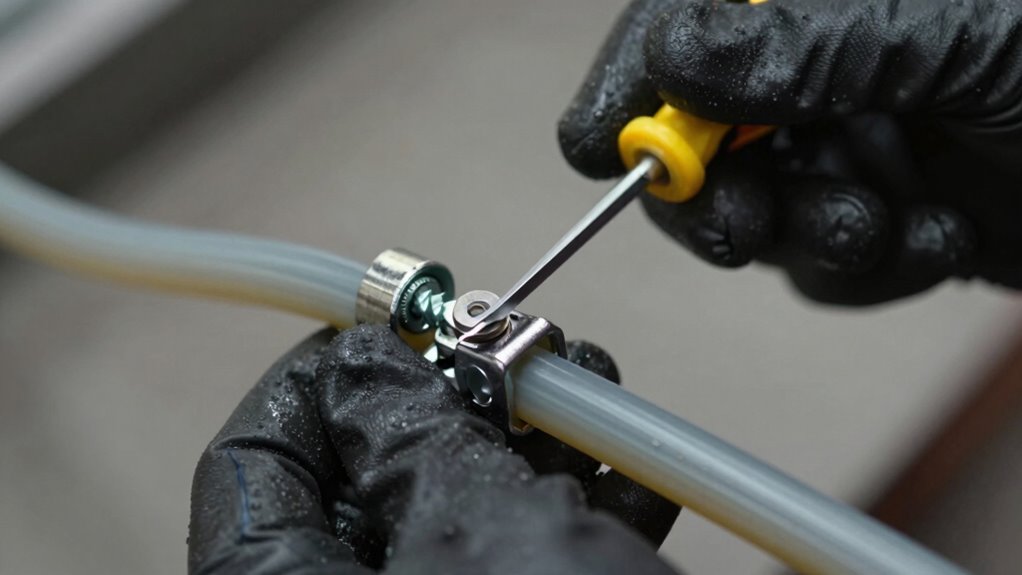
How to Reattach and Secure the Hose With a New Clamp
To reattach and secure the hose with a new clamp, start by selecting the correct size and type of clamp for your hose and fitting. Proper clamp installation guarantees a tight, leak-free connection. Before tightening, make sure the hose is seated fully onto the fitting. Use these tips for effective hose securing:
Secure your hose with the right clamp for a leak-free, reliable connection.
- Choose a clamp that fits snugly around the hose without over-tightening
- Position the clamp about 1/4 inch from the end of the hose for ideal sealing
- Use a screwdriver or pliers to evenly tighten the clamp, avoiding damage
- Check the clamp’s security by gently tugging the hose to ensure it’s firmly attached
- Ensuring the clamp is compatible with the hose material helps prevent damage and ensures longevity and proper maintenance. Additionally, selecting the appropriate hose clamp types based on your specific application can improve overall durability and performance. Properly installing the clamp also involves verifying the material compatibility, which helps prevent corrosion and deterioration over time. Being aware of corrosion resistance properties can further extend the lifespan of the connection. Incorporating proper installation techniques can significantly reduce the risk of leaks and dislodgement, ensuring a reliable connection over time. Following these steps guarantees a secure, leak-proof connection and prevents future hose dislodgement.
Troubleshooting Hose Clamp Problems and Ensuring a Leak-Free Fit

Even with proper installation, hose clamp problems can still arise, causing leaks or dislodgement. To troubleshoot, start by checking the clamp type—band clamps, spring clamps, or screw clamps—since each fits differently and may need adjustment or replacement. Make certain the clamp is tight enough, but not so tight that it damages the hose material, which can weaken or crack under pressure. If leaks persist, inspect the hose for cracks or soft spots, and replace it if needed. Confirm that the clamp’s size matches the hose diameter, securing it snugly without deforming the hose. Properly fitted clamps prevent leaks and dislodgement; regularly inspect them to maintain a leak-free fit over time. Additionally, understanding early detection methods can help prevent issues from worsening, ensuring the longevity of your hose connections. Regularly checking for wear and tear can identify potential failures before they lead to leaks or dislodgement. Incorporating proper installation techniques further enhances the durability of your hose setup and reduces future problems.
Frequently Asked Questions
Can I Reuse the Same Hose Clamp After Removal?
Yes, you can reuse the same hose clamp if the clamp material remains intact and isn’t damaged. Check that the clamp still provides a tight seal and is compatible with your hose’s material and size. If it shows signs of corrosion, rust, or deformation, it’s best to replace it to guarantee a secure fit and prevent leaks. Always prioritize hose compatibility and clamp integrity for peak performance.
What Are the Signs of a Failing Hose Clamp?
You’ll notice a failing hose clamp if the hose starts leaking, feels loose, or shows signs of corrosion. The hose material may also become brittle or cracked near the clamp. Check the clamp tension—if it’s too loose, it won’t hold securely, and if it’s too tight, it can damage the hose. Regularly inspecting these signs helps prevent leaks and guarantees your system stays sealed properly.
How Often Should Hose Clamps Be Inspected or Replaced?
Think of your hose clamp as a guardian that needs regular check-ups. You should inspect your hose clamps every 6 to 12 months, especially if made from materials with lower corrosion resistance. Replace them sooner if you notice rust, cracks, or looseness. Clamp material impacts longevity—stainless steel lasts longer, but all clamps benefit from routine inspections to prevent leaks and damage, keeping your system secure and efficient.
Are There Different Types of Hose Clamps Suited for Specific Hoses?
Yes, there are different types of hose clamps suited for specific hoses. You should consider clamp materials like stainless steel for durability or plastic for lighter tasks. Also, check hose compatibility to make sure the clamp fits securely without damaging the hose. Using the right clamp type and material helps prevent leaks and prolongs the hose’s lifespan, making your repair or installation more reliable.
How Does Temperature Affect Hose Clamp Performance?
Temperature affects hose clamp performance by impacting material compatibility and temperature resilience. When exposed to high heat, some clamps may expand, loosen, or degrade if made from improper materials. Conversely, extreme cold can cause metal clamps to contract, risking leaks. You should choose clamps made from materials designed for temperature resilience, guaranteeing they maintain their grip and prevent leaks regardless of temperature fluctuations. Proper selection helps ensure a secure, long-lasting seal.
Conclusion
By following these steps, you’ll master hose clamp replacement like a pro—saving time, money, and avoiding a potential leak catastrophe that could flood your workspace. With patience and the right tools, you can prevent damage and keep your hoses secure for miles to come. Remember, a properly installed clamp isn’t just a small detail—it’s the superhero that keeps your system running smoothly and safely, no matter how tough the challenge.