
To keep your 4-stroke outboard running smoothly, change the oil every 100 hours or at least once a year, following your owner’s manual for specifics. Gather the right tools, drain the old oil, replace the filter, and add fresh oil based on capacity. Avoid common mistakes like overfilling or using the wrong type. Proper maintenance prevents costly repairs, and if you want to learn detailed steps, you’ll find everything you need below.
Key Takeaways
- Consult your owner’s manual for the correct oil type, capacity, and recommended change intervals (every 100 hours or annually).
- Gather essential tools: drain pan, wrench, oil filter wrench, funnel, and cleaning supplies before starting.
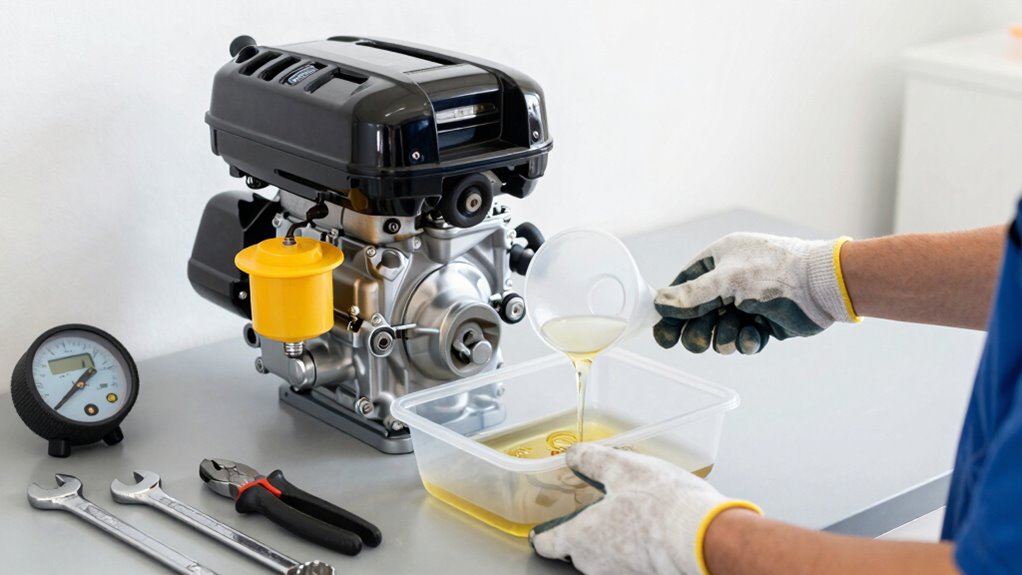
- Drain old oil completely by removing the drain plug, then replace the oil filter and check for leaks.
- Refill with the proper amount and type of new oil; start the engine briefly to circulate oil, then verify oil level.
- Dispose of used oil and filters responsibly, and perform regular checks for leaks, filter condition, and engine performance.

Mercury 8M0081916 25W-40 4-Stroke Outboard Oil Change Kit for Mercury 40/50/60hp EFI Outboards
Mercury 25W-40 Marine Engine Oil features high-tech, advanced anti-wear additives that provide up to 35% better camshaft wear…
As an affiliate, we earn on qualifying purchases.
As an affiliate, we earn on qualifying purchases.
Why Regular Oil Changes Are Critical for Your Outboard’s Health
Regular oil changes are vital because they keep your outboard engine running smoothly and prevent costly damage. Using the right engine oil types, such as synthetic or mineral oils, guarantees maximum lubrication and performance. Fresh oil reduces friction, prevents engine wear, and helps maintain efficiency. Over time, oil breaks down and becomes contaminated with dirt, debris, and combustion byproducts, which can cause engine components to wear prematurely. Regular changes also help you spot potential issues early. Proper oil disposal methods are essential to protect the environment; never pour used oil down drains or onto the ground. Instead, take it to a designated recycling center or authorized disposal facility. Maintaining clean and high-quality oil can also reduce the buildup of microplastics in dust, which is an emerging concern for both engine longevity and environmental health. Being aware of environmental impact emphasizes the broader importance of proper oil handling and disposal practices. Additionally, choosing oils with sustainable formulations can contribute to reducing your ecological footprint while maintaining engine performance. Proper maintenance not only extends your engine’s lifespan but also supports environmental sustainability by minimizing harmful waste.

WORKPRO 12" Adjustable Oil Filter Pliers, Wrench Adjustable Oil Filter Removal Tool, Ideal For Engine Filters, Conduit, & Fittings, W114083A
TIPS: 1. BENT head design for easier use in some tight space; 2. OIL on product for rust…
As an affiliate, we earn on qualifying purchases.
As an affiliate, we earn on qualifying purchases.
How to Choose the Right Oil and Quantity for Your Outboard Engine
Choosing the right oil and quantity for your outboard engine guarantees ideal performance and longevity. Start by checking your owner’s manual for the recommended oil viscosity, which guarantees proper lubrication at your engine’s operating temperature. When selecting oil type, consider synthetic versus conventional options. Synthetic oils often provide better protection, cleaner operation, and improved performance in extreme temperatures, but they tend to be more expensive. Conventional oils are usually sufficient for standard use and may be more budget-friendly. Always measure the correct oil quantity—overfilling can cause issues, while underfilling can lead to engine damage. Stick to the manufacturer’s specifications to ensure excellent engine health, and avoid guessing; precise oil choice and volume make all the difference. Being aware of oil compatibility can further help you select the best product for your specific engine. Additionally, understanding oil quality standards ensures you choose a product that meets safety and performance criteria. To maximize your engine’s efficiency, consider oil filtration to keep contaminants out of your engine oil.

Quicksilver 892866A01 Oil Drain Funnel Kit
Bright yellow plastic funnel for draining oil from Verado outboards
As an affiliate, we earn on qualifying purchases.
As an affiliate, we earn on qualifying purchases.
What Tools and Supplies Do You Need to Change the Oil?
Before you start changing the oil, gather the necessary tools and supplies to make the process smooth. You’ll need basic items like wrenches, a drain pan, and rags, along with fresh oil and a new oil filter. Having everything ready guarantees the job gets done efficiently and correctly.
Tools Needed for Oil Change
To successfully change the oil in your 4-stroke outboard, you’ll need a few essential tools and supplies. These will help you remove the old oil and replace the oil filter and drain plug efficiently.
- A socket wrench with the correct size socket to loosen the drain plug and oil filter housing.
- A drain pan to catch the old oil as it drains out.
- An oil filter wrench to remove and install the oil filter securely.
Having these tools on hand makes the process smoother and prevents damage to components like the drain plug or oil filter. Make sure to choose the right size socket and filter wrench to avoid stripping or damaging parts during removal or installation.
Supplies for Outboard Maintenance
Changing the oil in your outboard requires a few specific supplies to guarantee a smooth and efficient process. First, you’ll need a quality oil filter to replace the old one, ensuring your engine stays clean and runs smoothly. You’ll also want the correct type and amount of oil recommended by your manufacturer. A funnel helps pour the new oil without spills. Don’t forget a drain pan to catch old oil and a wrench to remove the filter if necessary. Additionally, using a fuel stabilizer is essential if your boat will sit unused for a while, preventing fuel degradation. Finally, have rags or paper towels handy for cleanup. Proper disposal of used oil is also crucial to environmental responsibility, so be sure to follow local regulations. With these supplies, you’re set to perform a proper oil change that keeps your outboard running reliably.
NEIKO 20762A Oil Drain Pan | Black Plastic Anti Splash | Motor Oil Drip Catcher Pan | 2 Gallon (8L) Capacity
[QUALITY]: Oil drip tray is constructed of high quality, recyclable polythene plastic that is resistant to corrosion so…
As an affiliate, we earn on qualifying purchases.
As an affiliate, we earn on qualifying purchases.
How to Change the Oil in Your Outboard : Step-by-Step
Are you ready to give your outboard a fresh start? Here’s a simple, step-by-step guide to change the oil:
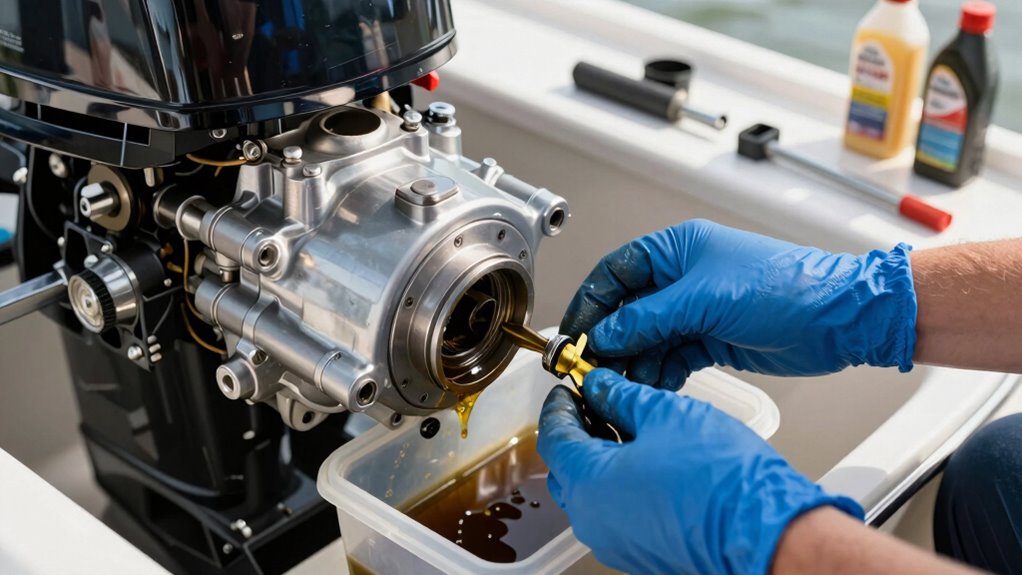
- Drain the old oil by removing the drain plug and letting it flow into a container. While you’re at it, check your spark plug maintenance—inspect and replace if needed.
- Clean the oil filter and perform a fuel system cleaning to ensure smooth operation. Reinstall the drain plug once the oil is fully drained. Proper maintenance routines can support engine longevity and prevent costly repairs. Regularly use the correct tools to make the process easier and avoid damage. Additionally, understanding air circulation in engine cooling systems can help maintain optimal operating temperatures. Being aware of cooling system components can also help you troubleshoot overheating issues more effectively.
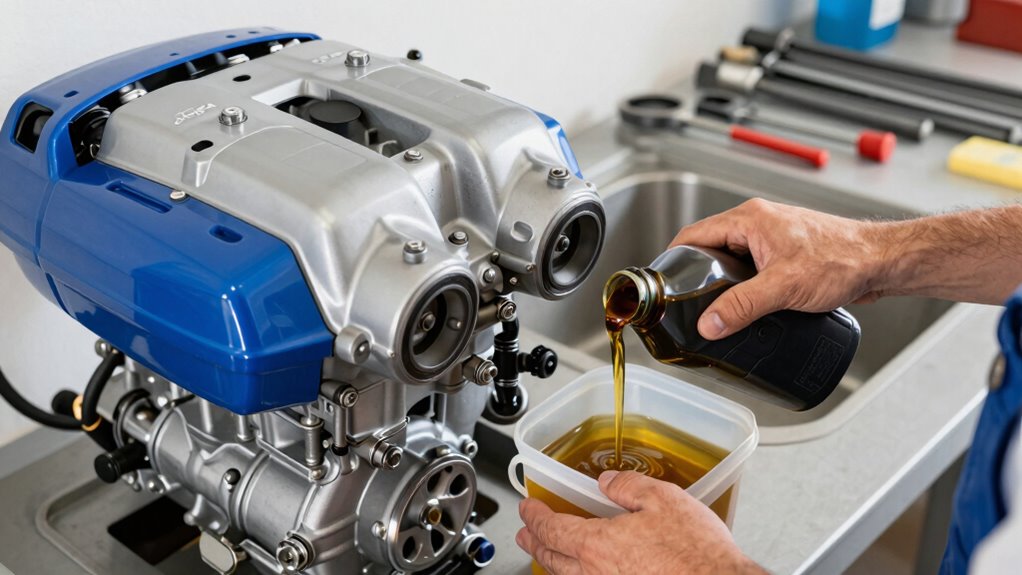
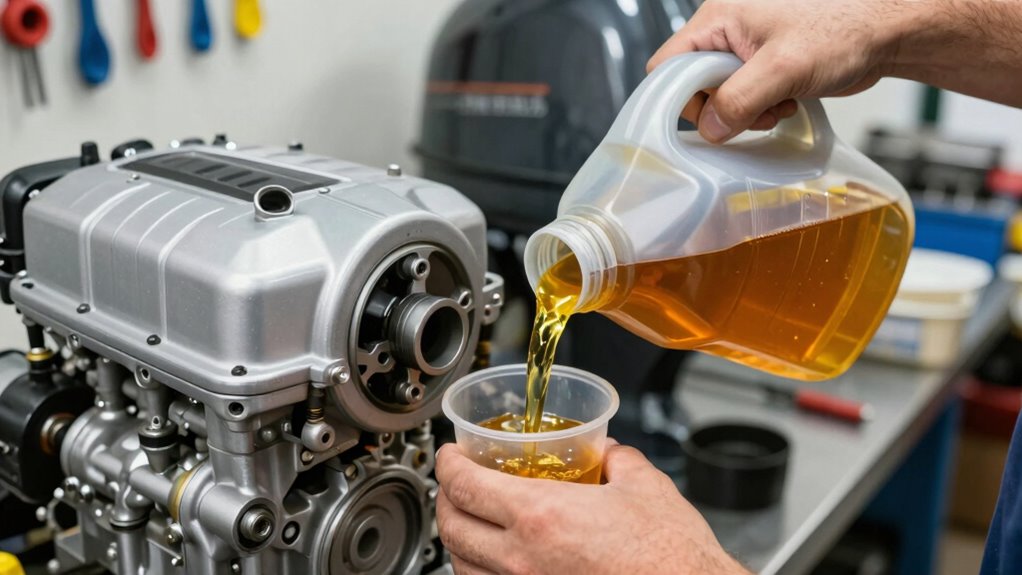
- Pour in fresh oil through the oil fill port, following your outboard’s recommended oil capacity. Start the engine briefly to circulate the new oil, then check the oil level and top off if necessary.
- Remember, giveaways, gear, and monetization tips can help you stay motivated to keep your boat in top shape and enhance your overall boating experience.
Following these steps keeps your engine running smoothly and prolongs its lifespan.
Common Mistakes to Avoid When Changing Your Outboard’s Oil

Even experienced boaters can make mistakes during an oil change that could harm their outboard’s performance or longevity. One common error is neglecting to replace the oil filter, which can lead to dirty oil circulating through the engine, causing wear over time. Another mistake is using the wrong oil viscosity; using oil that’s too thick or too thin can impair lubrication and engine efficiency. Always verify you select the correct oil type for your outboard and double-check that the oil filter is properly installed and clean. Failing to tighten the drain plug securely can cause leaks, and rushing through the process may leave debris or old oil behind. Avoid these pitfalls to keep your outboard running smoothly and extend its lifespan.
How Often Should You Change the Oil and Troubleshoot Persistent Engine Issues
Knowing how often to change your outboard’s oil helps maintain ideal performance and prevent damage. If your engine runs inconsistently or shows warning signs, it’s important to identify the underlying issues quickly. Using effective troubleshooting techniques can save you time and keep your boat running smoothly. Additionally, understanding seasonal maintenance can help optimize engine health throughout the year. Regularly checking for engine sensor issues can also prevent costly repairs and ensure accurate readings. Incorporating proper oil change intervals based on usage and conditions further supports engine longevity. For example, neglecting to maintain proper toilet maintenance and repairs can lead to unexpected breakdowns, which parallels the importance of scheduled oil changes. Moreover, staying informed about home security systems can provide added safety for your boat and property during off-season storage.
Recommended Oil Change Intervals
Regularly changing your outboard motor’s oil is essential to keep it running smoothly and prevent costly repairs. Typically, you should change the oil every 100 hours of operation or at least once a year, whichever comes first. To guarantee optimal performance, consider these key points:
- Replace the oil filter during each oil change to maintain clean lubrication.
- Follow your manufacturer’s recommended intervals for oil change, usually found in the owner’s manual.
- Properly dispose of used oil and oil filters to protect the environment and comply with local regulations.
- Regular oil changes also promote environmental stewardship by ensuring proper disposal and reducing pollution.
Sticking to these intervals helps prevent engine issues and keeps your outboard running reliably. Regular oil changes also make troubleshooting easier if you encounter persistent engine problems later.
Identifying Persistent Engine Problems
If your outboard engine starts to run rough, hesitate, or produce unusual noises, it’s a clear sign that something may be wrong. Persistent issues like sluggish performance or irregular idling can indicate problems beyond simple maintenance, affecting fuel efficiency and engine longevity. Regularly check for signs of corrosion, especially around electrical components and the lower unit, as corrosion can cause ongoing issues. Troubleshooting these problems early helps prevent more serious damage and maintains ideal performance. Keep an ear out for knocking sounds or vibrations, which can signal internal wear or contamination. Addressing these signs promptly ensures your engine runs smoothly, maximizes fuel efficiency, and promotes corrosion prevention, extending its lifespan and reliability. Supporting proper maintenance routines is essential to keep your engine in top condition and prevent minor issues from escalating. Additionally, understanding persistent engine problems and their causes can help you develop effective troubleshooting strategies to keep your outboard running at its best.
Effective Troubleshooting Techniques
To keep your outboard running smoothly, establishing a routine for oil changes and troubleshooting is vital. Regularly check your oil filter, fuel mixture, and engine performance to catch issues early. Effective troubleshooting involves three key steps:
- Inspect the oil filter for clogs or leaks, ensuring proper filtration.
- Verify the fuel mixture to prevent engine knocking or poor performance.
- Monitor engine behavior—listen for unusual noises or vibrations, and check for overheating or misfires.
If problems persist despite these checks, consider changing the oil more frequently or consulting a professional. Consistent maintenance and keen troubleshooting can prevent costly repairs and keep your outboard reliable on the water.
Frequently Asked Questions
Can I Use Automotive Motor Oil in My Outboard Engine?
You shouldn’t use automotive motor oil in your outboard engine because it may not have the right oil viscosity or necessary oil additives for marine use. Automotive oils are formulated differently and might break down faster in a water-cooled outboard engine. Using the correct outboard oil guarantees proper lubrication, prevents corrosion, and keeps your engine running smoothly. Always follow your manufacturer’s recommendations for oil type and specifications.
How Do Temperature Changes Affect Oil Selection and Change Intervals?
Temperature effects play a big role in choosing your outboard oil and determining change intervals. As temperatures drop, you should opt for a thinner oil with lower viscosity to guarantee smooth engine operation. Conversely, in hot weather, thicker oil with higher viscosity helps protect engine parts. Regularly check your oil and follow manufacturer guidelines, adjusting change intervals based on temperature fluctuations to keep your engine running smoothly.
Is It Necessary to Replace the Oil Filter During Every Oil Change?
Skipping oil filter maintenance during every oil change isn’t recommended, as it helps keep your engine running smoothly. Replacing the oil filter with each oil change ensures contaminants don’t circulate back into your outboard, extending its lifespan. Regular oil change frequency and filter replacement work hand-in-hand, preventing build-up and maintaining peak performance. Think of it as giving your engine a fresh start each time—better for longevity and peace of mind.
What Signs Indicate I Need an Immediate Oil Change?
You need an immediate oil change if you notice oil discoloration, such as a dark, milky, or gritty appearance, which signals contamination or breakdown. Additionally, if your engine makes unusual noise or runs louder than usual, it’s a sign the oil isn’t lubricating properly. Ignoring these signs can lead to engine damage, so don’t delay—change the oil promptly to keep your outboard running smoothly.
Can I Change the Oil Without Draining the Lower Unit?
You can’t change the oil without draining the lower unit because oil drainage is essential for a proper oil change. To do this, you need to remove the lower unit plug and let the old oil flow out completely. Skipping this step can cause old oil to mix with new, reducing lubrication. Always make certain you fully drain the lower unit to maintain your outboard’s performance and prevent damage.
Conclusion
Keeping up with regular oil changes might seem like a hassle, but it’s the best way to guarantee your outboard runs smoothly and lasts longer. Don’t let fear of messing up hold you back—just follow the steps, use the right tools, and stay consistent. With a little effort, you’ll enjoy reliable performance and avoid costly repairs. Trust me, taking care of your outboard now saves you time and money down the line.