
For emergency signaling, carry visual devices like flares (handheld and aerial), reflective surfaces, and electronic beacons, along with sound tools like whistles. Use flares in open areas, aiming them at around 45 degrees upward, and deploy signals during calm weather for maximum visibility. Maintain, store, and test your equipment regularly to guarantee reliability. Proper use and deployment enhance rescue chances—continue exploring the best techniques and safety tips to stay prepared.
Key Takeaways
- Carry a variety of signals such as handheld flares, aerial flares, smoke signals, and electronic beacons for different conditions.
- Store signals in accessible, waterproof containers and regularly inspect for damage or corrosion.
- Use proper techniques, like aiming flares at a 45-degree angle upward and repeating signals periodically.
- Consider environmental factors—deploy signals in clear, calm conditions away from sensitive ecosystems.
- Familiarize yourself with sound signals and patterns to complement visual signals and ensure clear communication.
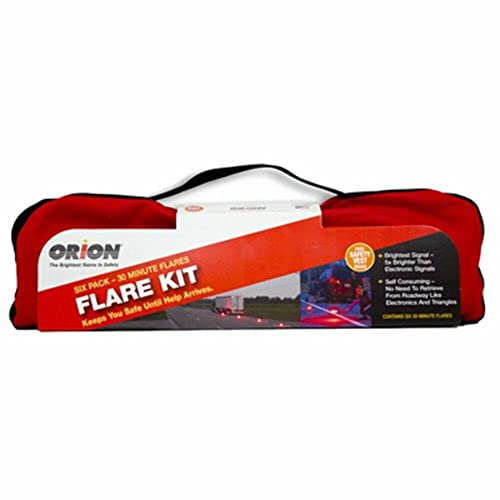
The Original Highway Flare Kit (6-Pack Emergency Flare Kit)
Kit contents: (6) 30 minute highway flares plus (1) FREE high visibility safety vest.
As an affiliate, we earn on qualifying purchases.
As an affiliate, we earn on qualifying purchases.
Why Emergency Signaling Is Vital for Your Safety
Emergency signaling is crucial because it helps you attract attention quickly in dangerous situations. When you’re in distress at sea or in remote areas, visual distress signals like flares alert rescuers to your location. Proper flare safety ensures you use them correctly, preventing accidents and injuries. Flares are designed to be highly visible, making them effective for signaling in low-light or foggy conditions. Using emergency signals promptly can make the difference between rescue and prolonged danger. Remember, your safety depends on clear, effective communication, and visual distress signals are your best option for immediate visibility. Always handle flares with care, follow instructions, and keep them accessible. Proper emergency signaling boosts your chances of quick rescue and ensures your safety in critical moments. Understanding flare operation is essential to ensure their effective use during emergencies. Additionally, knowing about security systems can enhance your overall safety strategy in various scenarios. Being familiar with safety protocols and the proper handling of signals can prevent mishaps and improve response times. Moreover, practicing emergency procedures regularly can ensure you respond calmly and correctly when every second counts. Proper training in signal deployment can further improve the effectiveness of your rescue efforts.

6 Pcs Dual Frequency Survival Whistle – 120dB Waterproof Signaling Device for Wilderness Rescue and Outdoor Adventures
High Quality Material: Made of ABS plastic, our emergency whistle with excellent waterproof and durable performance, ensuring that…
As an affiliate, we earn on qualifying purchases.
As an affiliate, we earn on qualifying purchases.
Types of Emergency Signals and How to Use Them Properly
Knowing the different types of signals available can considerably improve your chances of being rescued quickly. Understanding international standards and proper signal techniques helps you choose effective methods. Visual cues like flares, mirrors, and sound signals can attract attention from a distance. Use visual signals during the day, such as waving a brightly colored cloth or using signal mirrors, following recognized international standards. At night, use flares or flashlight signals to maximize visibility. To ensure your signals are effective, aim them toward potential rescuers and repeat them periodically. Here’s a quick guide:
| Signal Type | How to Use Properly |
|---|---|
| Visual signals | Use mirrors, flares; aim and repeat regularly |
| Sound signals | Whistles, horns; use in clear, open areas |
| Light signals | Flashlights, signal lamps; adhere to international standards |
| Written signals | Signaling panels or messages; place in open view |
Being familiar with international standards ensures your signals are universally recognizable, increasing the likelihood of rescue.

Eco-Fused 2X Survival Whistle and 2X Signal Mirror – Outdoor Survival Kit Rescue Flash Mirror – Clip-on Whistle with Lanyard – Backpacking, Camping, Marine Use, Outdoor Activities
2X SURVIVAL WHISTLE W/ LANYARDS ⭆ Hear the sound of the whistle even from a distance. The ABS…
As an affiliate, we earn on qualifying purchases.
As an affiliate, we earn on qualifying purchases.
Choosing the Right Flares and Signaling Devices for Your Trip

Choosing the right flares and signaling devices can make the difference between being seen quickly or remaining unnoticed in an emergency. To do flare selection effectively, consider your trip’s environment, duration, and distance from help. Different signaling device types serve various purposes: handheld flares, aerial flares, smoke signals, and electronic devices each have unique advantages. For example, handheld flares are portable and easy to use, while aerial flares provide a wider visibility range. Smoke signals are effective in daylight, and electronic devices like distress beacons emit signals that can be detected from afar. Assess your needs and choose a combination of signaling devices that suit your trip’s specific conditions, ensuring you’re prepared to attract attention when it matters most. Incorporating Free Floating options into your signaling strategy can enhance visibility in various environments.

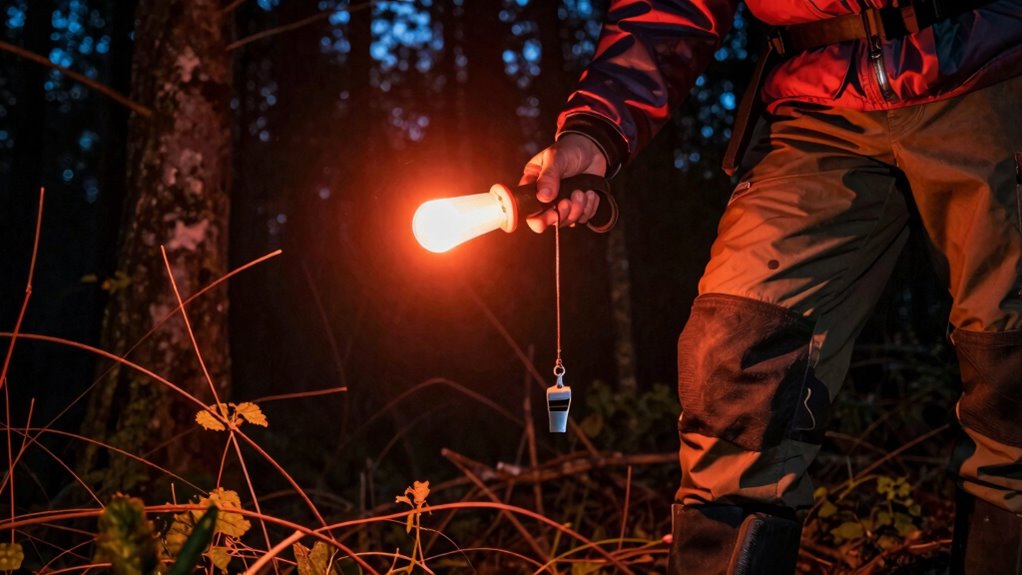
Life Gear 300 Lumen CREE LED Searchlight Flashlight and Powerful Emergency Signaling Rescue Beacon Light, Waterproof and Impact Resistant, Camping, Hiking, Hunting, Backpacking, Batteries Included
BRIGHTNESS: High 300 Lumen / Low 50 Lumen CREE LED Technology
As an affiliate, we earn on qualifying purchases.
As an affiliate, we earn on qualifying purchases.
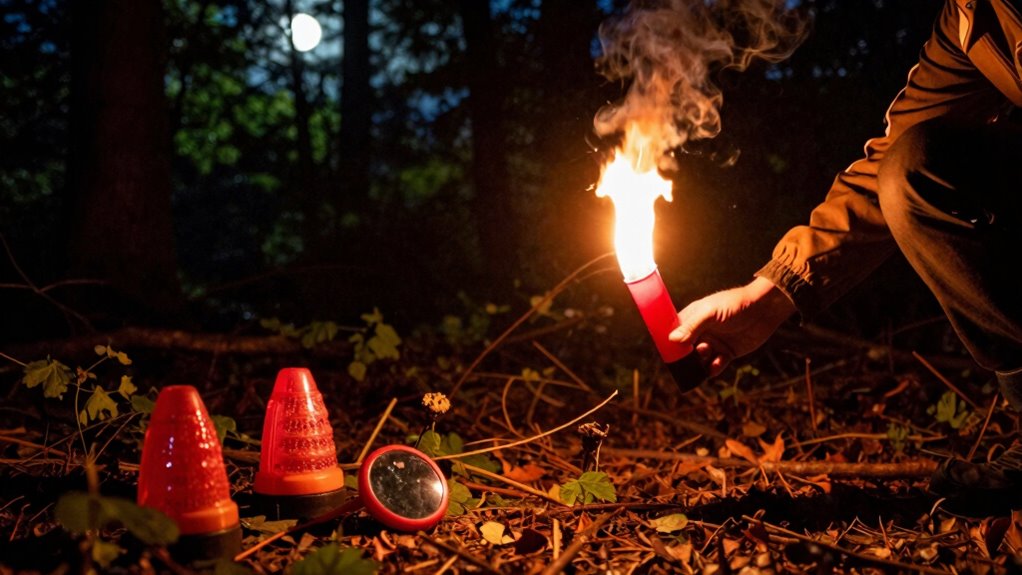
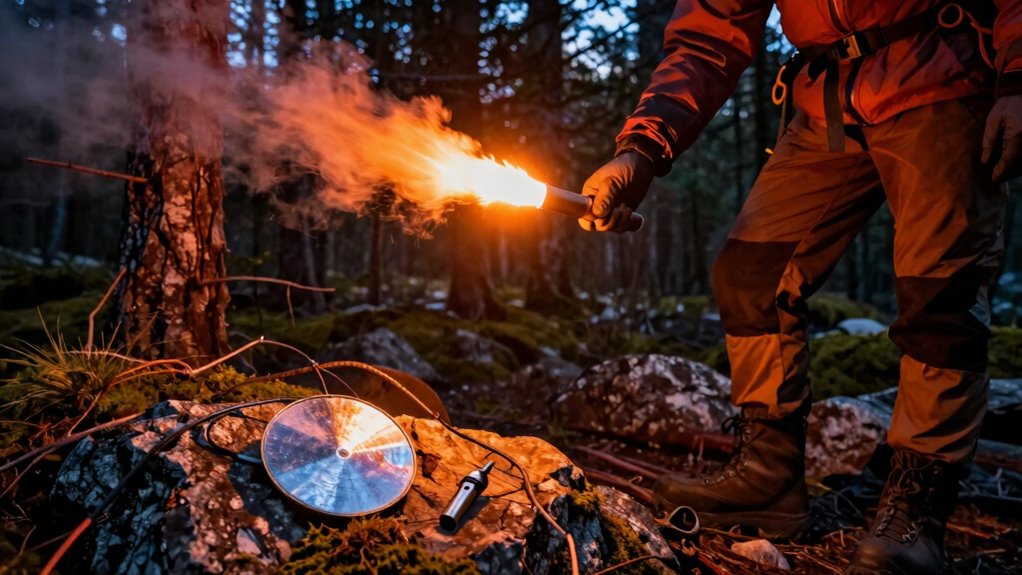
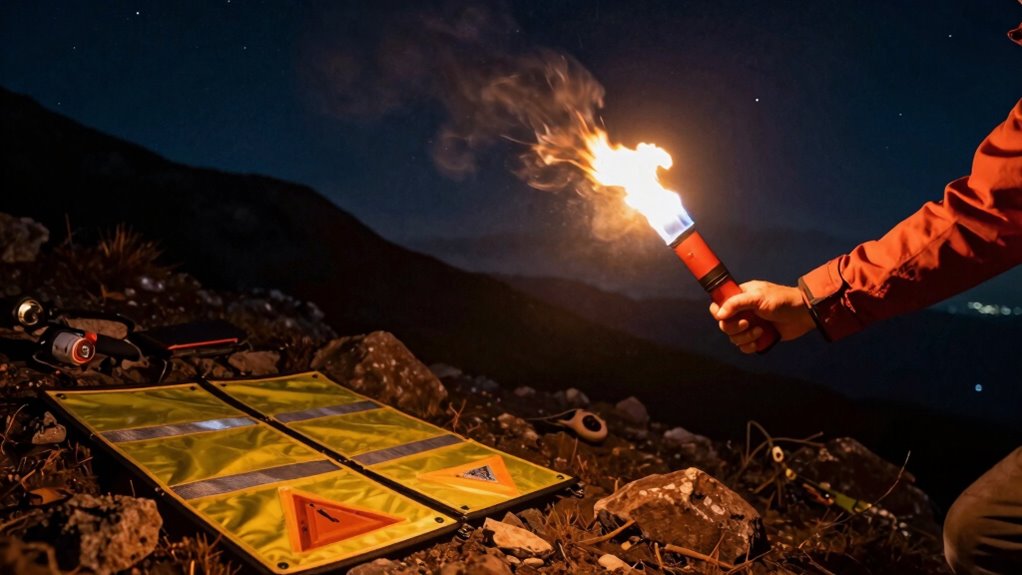
How to Deploy Visual Flares for Maximum Visibility
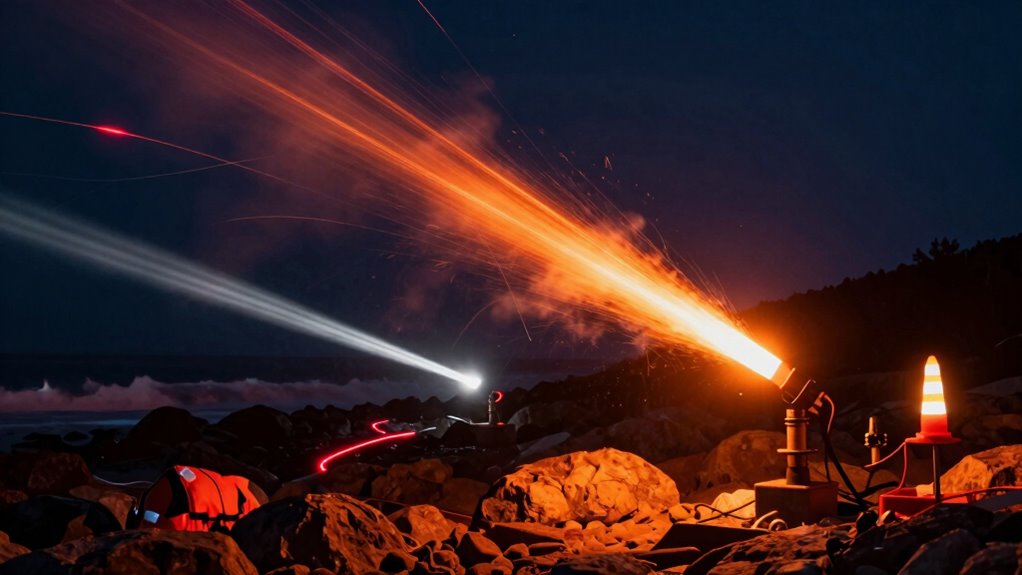
To maximize your flare’s visibility, you need to consider the right angles for deployment, ensuring the signals are seen from all directions. Timing and duration are crucial; release flares when visibility is highest and keep them active long enough for rescue teams to notice. Also, pay attention to environmental factors like wind, weather, and background to prevent your signals from blending into the surroundings. Remember that proper storage and maintenance of your emergency signals ensure they remain effective when needed. Additionally, understanding visual signaling protocols can improve the effectiveness of your signals in critical situations. Properly testing your signals in advance helps verify their color accuracy and visibility under different conditions, increasing your chances of rescue. Furthermore, familiarizing yourself with regional flare types can help you select the most suitable signals for your environment. Being aware of signal positioning can further enhance your chances of being spotted quickly.
Optimal Flaring Angles
Ever wondered how to position a flare for maximum visibility? The key is understanding flare angles and the ideal orientation. Hold the flare at a slight upward angle, usually around 45 degrees, to ensure the light spreads widely across the sky. Keep the flare steady and pointed away from your body to avoid glare or accidental injury. The goal is to create a broad, bright signal visible from a distance. Avoid holding the flare straight up or too flat, as this reduces the spread and effectiveness. Adjust the flare’s angle based on your surroundings and the terrain, always aiming for the widest, clearest visibility. Proper flare angles and signal visibility can significantly improve your chances of being seen during an emergency. Ensuring correct flare positioning maximizes your signal’s reach, making it easier for rescuers to spot you quickly. Additionally, being aware of pinball machine weights can inform you on how to safely transport your signaling equipment if needed. Understanding visual flare techniques can further enhance your signaling effectiveness in various situations. Incorporating cabling solutions for attaching or securing the flare can also improve stability and safety during deployment.
Timing and Duration
Timing is crucial when deploying visual flares to guarantee they are seen by rescuers. Your timing strategy ensures maximum visibility and effective signaling. Use flares during low-light conditions or at night when they stand out most. Pay attention to flare duration; don’t wait too long to ignite another if the previous one expires. Proper timing keeps your signal active without gaps. Here are key points:
- Launch flares at regular intervals for continuous signaling.
- Match flare duration with visibility needs—longer for night, shorter for daytime.
- Initiate signals when rescuers are nearby or searching.
- Delay flare deployment during heavy clouds or fog to avoid obscuring signals.
- Monitoring weather conditions can help you adjust your flare timing effectively.
- Understanding visual signaling techniques enhances the effectiveness of your emergency signals.
- Recognizing signal patterns can improve the clarity and interpretability of your distress signals.
- Being aware of emergency procedures can further optimize your signaling strategy in critical moments.
Mastering timing and flare duration boosts your chances of rescue and keeps your signals effective and visible.
Environmental Considerations
Environmental conditions play a vital role in maximizing the visibility of your signals. Poor weather, such as fog, rain, or low light, can reduce flare effectiveness, so choose clear, calm conditions when possible. Be mindful of wildlife disturbance; avoid deploying flares near nesting sites or habitats to prevent causing unnecessary stress or environmental impact. Position your flares away from sensitive ecosystems, and make certain they are stable to prevent accidental fires or pollution. Use reflective surfaces or elevated locations to enhance visibility without increasing environmental damage. Additionally, being aware of visual signaling techniques can help you deploy signals more effectively in challenging conditions. Proper deployment also involves considering environmental impact, ensuring that your signaling methods do not harm the surrounding nature. Being knowledgeable about environmental considerations can guide you in selecting the safest and most effective deployment strategies. By considering these factors, you guarantee your signals are effective while minimizing harm to the environment, wildlife, and your overall safety. Proper deployment respects nature and increases your chances of being seen and rescued.
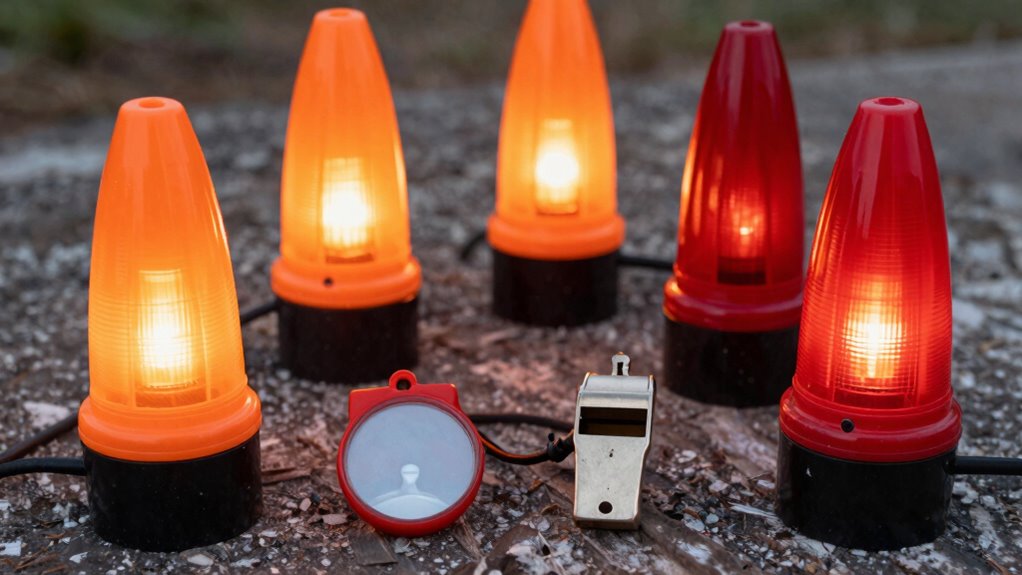
Using Sound Signals and Whistles to Attract Help
Sound signals and whistles are essential tools for attracting help when you’re in trouble at sea or in remote areas. They can quickly alert nearby vessels or rescuers to your location. To maximize effectiveness, use clear and consistent sound signals. Practice whistle techniques, such as short blasts or prolonged sounds, to communicate distress or requests for assistance. Remember to keep your signals steady and recognizable. Here are some key tips:
- Use short, sharp blasts to signal “help” or draw attention.
- Maintain a regular pattern to indicate distress.
- Avoid excessive noise that might confuse rescuers.
- Familiarize yourself with local maritime sound signal standards for clarity.
Mastering sound signals and whistle techniques ensures your call for help is heard loud and clear when it matters most.
When and How to Use Electronic Signaling Devices
Electronic signaling devices should be used promptly and appropriately whenever you need to attract attention or signal for help. Electronic beacons are effective for long-distance signaling, especially in low visibility conditions. Follow specific signal protocols—such as activating the beacon during daylight or nighttime to maximize visibility. Use your device consistently and clearly, avoiding unnecessary fluctuations that could confuse rescuers. Keep your device within reach and ensure batteries are charged. Here’s a quick reference:
| Situation | Device Type | Recommended Action |
|---|---|---|
| Visible from afar | Electronic beacon | Activate with steady signals |
| Daylight visibility | Signal protocols | Use flashing or patterned signals |
| Nighttime or low light | Electronic beacon | Use continuous or patterned signals |
Knowing when and how to use electronic beacons ensures your signals are effective and can speed rescue efforts.
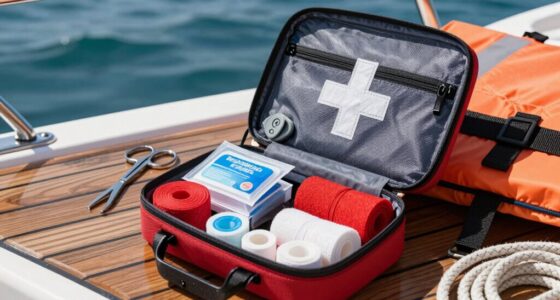
Maintaining and Storing Your Emergency Signaling Equipment

To guarantee your emergency signaling equipment works when needed, you must store it properly and keep it in good condition. Regular maintenance checks help identify any damage or wear that could compromise its effectiveness. Additionally, placing your signals in accessible locations ensures you can grab them quickly in an emergency.
Proper Storage Practices
Proper storage is essential to guarantee your emergency signaling equipment functions when you need it most. To ensure safety and quick access, follow these practices:
- Store flares and signals in a cool, dry place away from direct sunlight to prevent deterioration.
- Use a designated container that is clearly labeled for emergency equipment, ensuring storage safety.
- Keep equipment accessible by organizing it in a consistent location, so you can locate it swiftly during an emergency.
- Regularly check the storage area for signs of damage or moisture that could compromise the equipment’s reliability.
Regular Maintenance Checks
Regular maintenance checks are vital to guarantee your emergency signaling equipment remains dependable when you need it most. Start by inspecting the battery life regularly; a fresh, fully charged battery ensures your device will function properly in an emergency. Check signal strength to confirm your signals are clear and detectable from a distance. Clean any corrosion or debris from contacts and ensure switches and buttons work smoothly. Store equipment in a cool, dry place to prevent damage and deterioration. Replace batteries and test signal outputs periodically, especially before trips or seasons when you’re more likely to need them. Properly maintained equipment not only increases your chances of being seen or heard but also gives you peace of mind knowing it’s ready when it matters most.
Accessible Placement Strategies
Ensuring your emergency signaling equipment is stored in an accessible location can make a critical difference during an emergency. Proper placement tactics ensure you can quickly reach signals when needed. To maximize accessibility options, consider these strategies:
- Store signals in a designated, easy-to-open container near your main exits.
- Keep equipment in a waterproof, shockproof case within arm’s reach.
- Place signals in multiple locations, such as glove compartments and backpacks.
- Use clear labels to identify signaling gear instantly.
Common Mistakes to Avoid When Using Emergency Signals
One of the most common mistakes when using emergency signals is assuming that others will automatically recognize or understand them. Misuse of flares, like firing them too early or in inappropriate situations, can lead to confusion or false alarms. Using signals improperly might cause rescuers to overlook your distress or waste resources responding to a non-emergency. Avoid relying solely on visual signals in poor weather conditions or at night; they might not be visible. Also, don’t forget that signaling inappropriately can escalate panic or mislead others, so use signals only when truly necessary. Proper training and understanding of how and when to deploy emergency signals help prevent these mistakes, ensuring your distress call is clear, effective, and doesn’t cause unnecessary alarm.
Frequently Asked Questions
How Long Do Emergency Flares Typically Last Once Activated?
Emergency flares typically last between 3 to 5 minutes, depending on the flare burn time and lifespan. You should be aware that the duration lifespan varies by flare type, with some lasting slightly longer or shorter. When you activate a flare, expect it to burn brightly for those few minutes, providing a vital visual signal. Always carry extra flares to guarantee continuous signaling if the situation requires prolonged visibility.
Are There Legal Restrictions on Using Certain Signaling Devices?
Yes, there are legal restrictions on using certain signaling devices. You should check local regulations concerning signaling device regulations because some devices, like flares or laser signals, may be limited or require permits. Using unauthorized signaling devices can lead to fines or legal issues, especially in protected areas. Always make certain you’re compliant with regulations before carrying or deploying any signaling device during an emergency to avoid legal trouble.
Can Multiple Types of Signals Be Used Simultaneously for Better Visibility?
Think of your signaling devices as a symphony—using multiple signals can create a powerful wave that boosts your visibility. Yes, combining different signal types, like flares and mirror signals, enhances overall visibility and guarantees your distress call reaches more eyes. Just be mindful to coordinate your signal combination carefully to avoid confusion, and always follow safety guidelines to maximize effectiveness and prevent accidental activation.
How Do Weather Conditions Affect the Effectiveness of Emergency Signals?
Weather impact can greatly reduce signal visibility, making your emergency signals less effective. Rain, fog, or snow can obscure or weaken visual signals, while strong winds may disperse smoke signals. To combat this, you should choose signals that are visible in poor conditions, like bright flares or reflective devices. Always monitor weather conditions and adjust your signaling methods accordingly to ensure rescuers can spot your signals quickly.
What Are the Signs Indicating a Signaling Device Needs Replacement?
You should replace your signaling device if you notice device corrosion or battery depletion. Corrosion, like rust or buildup, can impair its function, while dead batteries prevent it from working when needed. Regularly inspect your device for these signs, and if you find corrosion or the batteries are depleted, replace the device promptly. Maintaining it ensures you’re prepared to signal effectively during an emergency.
Conclusion
Remember, your emergency signals are your lifeline when trouble strikes. Like a lighthouse guiding ships safely through stormy seas, the right flashes, sounds, and devices can draw help swiftly. Keep your equipment ready, know how to operate it properly, and stay alert. When every second counts, being prepared guarantees you’re not just a flicker in the dark but a beacon that guides rescuers straight to you. Stay safe and signal smart.