If your watercraft starts overheating, you should first check for blockages or debris in the water intake screen and cooling passages, as these can restrict water flow. Inspect the water pump and impeller for wear or damage, and ensure hoses are leak-free and clear of cracks or kinks. Verify the thermostat opens properly by testing it in boiling water. Continuing this process will help you identify the cause and keep your watercraft running smoothly.
Key Takeaways
- Check for debris or blockages in the water intake screen and cooling passages.
- Inspect the water pump and impeller for damage, wear, or corrosion.
- Verify water flow by observing hoses and connectors for leaks or obstructions.
- Test the thermostat to ensure it opens at the correct temperature.
- Listen for unusual noises from the pump to identify potential bearing or debris issues.

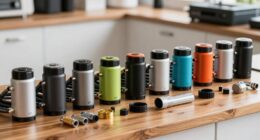
Johnson Evinrude 115-120-125-140 HP Screen Water Intake 323466 Lower Unit
Code: 98-304-33
As an affiliate, we earn on qualifying purchases.
As an affiliate, we earn on qualifying purchases.
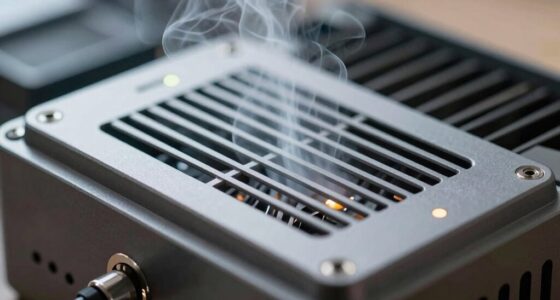
Why Is My Watercraft Overheating? (Understand Common Causes)
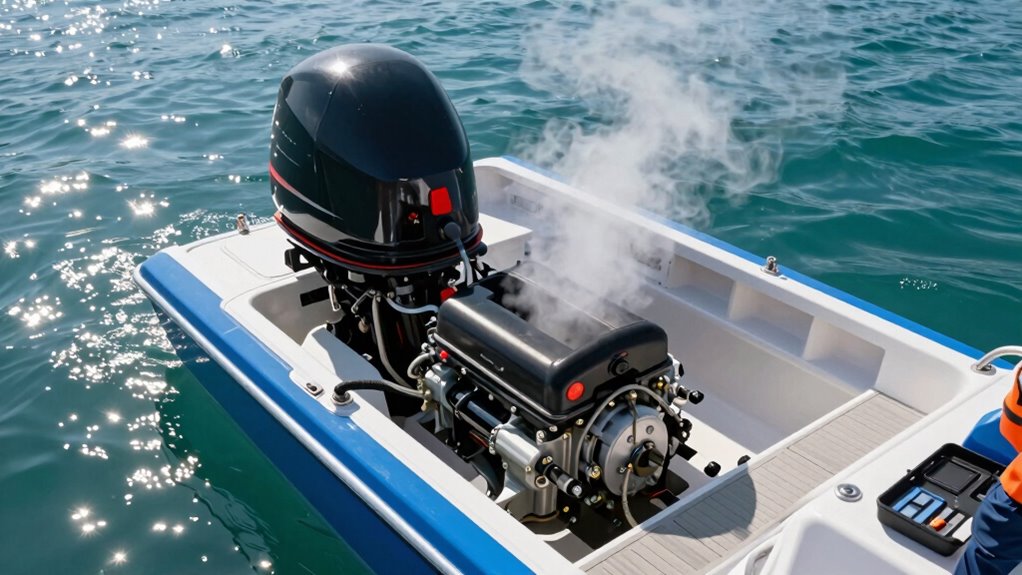
If your watercraft is overheating, it’s often due to a few common issues that disrupt proper cooling. Engine cooling relies on a steady flow of water to absorb heat, but environmental factors can interfere. For example, high water temperatures or debris in the water can reduce cooling efficiency. Additionally, taking your watercraft into shallow or muddy areas may cause sediment to clog cooling passages, leading to overheating. Poor maintenance, such as neglected coolant levels or damaged cooling components, also plays a role. Regularly inspecting and maintaining your cooling system can boost your remote work by reducing unexpected breakdowns and downtime. Ensuring your cooling system is clean and well-maintained**** is essential to prevent overheating issues. Being aware of environmental factors that influence water temperature and debris levels can help you take preventative measures. Monitoring **coolant levels and flow regularly can also help identify potential problems before they cause overheating. Understanding proper cooling system operation** can further aid in troubleshooting and maintaining optimal performance.

big-autoparts Water Pump Impeller Raw Sea Impeller Repair Kit Compatible With Johnson 09-812B-1 Yanmar 119773-42600 Sierra 18-3306 Indmar S685007
✔COMPATIBLE OEM PART – Water pump impeller repair kit manufacturer part number: 09-812B,119773-42600, replace 18-3306 S685007 F6B-9.
As an affiliate, we earn on qualifying purchases.
As an affiliate, we earn on qualifying purchases.
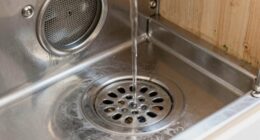
How to Check for Blockages in the Water Intake and Cooling System
Start by inspecting the water intake screen for debris or damage that could obstruct flow. Then, check the cooling system to make certain water moves freely through the hoses and connectors. If you notice any kinks or clogs, clear them to prevent overheating issues. Additionally, ensure that the water circulation is functioning properly to maintain optimal temperature control. Proper water flow is essential to prevent localized overheating and keep the system running smoothly. Regular maintenance of the cooling components can further help identify potential issues early before they cause overheating. Ensuring that the cooling system components are free from buildup or corrosion can also enhance overall performance.
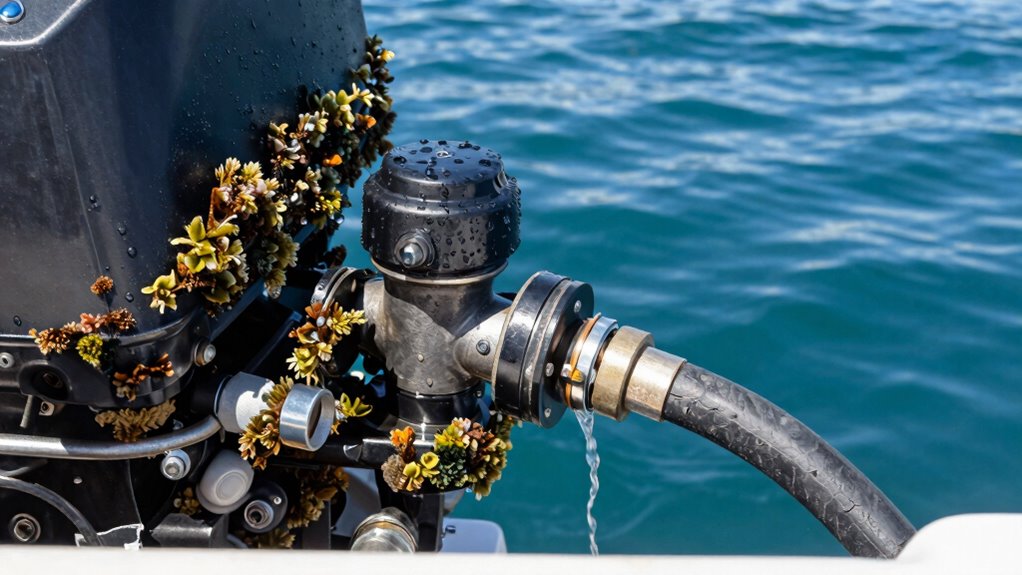
Inspect Water Intake Screen
Wondering how to guarantee your water intake system isn’t causing overheating? The first step is to perform a thorough screen inspection. Locate the water intake screen, usually found at the water inlet or cooling port. Carefully remove it, taking note of how it’s attached. Check for debris, algae, or any buildup that could restrict water flow. Use a soft brush or cloth to clean the screen gently, removing any obstructions. Make sure it’s free of dirt and not damaged. If the screen is cracked or severely clogged, replace it. Regular inspection and cleaning of the water intake screen ensure unobstructed water flow, helping your cooling system operate efficiently and preventing overheating caused by restricted water supply. Additionally, understanding regional flavors and chicory/coffee insights can help identify if mineral buildup from water quality issues is affecting your system. Remember, water quality can significantly impact the longevity and performance of your cooling components, so consider testing your water source periodically. Maintaining good water filtration can also help prevent mineral deposits that might impair system function.
Check Cooling System Flow
To make certain your cooling system isn’t blocked, you need to verify that water flows freely through both the intake and the cooling pathways. Perform a circulation check by observing the coolant flow. If water isn’t moving properly, overheating can occur. Additionally, inspecting sleep comfort tools like mattress toppers and bedding can help improve overall comfort during temperature fluctuations. Visualize the system like this:
| Water Pathway | Flow Status |
|---|---|
| Intake screen | Clear / Blocked |
| Cooling passages | Free / Obstructed |
| Water pump | Active / Failing |
| Outlet outlet | Steady / Restricted |
Check each part, ensuring coolant flows smoothly. If flow is restricted, locate the blockage and clear it before proceeding. Proper circulation is essential to prevent overheating. Remember, coolant flow is vital for maintaining the system’s temperature and preventing damage.
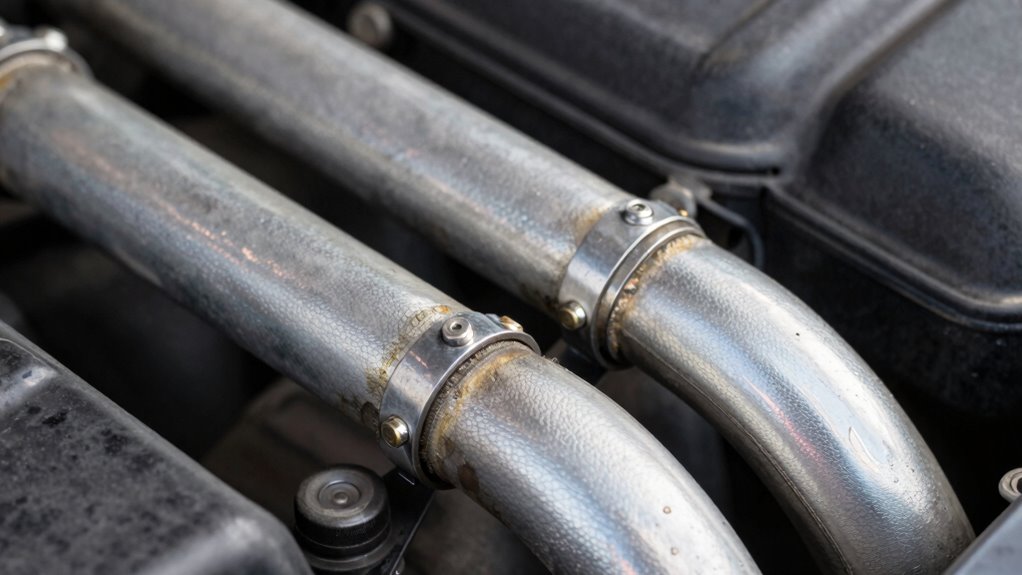
Examine Hoses and Connectors
Inspecting hoses and connectors is a crucial step in ensuring your cooling system operates without blockages. Proper hose inspection can reveal cracks, leaks, or collapses that hinder water flow. Connector testing is equally important; check for corrosion, looseness, or damage that could block water passage. To do this effectively:
- Examine hoses for any visible damage, kinks, or signs of wear, replacing if necessary.
- Test connectors by ensuring they fit tightly and are free of corrosion or debris.
- Flush hoses and connectors to verify water flows smoothly without obstruction.
- Additionally, verifying water pressure levels can help identify hidden blockages or flow restrictions that are not immediately visible.
marine cooling system hoses
As an affiliate, we earn on qualifying purchases.
As an affiliate, we earn on qualifying purchases.
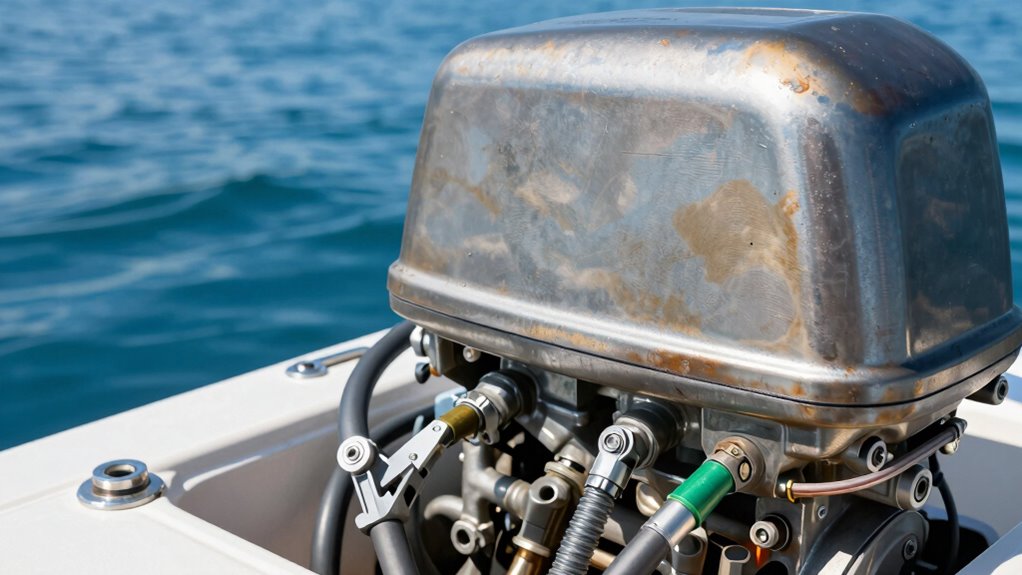
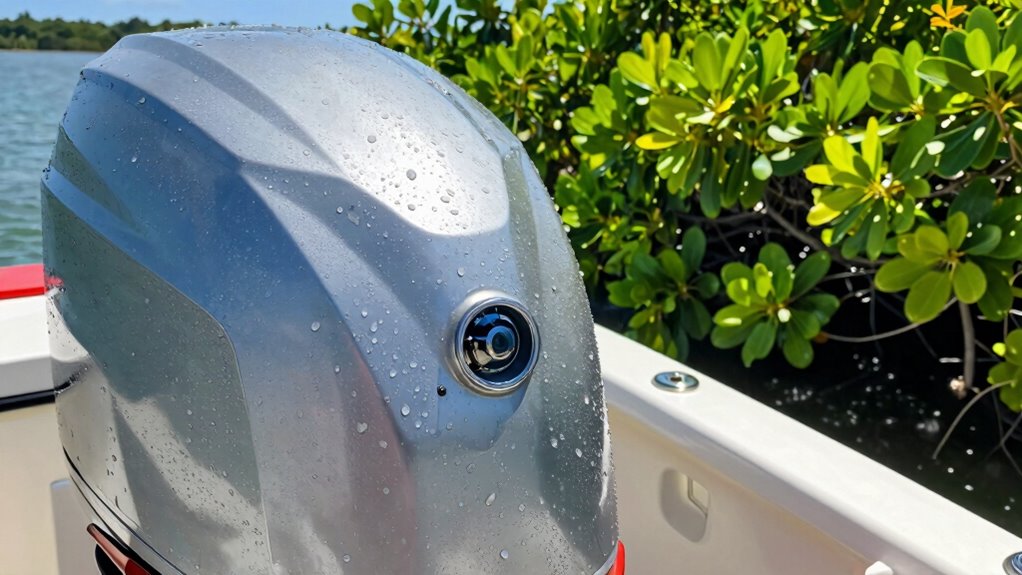
How to Inspect the Water Pump and Impeller for Wear

Start by visually inspecting the water pump for any signs of leaks, corrosion, or damage. Then, check the impeller’s condition to see if it’s worn or broken, as this can affect circulation. Additionally, listen for unusual noises when the pump runs, which might indicate a problem needing attention. Furthermore, verifying the testing accuracy of your measurement tools can help ensure your assessments are reliable. Regularly inspecting the water pump components can help identify early signs of wear and tear before they lead to failure. Recognizing wear and tear in the pump components can also prevent further damage and costly repairs. Being aware of the costly repairs associated with pump failure underscores the importance of early detection and maintenance. Checking for proper lubrication can also extend the lifespan of your pump parts and improve performance.
Visual Pump Inspection
When inspecting your water pump and impeller, it’s vital to look for signs of wear or damage that could cause overheating. A thorough visual inspection helps identify issues early. Focus on the pump components and check for the following:
- Cracks or corrosion on the pump housing or impeller housing, which indicate deterioration. Protecting against corrosion can extend the lifespan of your pump. Additionally, understanding credit card security measures can help prevent financial losses if you experience a breach during online transactions.
- Worn or chipped impeller blades, as these reduce water flow and cooling efficiency.
- Leaks around seals or gasket areas, suggesting seal failure or damage.
- Early warning signs such as unusual noises or vibrations that may signal mechanical problems before overheating occurs.
Carefully examine these parts for rust, debris buildup, or any deformities. Damaged or worn pump components hinder proper water circulation, increasing the risk of overheating. Regular visual inspections are essential for maintaining peak performance and avoiding costly repairs.
Check Impeller Condition
To accurately assess the condition of your water pump, you need to check the impeller for signs of wear or damage. Impeller inspection is a vital step in pump maintenance, as a worn or damaged impeller can reduce water flow and cause overheating. Begin by removing the pump cover and carefully examining the impeller blades. Look for chips, cracks, corrosion, or any signs of erosion. Spin the impeller gently to check for wobbling or looseness, which indicates wear or a bent shaft. If you notice any irregularities, replace the impeller promptly. Regular impeller inspection helps prevent pump failure and guarantees optimal cooling performance. Keeping the impeller in good condition is fundamental for efficient pump operation and to avoid overheating issues.
Listen for Unusual Noises
Listening for unusual noises is a crucial step in diagnosing potential issues with your water pump and impeller. Unusual sounds can signal wear or damage that may lead to overheating. To perform noise diagnostics effectively, pay attention to the following:
- Grinding or squealing sounds – These often indicate bearing wear or a loose impeller.
- Whining or high-pitched noises – These can suggest imbalance or a failing pump motor.
- Clunking or rattling sounds – These usually point to debris or a misaligned impeller causing vibration.
boat thermostat tester
As an affiliate, we earn on qualifying purchases.
As an affiliate, we earn on qualifying purchases.
How to Test the Thermostat’s Functionality
Testing your thermostat’s functionality is a crucial step in diagnosing overheating issues. To perform thermostat testing, start by checking if it opens and closes properly. Remove the thermostat from the water system and place it in a pot of boiling water. If it’s functioning correctly, it should open at the designated temperature, usually indicated on the thermostat. Use a thermometer to verify the water’s temperature; the thermostat should open around that point. If it doesn’t, it may be faulty and need replacing. Proper temperature regulation depends on an accurate thermostat. By ensuring the thermostat opens at the correct temperature, you confirm it’s working correctly. This simple test helps identify if the thermostat is causing overheating or if other components might be to blame.
How to Look for Leaks or Damage in Cooling Hoses
Inspecting cooling hoses for leaks or damage is an essential step in troubleshooting overheating issues. Proper hose inspection helps identify cracks, bulges, or leaks that can reduce coolant flow. To perform an effective leak detection, follow these steps:
- Visually examine hoses for cracks, splits, or any signs of wear. Look for hardened or swollen areas.
- Feel along the hoses for soft spots or bulges, which indicate internal damage or weakness.
- Check for coolant residue or dampness around hose clamps and connections, signaling leaks.
Be thorough during hose inspection, paying close attention to areas near clamps and bends. Detecting even small leaks early can prevent further overheating and costly repairs.
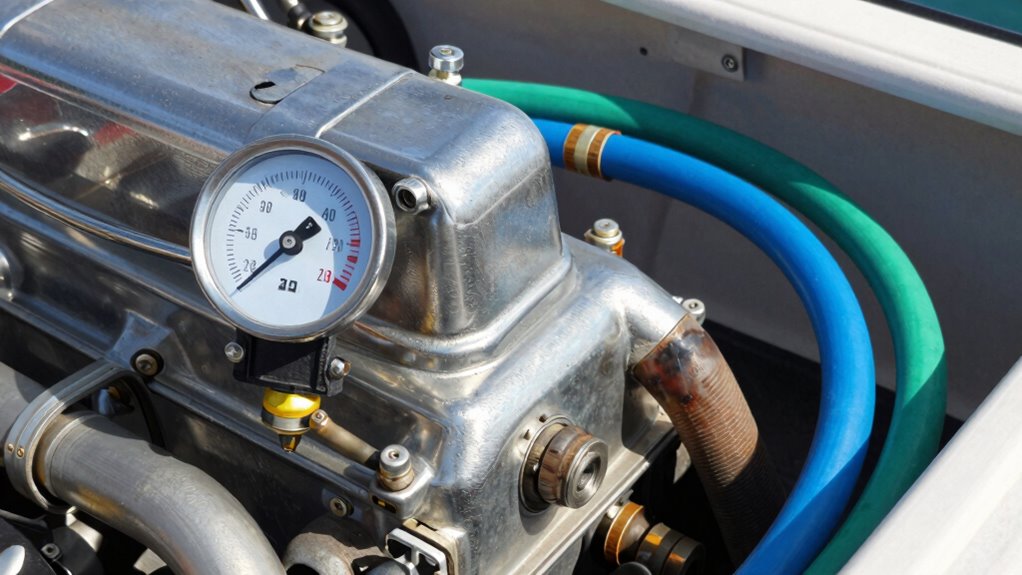
How to Verify the Accuracy of Your Temperature Gauge

Since your temperature gauge is a key indicator of engine health, confirming its accuracy guarantees you’re not relying on false readings. To verify this, start with proper gauge placement; ensure it’s securely mounted and visible. Next, test the temperature calibration by comparing the gauge reading to a reliable external thermometer placed in the coolant overflow tank or radiator. If the readings don’t match, your gauge may need recalibration or replacement. Keep in mind that inaccurate gauges can mislead you about engine temperature, causing unnecessary concern or overlooked overheating. Regularly check the gauge’s positioning and accuracy to ensure it reflects the true engine temperature. Accurate readings are essential for timely maintenance and avoiding engine damage.
How to Make Sure Ventilation and Exhaust Are Clear

Making sure your ventilation and exhaust systems are clear is essential for preventing engine overheating. Blockages can trap heat, reducing airflow and causing your engine to overheat. To keep things running smoothly, perform regular ventilation checks and verify exhaust clearance.
- Inspect the ventilation openings for debris, corrosion, or damage, and remove any obstructions.
- Check that the exhaust outlet is free from blockages or buildup that could restrict flow.
- Ensure hoses and pipes are intact, securely connected, and free of cracks or leaks.
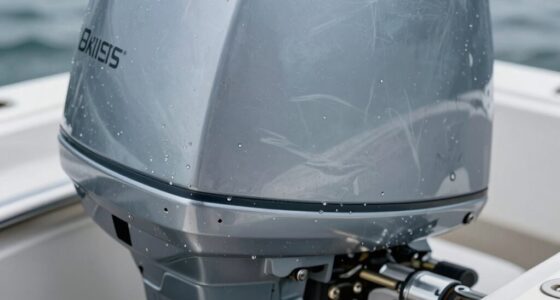
How to Check External Factors That Can Cause Overheating
External factors like ambient temperature, sunlight exposure, and nearby heat sources can considerably impact your engine’s ability to stay cool. The external environment plays a key role; high air temperatures reduce cooling efficiency, especially if your boat operates in hot weather. Sunlight exposure can also raise water temperatures, making it harder for your cooling system to dissipate heat. Additionally, water conditions matter—calm, warm water absorbs less heat and cools less effectively than cooler, flowing water. Check your surroundings: avoid areas with intense sunlight, and stay clear of engines, exhausts, or machinery that generate extra heat nearby. By monitoring these external factors, you can better understand their influence on overheating and take appropriate measures to minimize their impact.
When to Seek Professional Help for Overheating Problems
If you notice persistent overheating despite managing external factors, it’s time to contemplate professional assistance. Ignoring ongoing issues can lead to severe engine damage. Consider seeking help when:
- Your boat has been in boat storage for a long time, and engine maintenance hasn’t been recent. Stored boats need regular checks to prevent overheating caused by corrosion or clogged cooling systems.
- You’re unsure if your engine’s cooling system is functioning properly, especially if simple fixes haven’t worked.
- Overheating continues despite troubleshooting, indicating internal problems beyond basic repairs, which require expert diagnosis and repairs.
Recognizing these signs early ensures your watercraft remains safe and reliable, preventing costly repairs later. Professional help can identify hidden issues and optimize your engine’s performance.
Quick Tips to Prevent Your Watercraft From Overheating
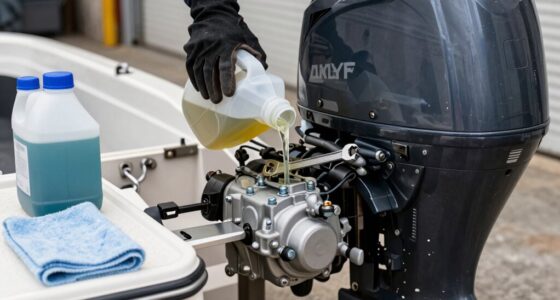
To keep your watercraft running smoothly and prevent overheating, it is *essential* to follow some simple yet effective maintenance practices. Regular watercraft maintenance includes checking the cooling system, ensuring the water intake is clear, and inspecting hoses for cracks or leaks. Preventative measures such as changing the coolant as recommended and flushing the cooling system after use in saltwater help avoid buildup and corrosion. Always monitor temperature gauges during operation, and don’t ignore early signs of overheating. Keeping the watercraft’s engine properly tuned and free of debris minimizes the risk of overheating. By staying proactive with these preventative measures, you extend your watercraft’s lifespan and enjoy safer, more reliable performance on the water.
Frequently Asked Questions
Can Certain Water Conditions Cause My Watercraft to Overheat?
Yes, certain water conditions can cause your watercraft to overheat. Poor water quality, like debris or algae, can clog the cooling system, reducing its efficiency. If the cooling system isn’t functioning properly due to contaminated or low-quality water, it can’t effectively dissipate heat. Always check the water quality before heading out and verify your cooling system is clean and working well to prevent overheating.
How Does Engine Age Affect Overheating Risk?
Your engine’s age increases the risk of overheating because older engines often suffer from corrosion and a cooling system that’s less effective. As the engine ages, corrosion can clog cooling passages, reducing heat transfer. Additionally, the cooling system components may wear out or become clogged over time. Regular maintenance, including inspecting and replacing worn parts, helps prevent overheating caused by engine age-related issues.
Are Aftermarket Parts Safe for Cooling System Repairs?
Aftermarket parts can be safe for your cooling system if you choose high-quality, reputable brands. They often cost less and can perform well, but some may not meet OEM standards. Always research and verify compatibility with your engine. It’s best to consult your mechanic before installing aftermarket parts to guarantee they won’t compromise your cooling system’s effectiveness or cause overheating issues. Proper installation and quality are key.
What Are Signs of Internal Engine Overheating?
If your engine is overheating internally, look for signs like coolant leaks around hoses or the radiator, which indicate a loss of coolant. Pay attention to a rising temperature gauge and a burning smell. Thermostat failure can cause the engine to overheat because it doesn’t regulate coolant flow properly. Address these issues promptly to prevent serious engine damage and keep your cooling system running efficiently.
How Often Should Cooling System Maintenance Be Performed?
Did you know that neglecting cooling system maintenance can lead to costly engine repairs? You should check your coolant levels and radiator maintenance at least once a year, especially before heavy use or seasonal changes. Regular inspections help prevent overheating and keep your engine running smoothly. Don’t wait for signs of trouble—staying proactive with these routine checks guarantees your cooling system stays in top shape and avoids unexpected breakdowns.
Conclusion
Overheating can turn your day on the water from fun to frustration. Think of it like a car overheating—you wouldn’t ignore the warning lights or radiator leaks. By staying vigilant and checking the basics first, you keep your watercraft running smoothly. Sometimes, the fix is simple, like clearing a blockage, but other times, it’s best to call in a pro. Prevention and prompt checks keep your boating adventures safe and enjoyable, no matter how hot it gets.